I like to refer to this Hot Dog Sauce as my chili dog chili. It makes for the perfect topping to a perfectly steamed hot dog.
More on that later, but I will share my Chef's secret to getting your hot dogs to taste just like they do at the ballpark!
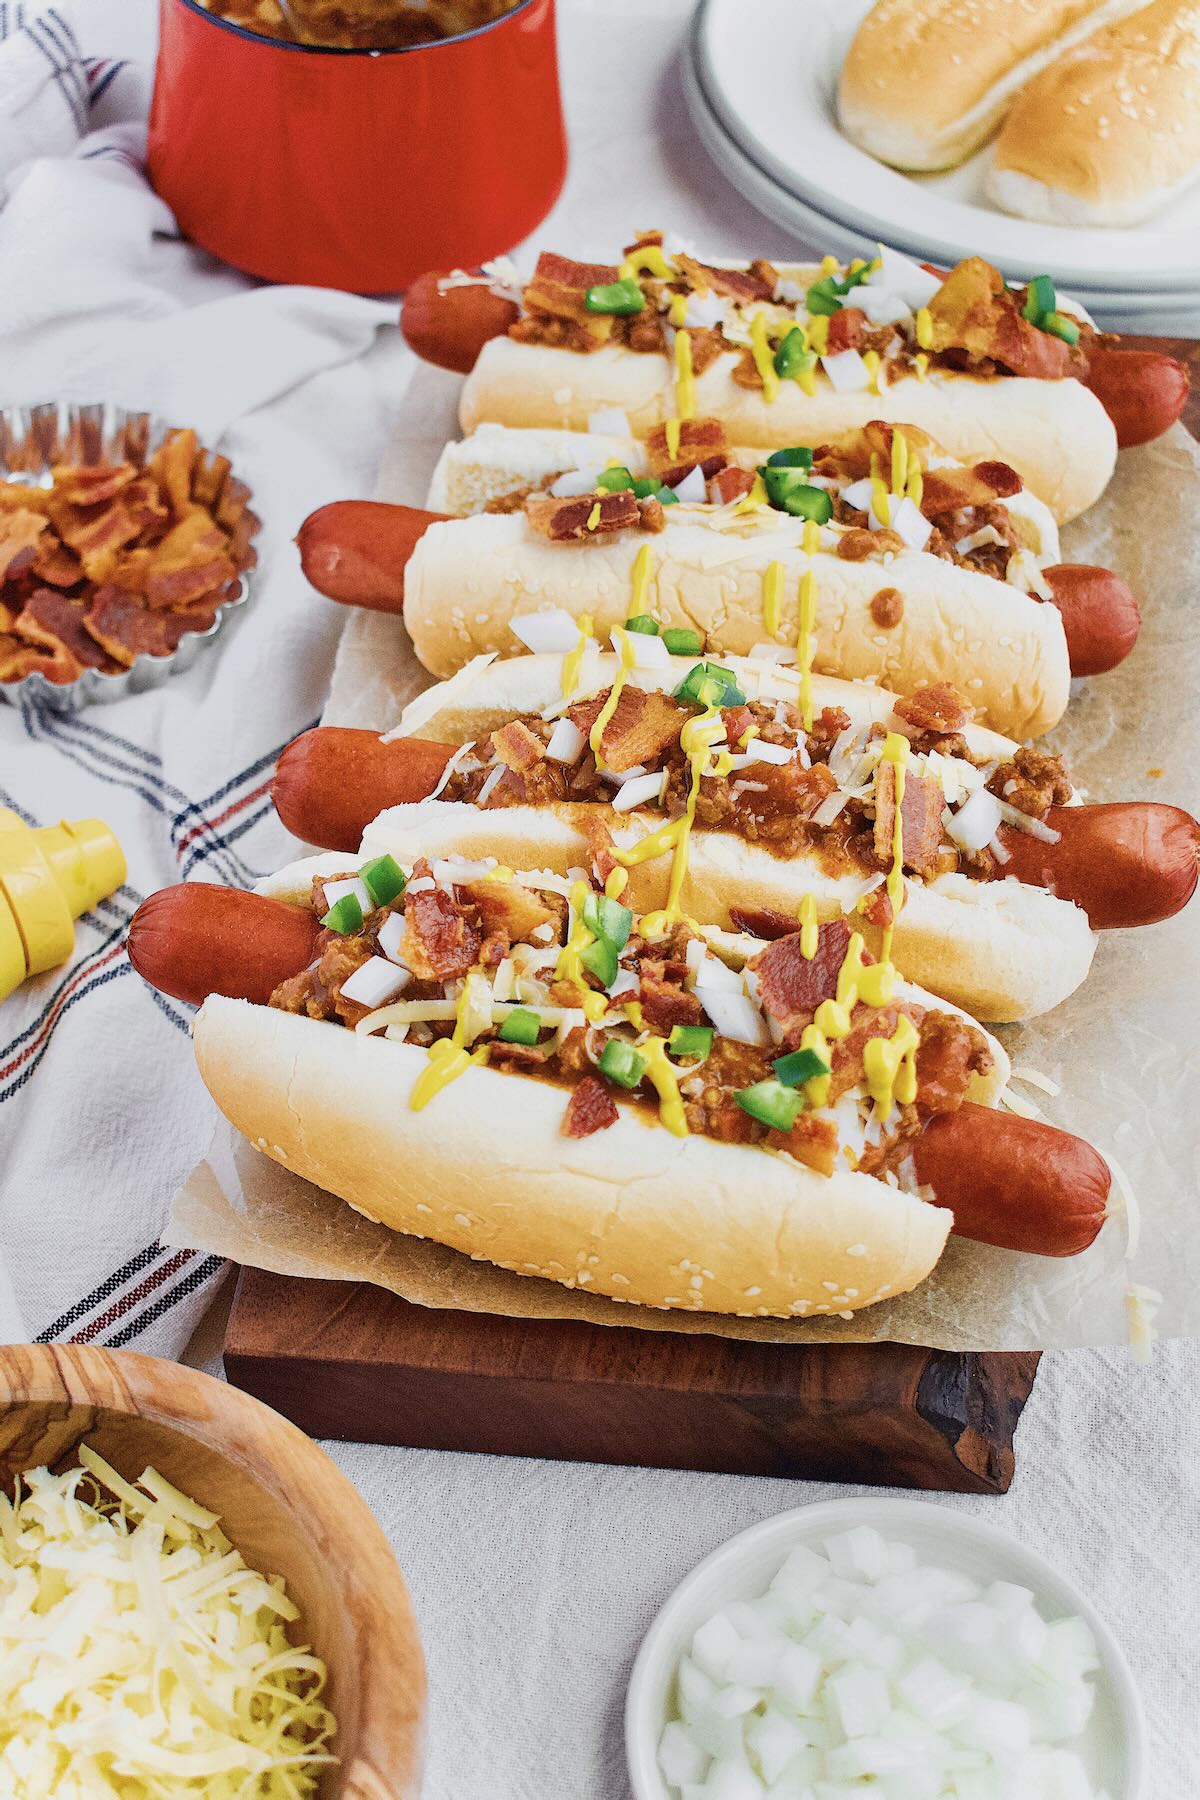
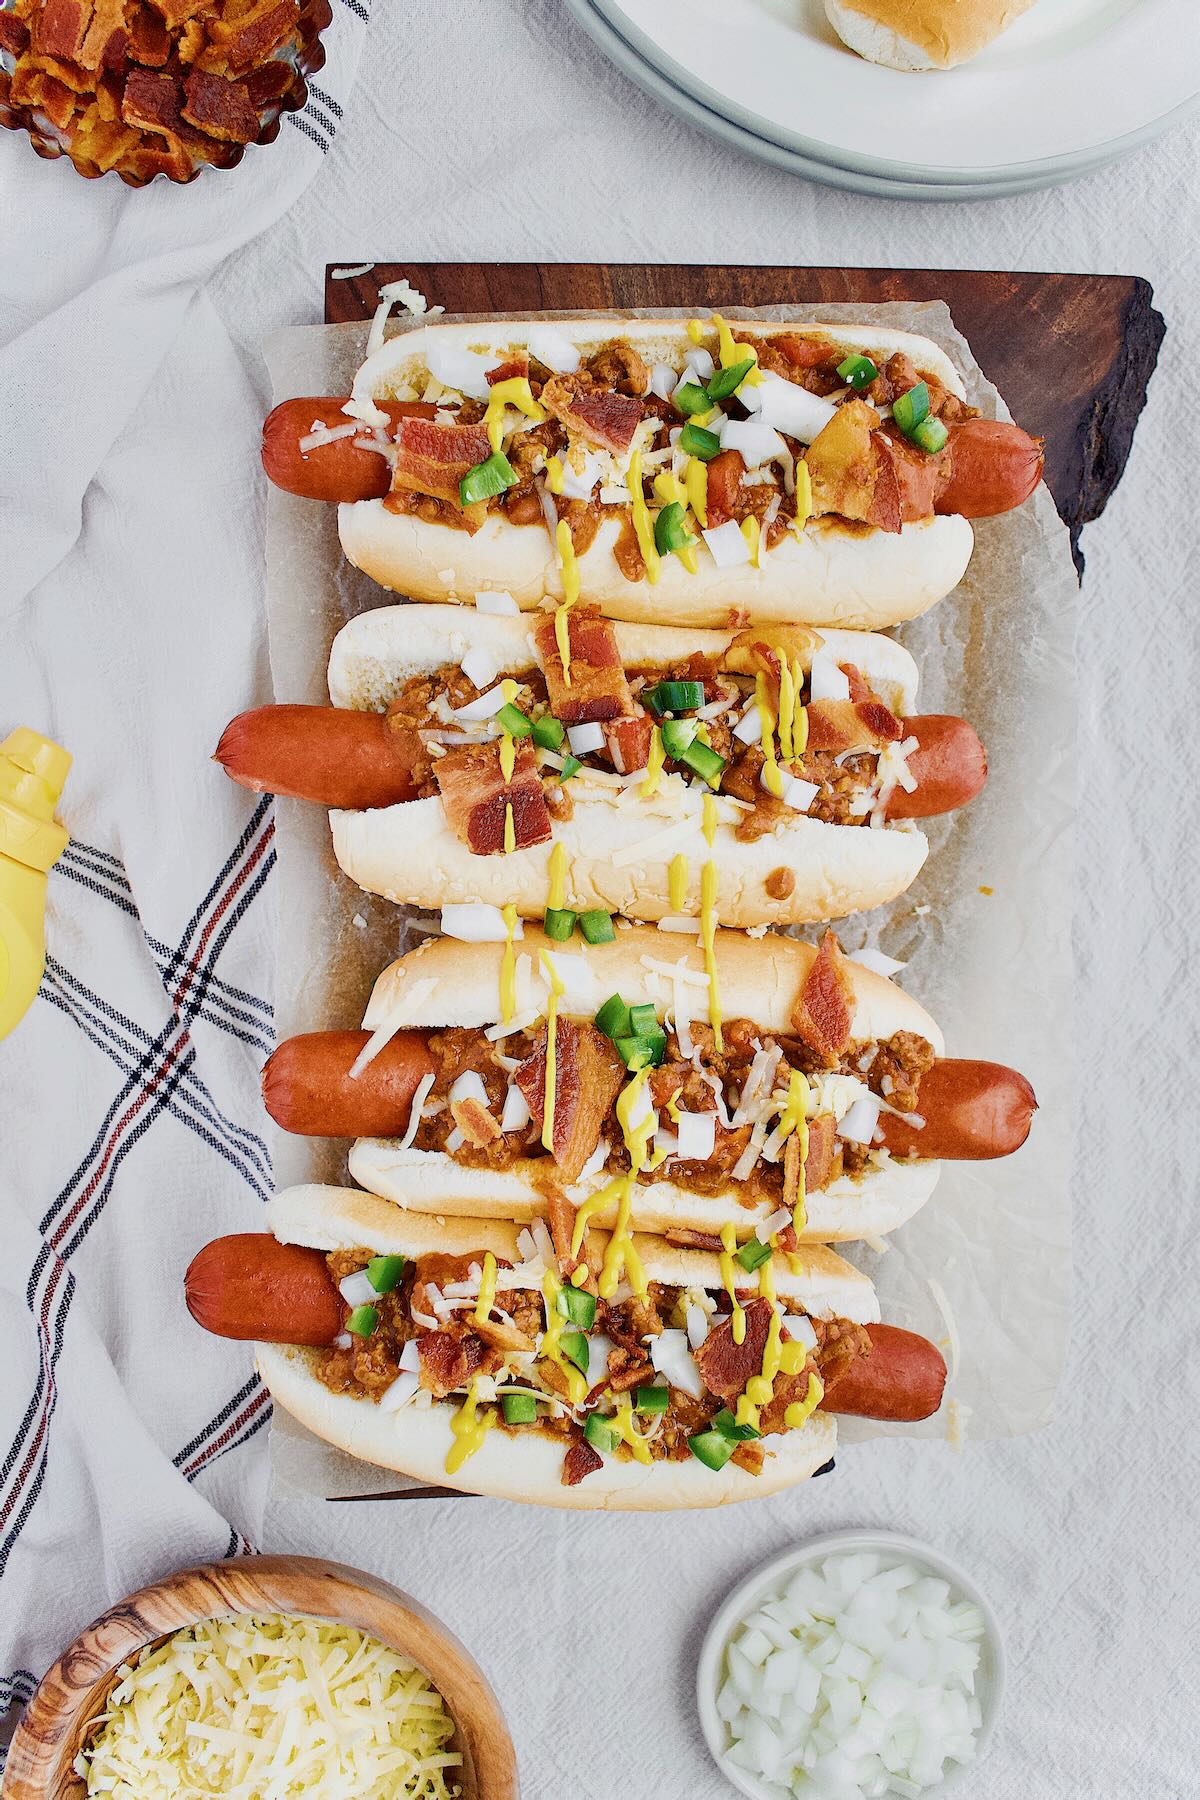
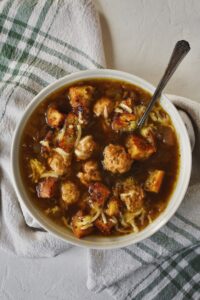
I know what you might be thinking looking at this photo, way to make a simple chili dog a little complicated. But who would I be if I didn't push it to the extreme? I mean, I definitely think it is better than a chili dog from Sonic!
Making the chili really isn't difficult, and it is always better the second day. So make it ahead if you have the time. The craziness comes with the toppings, but feel free to get as wild or stay as minimal as you like.
This post was originally published on June 25, 2020, and was updated on August 31, 2023.
Ingredients
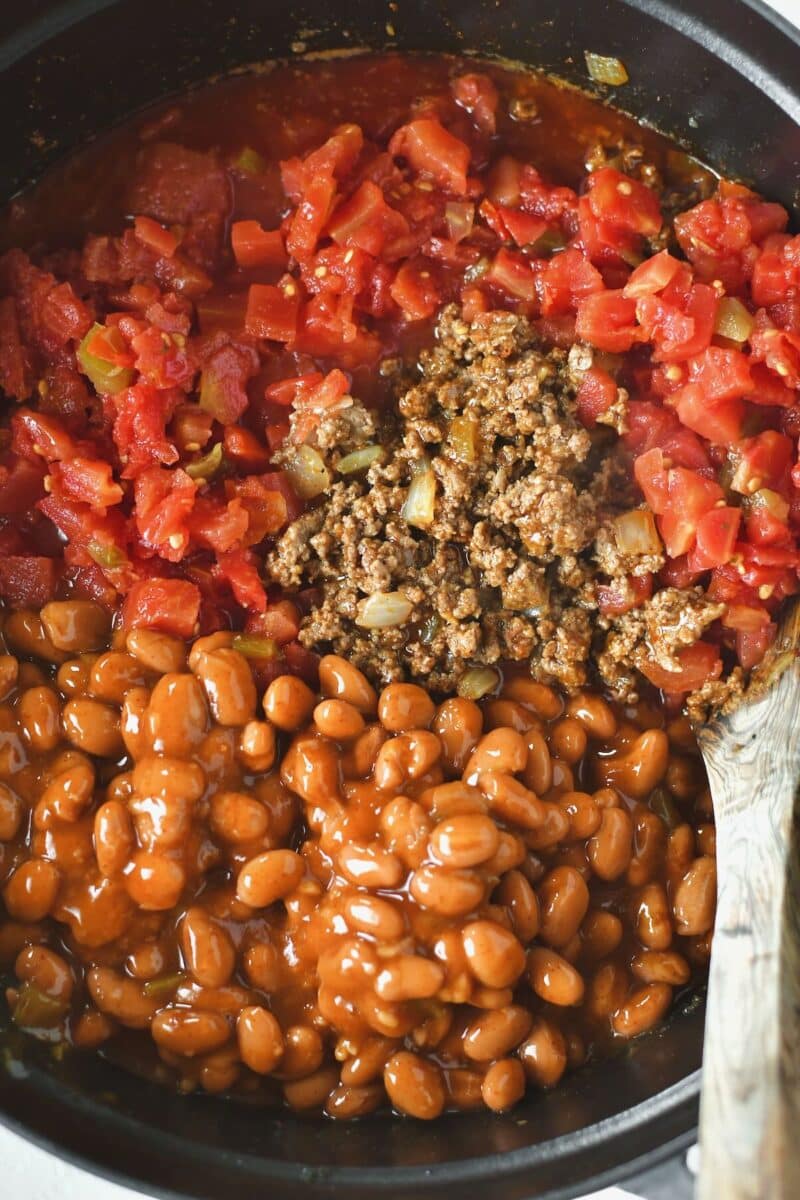
The real recipe we are working on here is the hot dog sauce or chili. That requires ground beef, onion, diced tomatoes, some with chilis and some without. I also like to use some southwest-style or ranch beans in this chili. It bulks it up a bit and I think they are really good with the hot dogs.
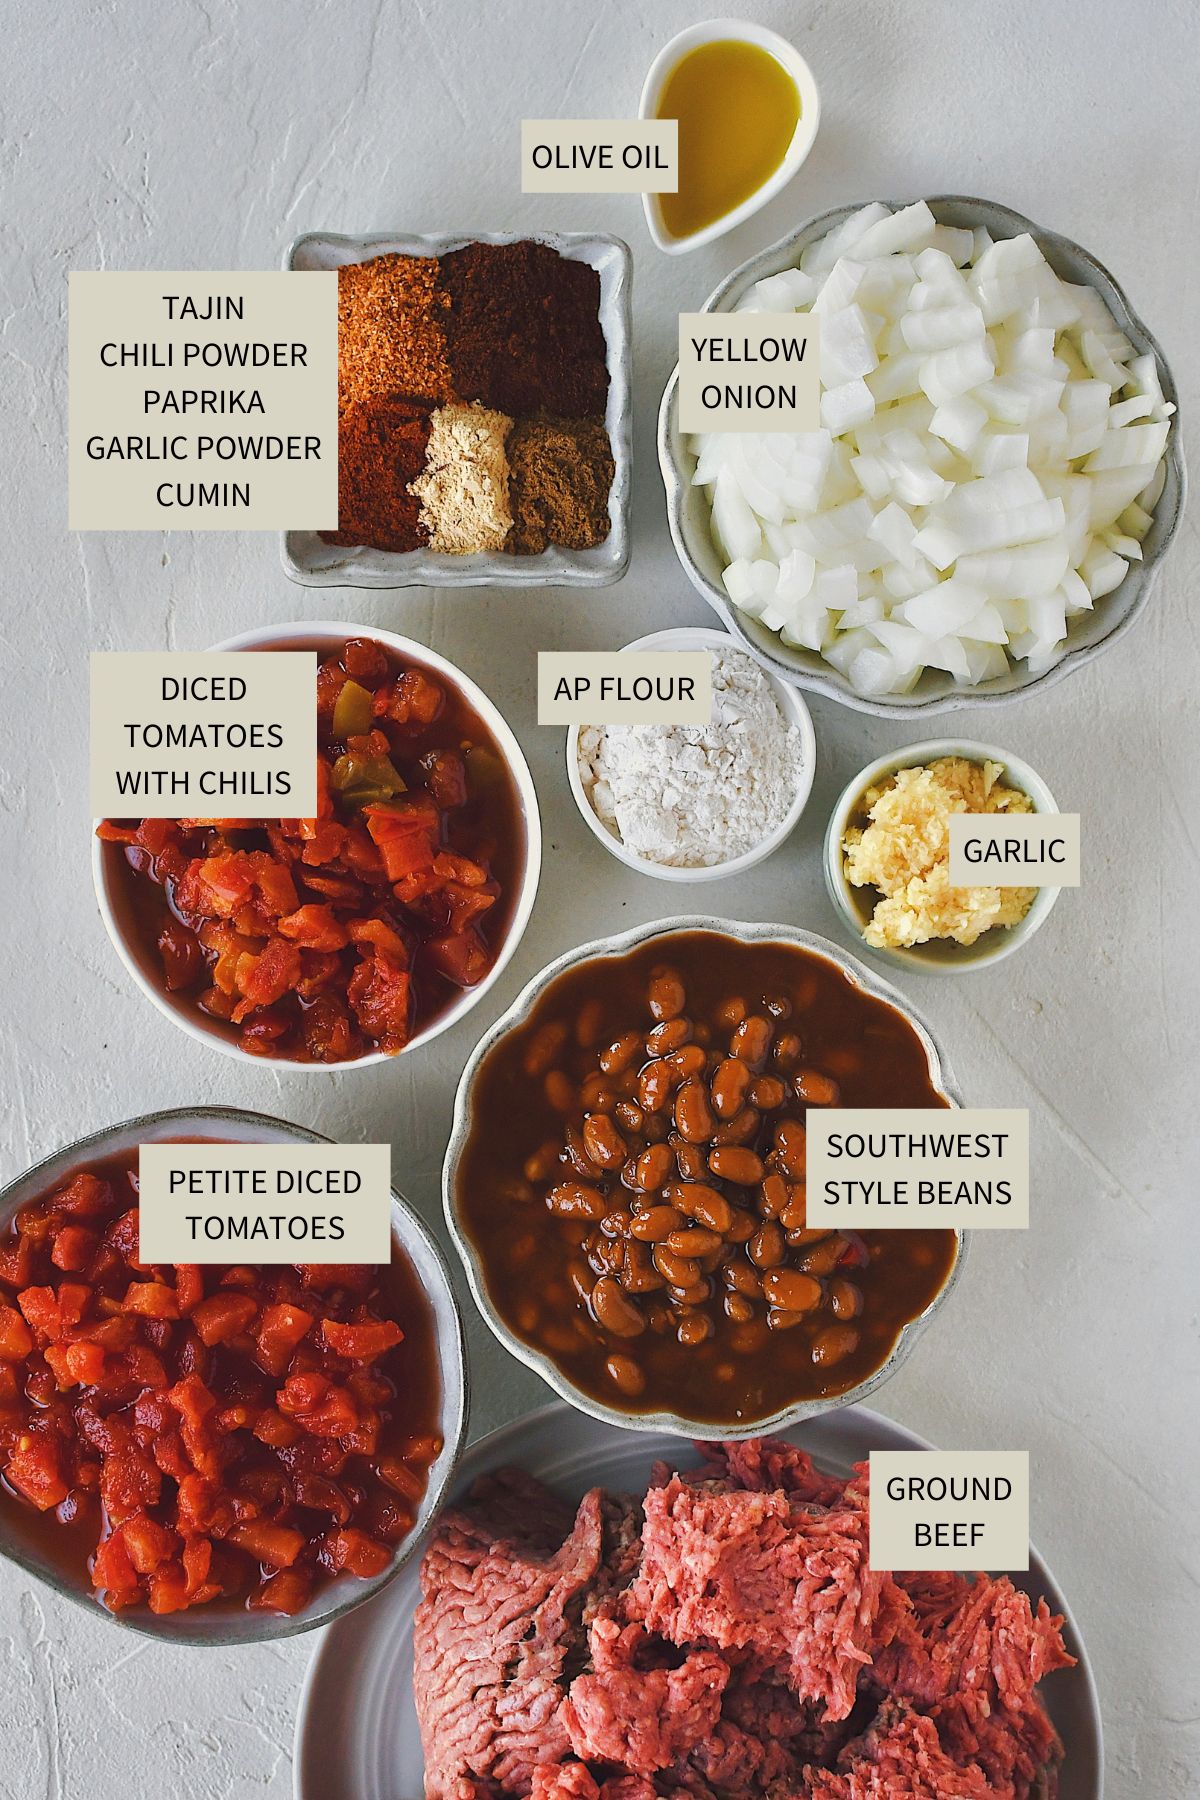
The real stars here are the spices, and you need a good amount of them just like any good chili deserves.
I like to make my own blend because I like to use my very favorite spice, roasted garlic powder, along with my own special addition Tajin. Tajin has a spicy, salty, tang with a bit of a lime flavor to it along with some chili powder.
Use the JUMP TO RECIPE button at the top of the post, or scroll to the bottom of the post to see the full recipe card with ingredient measurements and instructions.
Method
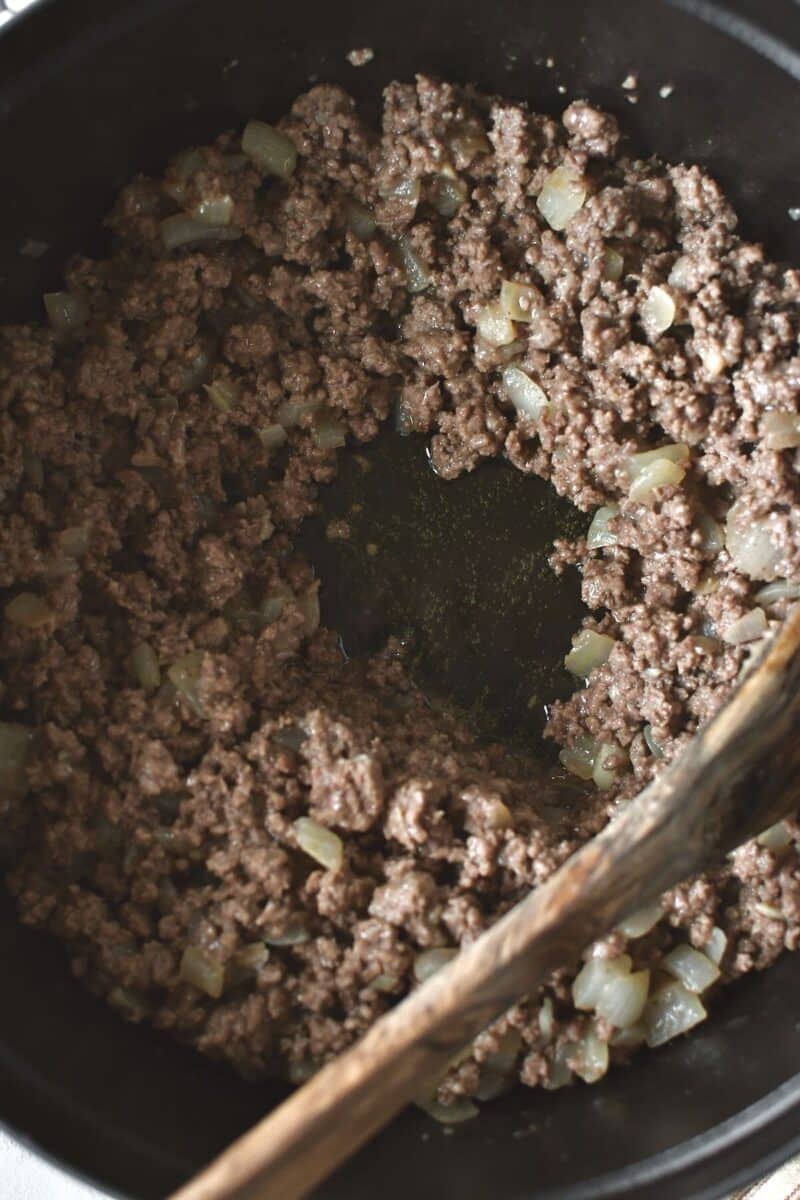
To make this hot dog sauce, first brown the beef in a deep, wide, pot, along with the onion and garlic. Cook it till no pink remains and the pan goes nearly dry. If there is a lot of fat, drain it off.
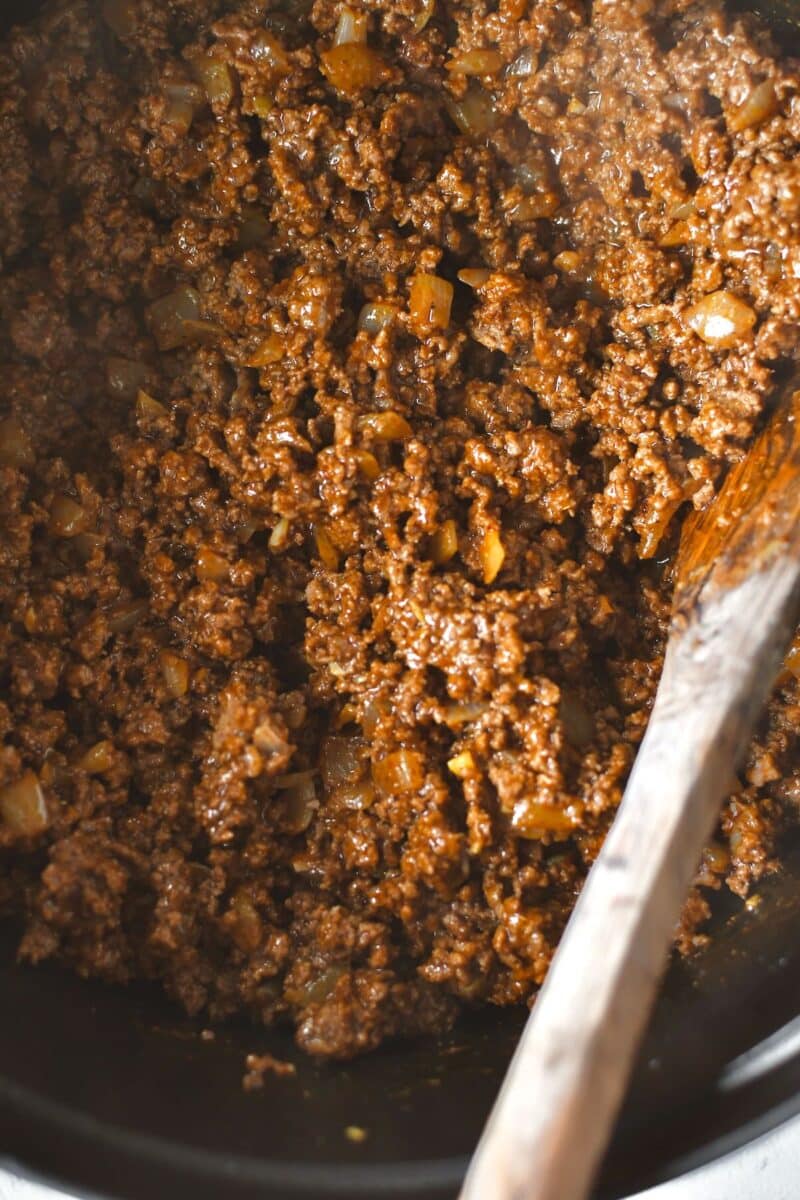
Next, bloom the spices into the beef. This means you will cook them in the meat, in the nearly dry pan, until they become very fragrant and are well dispersed, completely changing the color of the beef.
Then add the tomatoes and beans into the pot, stir to combine, and let the chili hang out as long as you can stand to wait. The longer it cooks the better.
If you have the time to think ahead, I prefer making it the day before I serve it. The flavors just meld overnight and make it so much more tasty!
Chefs Tip
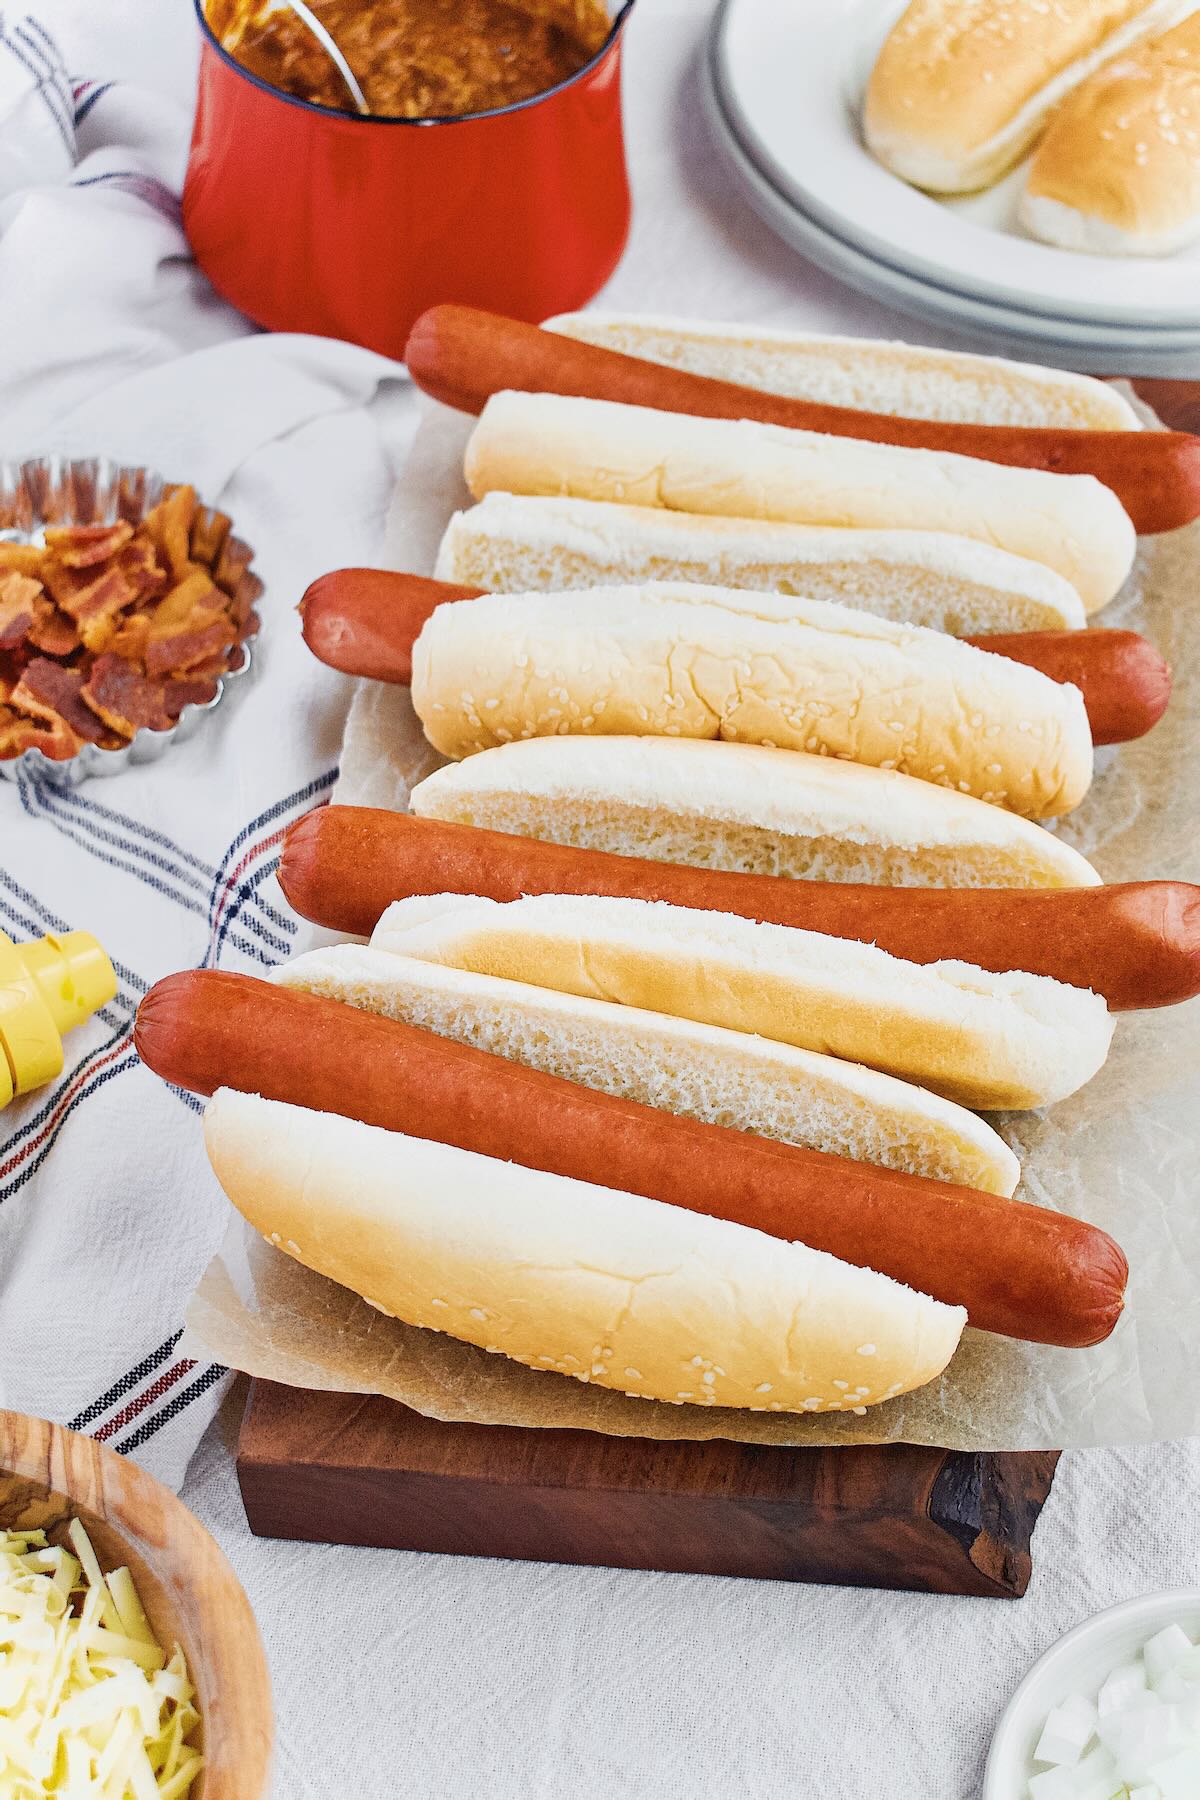
To make THE BEST chili dog you have ever tasted, boil the hot dogs in enough water to cover, 2 tablespoons of white vinegar, and ½ a white or yellow onion diced. Once the water boils, let the dogs hang out in there over low heat, just steaming till ready to serve.
When you are ready to eat, place your steamed dogs on a warm bun and lay out all the toppings. Let everyone choose their favorite and see who comes up with the wackiest topped dog!
This makes this recipe great for parties or celebrations. I usually lay out the big spread for the 4th of July, and this recipe just screams All-American.
Notes & Tips
At its heart chili is a stew, so that means the longer you can let it hang out and let the flavors develop, THE BETTER. While it may be ready to eat, and you certainly can eat it, within an hour or so, if you let it simmer as long as you can bare, it will be that much better.
This allows all of the herbs and spices that you have seasoned it with to fully bloom and deepen the flavor. This is the reason why chili always tastes even BETTER the next day.
After you have all the ingredients in the pot and are ready to simmer for a while, be sure to keep the heat high enough to reduce the liquid but not burn the bottom.
I simmer it just one dot above low on the oven knob, just keep an eye on it. Because we made a roux the chili can stick a little, so stir often for about an hour. But if you get some sticking to the bottom, don't scrape at it, simply turn off the heat and let the burn spot soften. It will rest and come off with no black burn to it, but instead will work itself back into the chili with no black flecks.
This recipe makes a large batch so that we can eat a bowl with cornbread when it's fresh and use the leftovers for chili dogs. Feel free to cut it in half if you are making this recipe purposely to make chili dogs. I also sometimes freeze some for later chili dogs, if I am going to take the time I just like making a big batch.
I realize, living in Texas, that if you are a native you might say that this is not chili because it has beans in it. But that is okay, just call it a beef and bean stew and be on your way! It is delicious and that is all that matters.
Another topic up for discussion is what you should top chili dogs with. My addition of yellow mustard seems to be a bit controversial. People either love it or hate it. My family is from the Chicago area and it was a must growing up.
Substitutions
Don't get hung up on the type of onion to use here. White, yellow, or red, any will work for this recipe. I call for a yellow onion because I think it gives off a nice sharp sweetness to the chili.
You can swap the beef for ground turkey here too. The flavor will be a little different when you swap the meat, but if you'd like a lower-fat protein it will work really well.
It won't be quite the same, but if you'd like to take the shortcut of using a chili seasoning packet, you can. Just be sure to use a good quality one, or one you know has really good flavor to it.
I sometimes have a hard time finding the chili beans I call for in this recipe. If you can't find them, use ranch beans.
I go for the original on the diced tomatoes with green chilis for just a little spice and flavor. But if you are not afraid of spice, feel free to use any of their higher-heat varieties.
I like to make these with the giant Costco-sized hot dogs, so they feel a bit more like a Sonic chili dog. But they work equally well with a regular-sized hot dog.
More Nostalgic Recipes
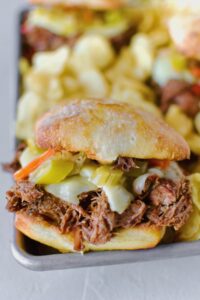
I know it may seem old-school, but this Steak Frites recipe is a classic in the best way possible! So yummy, and don't skimp on the Steak Butter.
What's more nostalgic than Banana Chocolate Chip Pancakes? They make the perfect morning treat for brunch or breakfast.
One of my favorite NEW nostalgic recipes is the one I baked for Joanna Gaines in the Silos Baking Competition. This Fluffernutter Cookies Recipe has become an instant classic for me!
Did you make this recipe? Let me know by leaving a review or comment! And be sure to sign up for my newsletter, and follow along on Instagram, Pinterest, and Facebook!
📖 Recipe

Chili Dog Chili
Make this big batch of chili and eat some for dinner on night one, then use the leftovers to make these AMAZING chili dogs!
Ingredients
- 1 large Yellow Onion, diced
- 2 cloves Garlic, minced
- 2 pounds 80/20 Ground Beef
- 2 tablespoons All-Purpose Flour
- 2 teaspoons Chili Lime Seasoning, tajin
- 2 tablespoons Chili Powder
- 2 teaspoons Kosher Salt, Morton’s
- 1 teaspoon Fresh Cracked Black Pepper
- 1 teaspoon Sweet Smoked Paprika
- ½ teaspoon Roasted Garlic Powder
- ½ teaspoon Cumin, ground
- 2, 14-ounce cans Southwestern Style Pinto Beans
- 1, 14-ounce can Diced Tomatoes with Green Chilis
- 1, 28-ounce can Diced Tomatoes
- 8 Costco ¼ pound plus Hot Dogs
- 8 Large Hot Dog Rolls
- Finely Diced Onions, for serving
- Bacon Bits, for serving
- Diced Jalapeños, for serving
- Yellow Mustard, for serving
Instructions
- In a heavy-bottomed stock pot or cast iron dutch oven heat 1 tablespoons of vegetable in the bottom and add the onion.
- Cook until the onion becomes translucent. Add the garlic and ground beef and cook over medium-high heat until the ground beef has completely browned. Sprinkle the flour over the beef and stir to incorporate. You can skip this step if you are gluten-free, just drain off the excess fat.
- Season the beef mixture with the chili lime, chili powder, salt, pepper, paprika, garlic powder, and cumin.
- Add the beans, and tomatoes to the pot and stir to combine.
- Bring the mixture to a boil then reduce to a simmer. Let the mixture simmer for 2.5-3 hours to thicken and marry all the flavors together.
- Serve the chili over hot dogs and top with cheese, onions, jalapeños, bacon, and mustard, all optional of course but highly encouraged!
- The chili will be ready after about 45 minutes to an hour of simmering. You can make this a two-for-one meal and serve half of this chili on its own with cornbread, sour cream, cheese, and oyster crackers as toppers. If you just want enough for “Chili Dogs” cut the recipe in half.
Notes
Notes & Tips
At its heart chili is a stew, so that means the longer you can let it hang out and let the flavors develop, THE BETTER. While it may be ready to eat, and you certainly can eat it, within an hour or so, if you let it simmer as long as you can bare, it will be that much better.
This allows all of the herbs and spices that you have seasoned it with to fully bloom and deepen the flavor. This is the reason why chili always tastes even BETTER the next day.
After you have all the ingredients in the pot and are ready to simmer for a while, be sure to keep the heat high enough to reduce the liquid but not burn the bottom.
I simmer it just one dot above low on the oven knob, just keep an eye on it. Because we made a roux the chili can stick a little, so stir often for about an hour. But if you get some sticking to the bottom, don't scrape at it, simply turn off the heat and let the burn spot soften. It will rest and come off with no black burn to it, but instead will work itself back into the chili with no black flecks.
This recipe makes a large batch so that we can eat a bowl with cornbread when it's fresh and use the leftovers for chili dogs. Feel free to cut it in half if you are making this recipe purposely to make chili dogs. I also sometimes freeze some for later chili dogs, if I am going to take the time I just like making a big batch.
I realize, living in Texas, that if you are a native you might say that this is not chili because it has beans in it. But that is okay, just call it a beef and bean stew and be on your way! It is delicious and that is all that matters.
Another topic up for discussion is what you should top chili dogs with. My addition of yellow mustard seems to be a bit controversial. People either love it or hate it. My family is from the Chicago area and it was a must growing up.
Substitutions
Don't get hung up on the type of onion to use here. White, yellow, or red, any will work for this recipe. I call for a yellow onion because I think it gives off a nice sharp sweetness to the chili.
You can swap the beef for ground turkey here too. The flavor will be a little different when you swap the meat, but if you'd like a lower-fat protein it will work really well.
It won't be quite the same, but if you'd like to take the shortcut of using a chili seasoning packet, you can. Just be sure to use a good quality one, or one you know has really good flavor to it.
I sometimes have a hard time finding the chili beans I call for in this recipe. If you can't find them, use ranch beans.
I go for the original on the diced tomatoes with green chilis for just a little spice and flavor. But if you are not afraid of spice, feel free to use any of their higher-heat varieties.
I like to make these with the giant Costco-sized hot dogs, so they feel a bit more like a Sonic chili dog. But they work equally well with a regular-sized hot dog.
Nutrition Information:
Yield:
12Serving Size:
1 gramsAmount Per Serving: Calories: 288Total Fat: 7gSaturated Fat: 2gTrans Fat: 0gUnsaturated Fat: 4gCholesterol: 14mgSodium: 833mgCarbohydrates: 44gFiber: 9gSugar: 5gProtein: 15g
This is an estimated caloric value, actual numbers may differ based on the ingredients used.


Leave a Reply