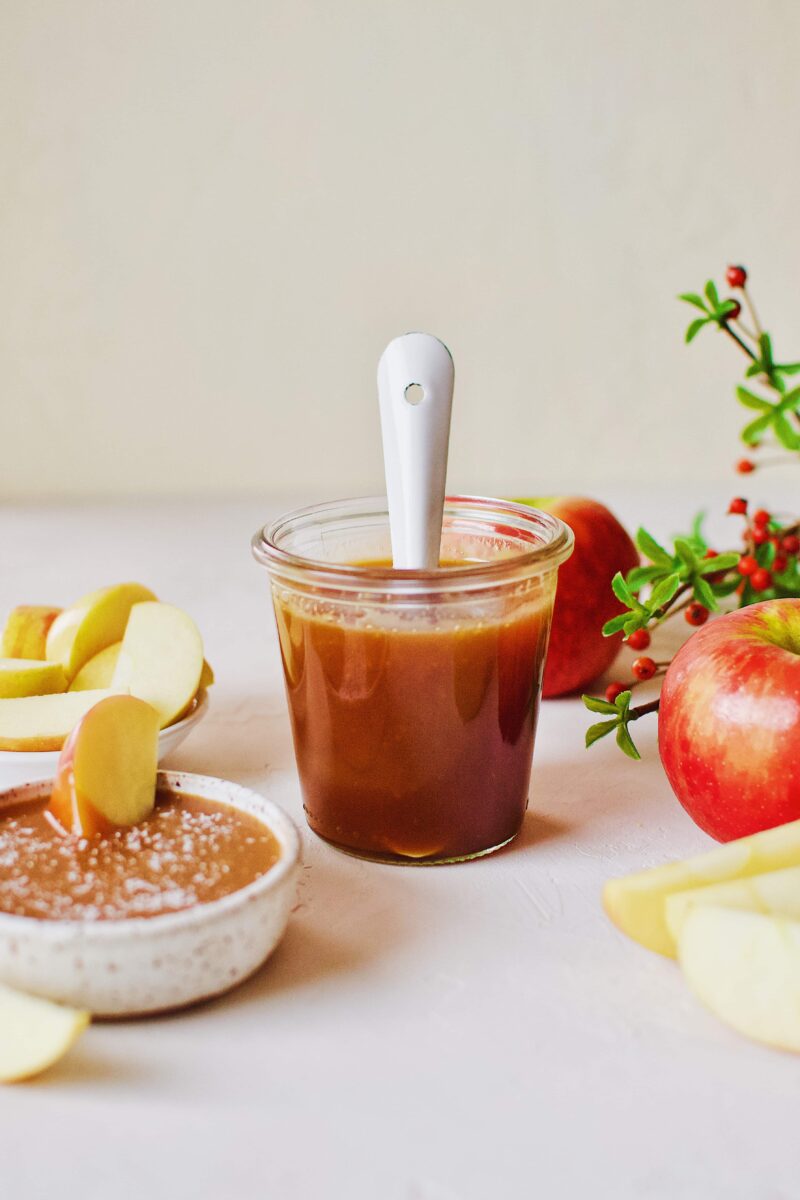
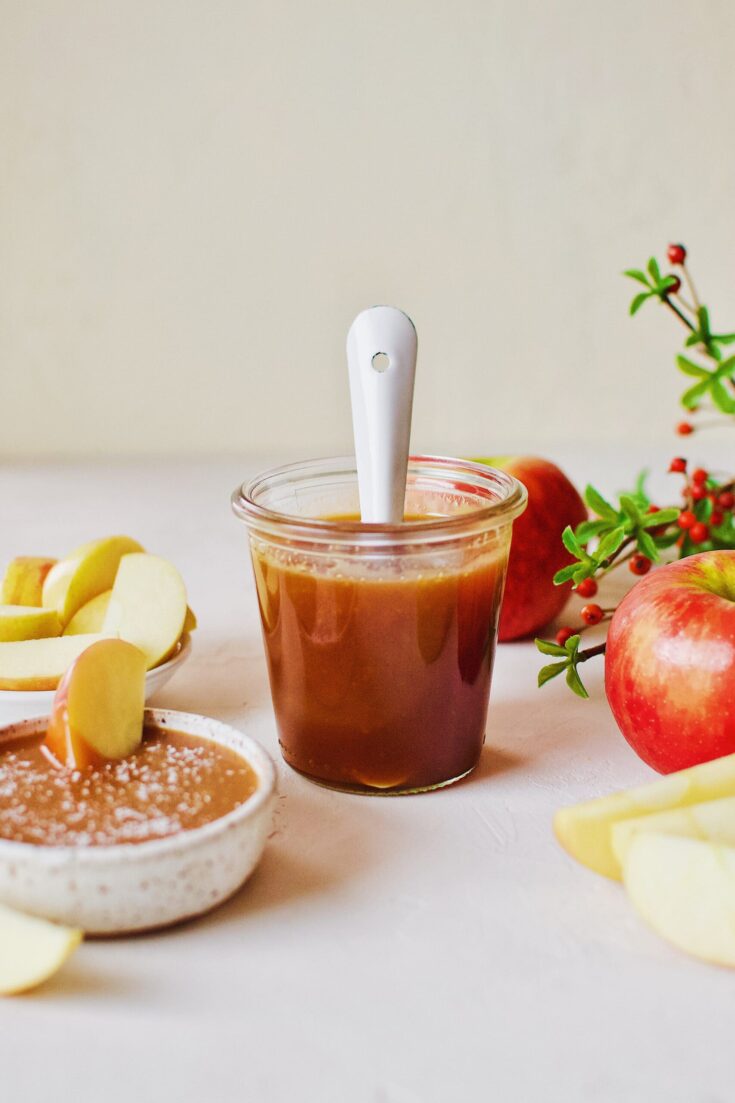
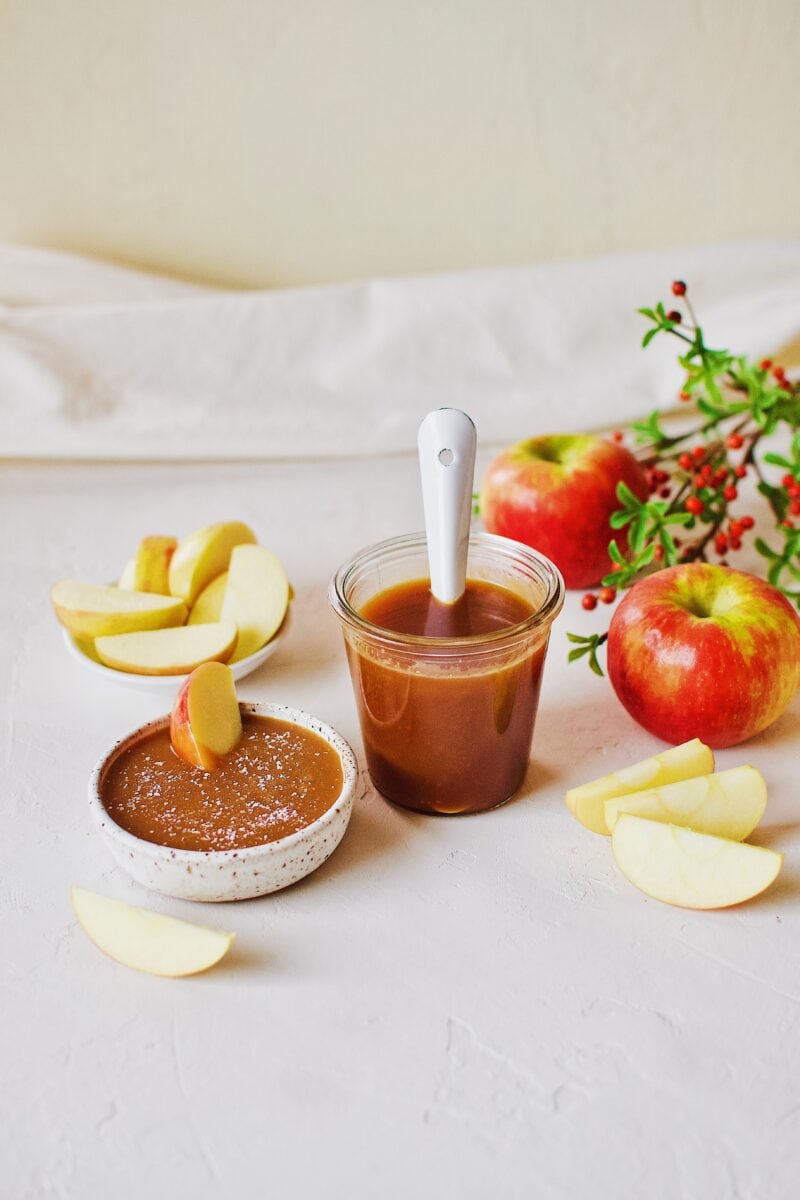
This Homemade Caramel Sauce is perfect for dipping apples, topping ice cream, or eating off a spoon if you want to skip right to the good stuff. It makes the most fantastic caramel apple dip, and that's probably what I use it for the most. But it would be awesome in an apple pie or to top one or in your cocoa for a salted caramel hot chocolate.
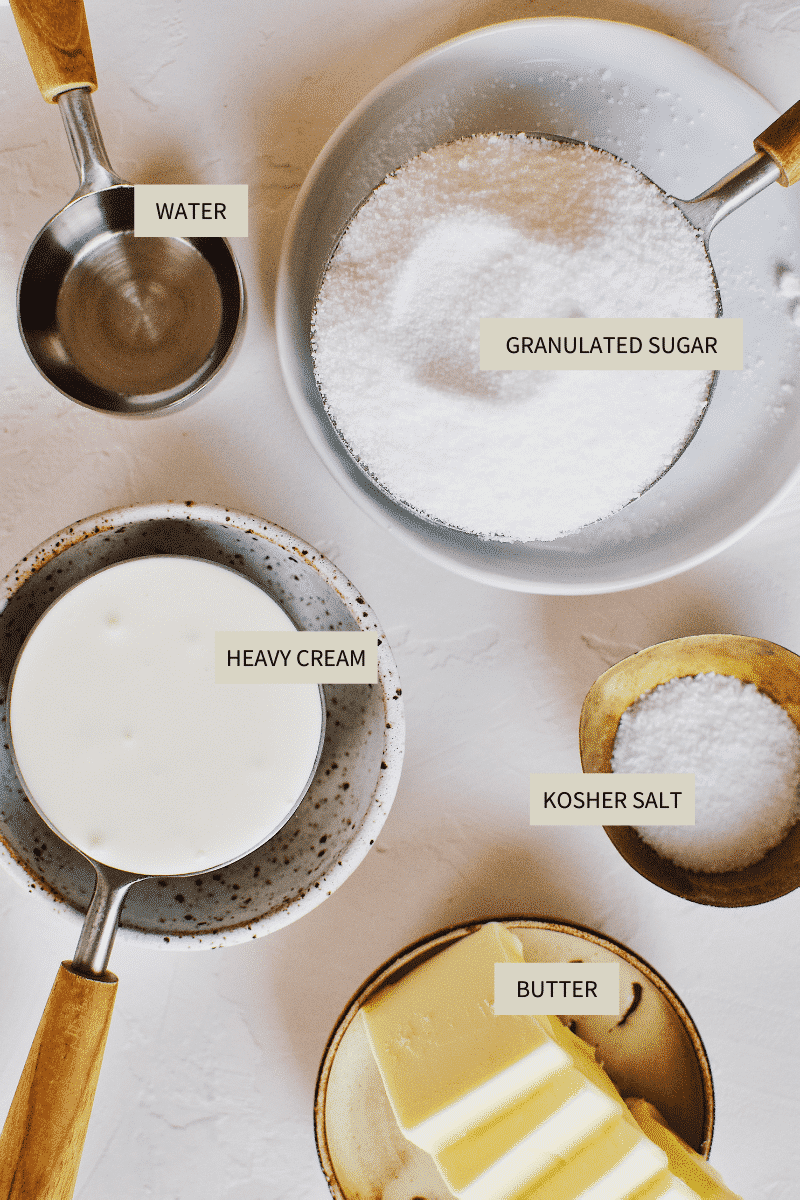
What you need to make Caramel
Once you try your hand at Homemade Caramel Sauce you will be amazed at how easy it is to make. It is so simple and has a tiny ingredient list, and you could make it every day if you wanted to.
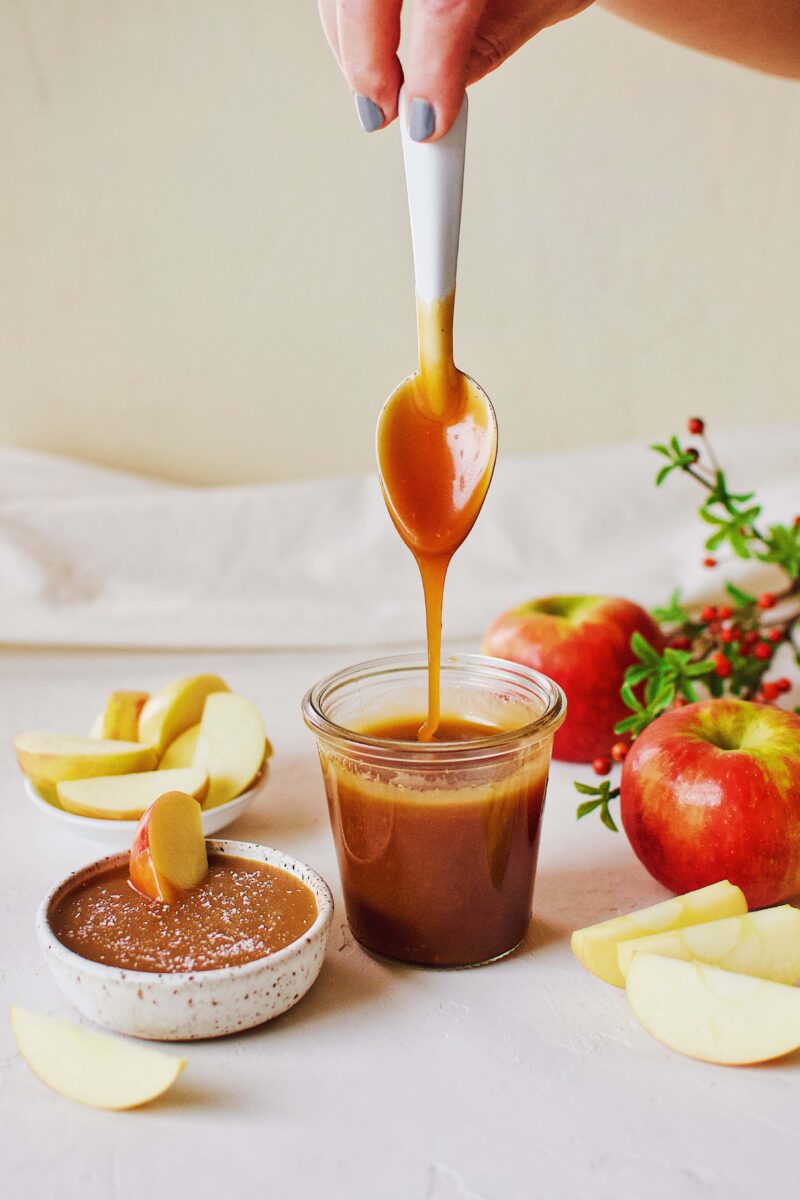
Making caramel is a simple as boiling sugar and water together until the sugar browns. The really tricky part is bringing everything together at just the right time. The best thing to know is that as soon as the sugar turns the color of honey, or even a little lighter, you want to remove it from the heat and add the butter.
Whisk in the butter, add the cream, and season with salt, and it's DONE! Yes, that really is it. You let it cool, if you have the patience, and then it is ready for apple dipping. If you can't wait, pour it right over some ice cream and go to town!
I like to add a really high level of salt, but taste it, after it cools, and adjust to your liking. If you like sweets, use less. But I enjoy salted caramel and think the saltiness gives you more options for use.
Things to remember when making Caramel Sauce
Resist every urge you might have to stir the sugar while it is boiling. Stirring can cause the sugar to crystalize and will ruin your sugar. No one wants grainy caramel sauce.
Be sure to use metal utensils for stirring, they are the cleanest and the sugar can melt the plastic.
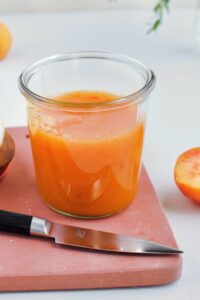
Store your caramel in glass. It is the best for long-term storage and will ensure no crystallization as it cools.
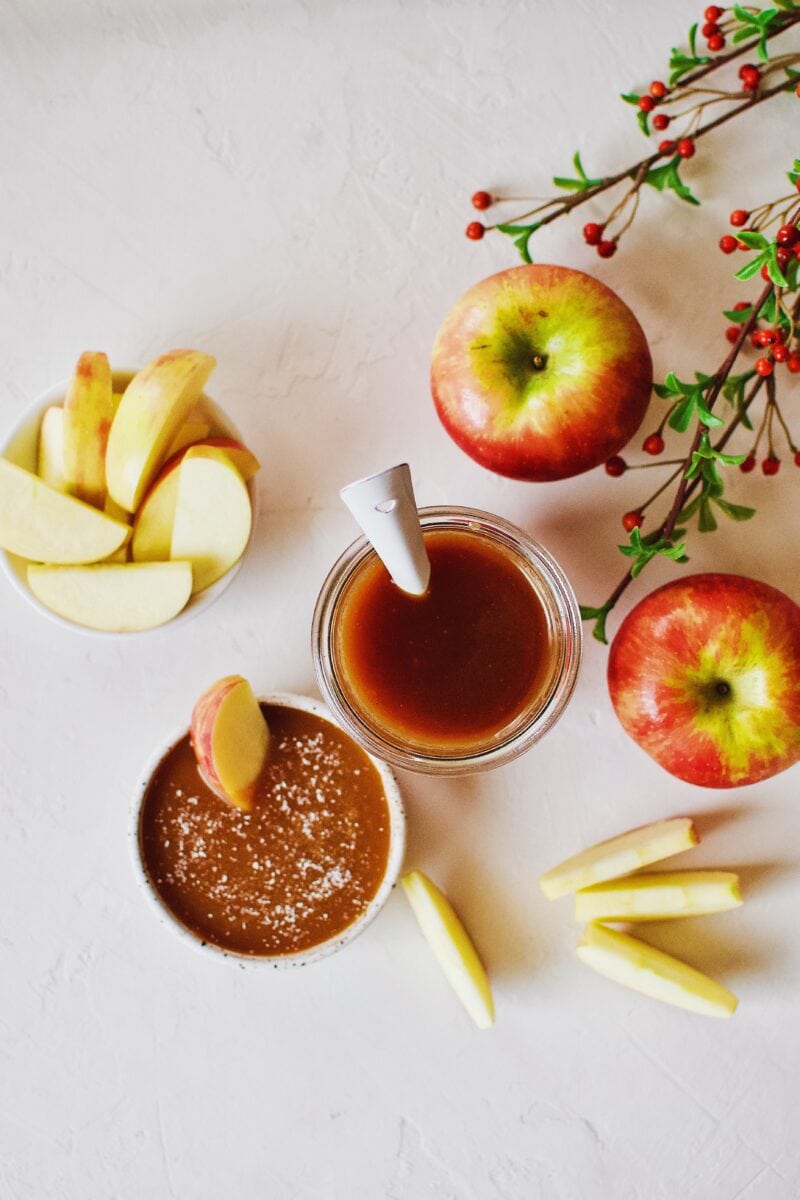
One of my favorite things to make with this recipe is my Apple Nachos. They are great for kids and adults alike, loved by all if you know what I mean!
Did you make this recipe? Let me know by leaving a review or comment! And be sure to sign up for my newsletter, and follow along on Instagram, Pinterest, and Facebook!
📖 Recipe
Homemade Caramel Sauce
Use this sauce for dipping apples, topping ice cream, or licking off a spoon, it's THAT GOOD!
Ingredients
- 1 cup Granulated Sugar
- ¼ cup Water
- 6 tablespoons Unsalted Butter
- ½ cup Heavy Cream
- 1 teaspoon Vanilla Extract
- ½ teaspoon Kosher Salt
Instructions
- In a heavy-bottomed saucepan, add the sugar and water and place on the stove over medium heat. The sugar will turn cloudy at first, but will then get clear and start to bubble. The key here is to not stir and not move the pan during this process. Moving the sugar can cause crystallization and that is bad for caramel making.
- When the sugar begins to turn golden brown, or the color of honey, (8-10 minutes) allow the whole bottom of the pot to golden, then remove the pan from the heat and add the butter.
- The mixture may bubble, so do this gently. Whisk in the butter until it is fully melted then mix in the cream and whisk till combined. Add the vanilla and salt and whisk them in.
- Allow the caramel to cool for about 10 minutes, taste it, and adjust the salt if needed/wanted.
- Store in an airtight container, the caramel will last on the counter up to two days, on in the fridge for about 3 weeks.
Notes
Caramel can be frozen for up to 2 months. Caramel will get firm in the fridge, reheat in the microwave to make pourable again. Resist all urges to stir the boiling sugar, it is best when left alone, and be sure to use only metal utensils for stirring.
Nutrition Information:
Serving Size:
1 gramsAmount Per Serving: Unsaturated Fat: 0g


Niki says
My husband and I loved this caramel! It’s easy to make and tastes better than store bought. The amount of salt was perfect and I didn’t feel the need to add more. I will be coming back to this recipe every time I want to make caramel!
Kendell says
Yes! I loved a good salty caramel! So glad you enjoyed it!