This delicious flatbread that my friend from Trinidad taught me to make is well known as street food in the country, and something that is served with every meal in most homes. It allows you to eat the stewed meal with your hands. Buss-up-shut translates to "torn shirt", you can see how its made in my story highlights on instagram, just look for the "Roti + Chicken Curry" highlight.
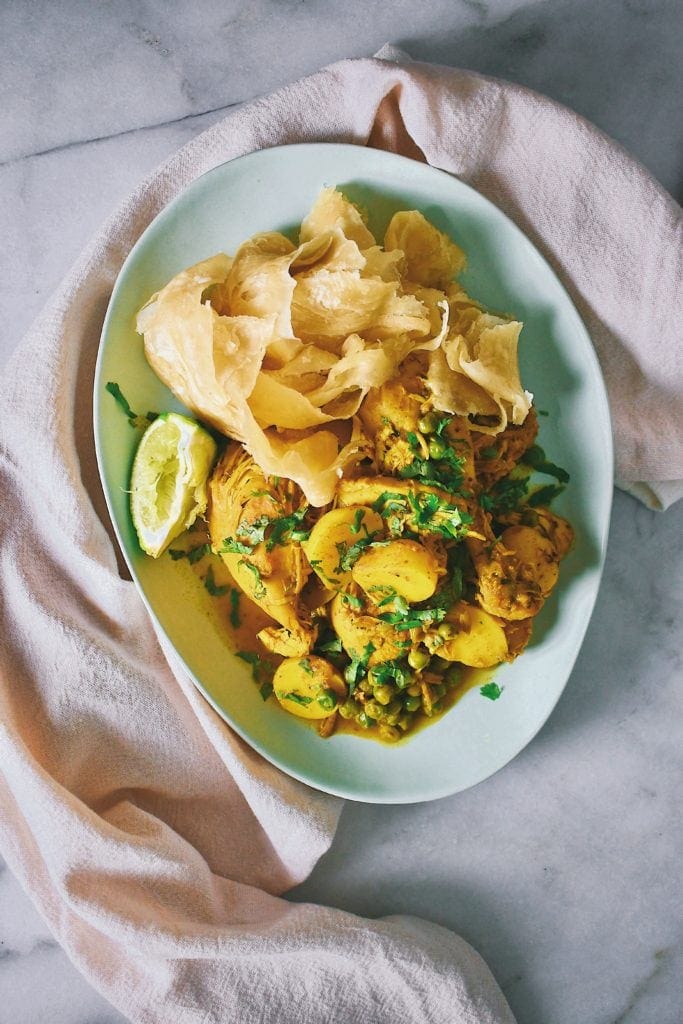
How to make Roti at home.
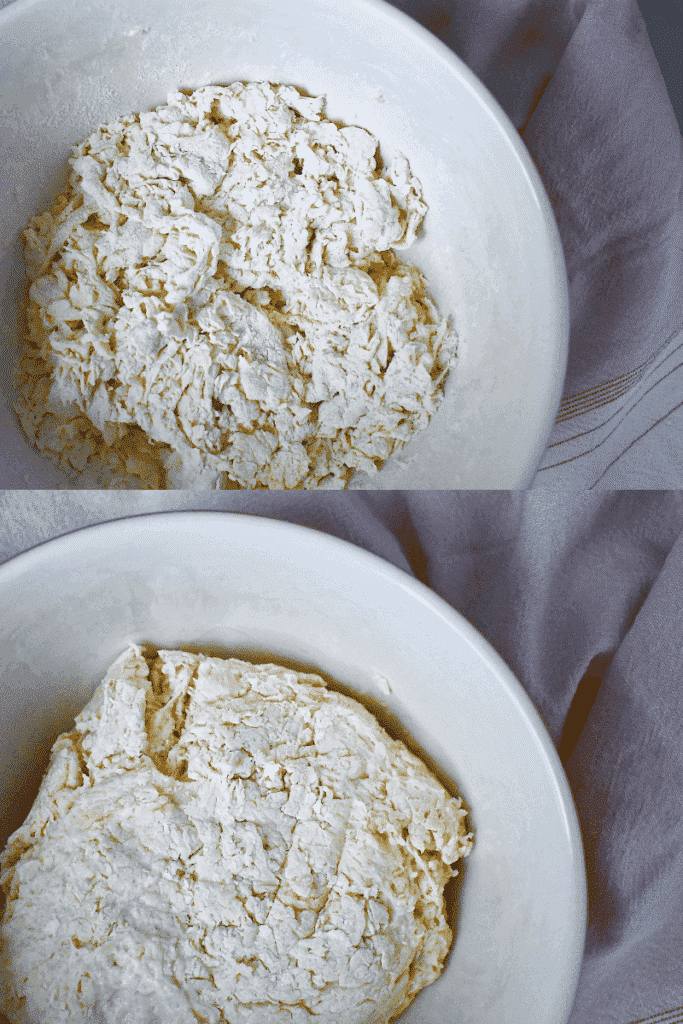
The dough is formed by gently wetting flour and lifting it from the bottom until it forms a stringy and shaggy dough. It is worked into a ball and rested until it is ready to roll out. The dough is formed into smaller rounds and rolled out into paper-thin circles, buttered and rolled again, and again, before cooking.
By continuing to roll and rest the dough, you begin to form a sort of tortilla-like flatbread, but with the flakey layers of a croissant. You want those layers when it cooks, so it is easy to tear and dip in your Curry Chicken.
Below you can see step by step how to roll the rested dough, brush a layer of butter over it, roll it like a Christmas tree, lift the tail and press it into the center and let it rest again before rolling it out like a tortilla.
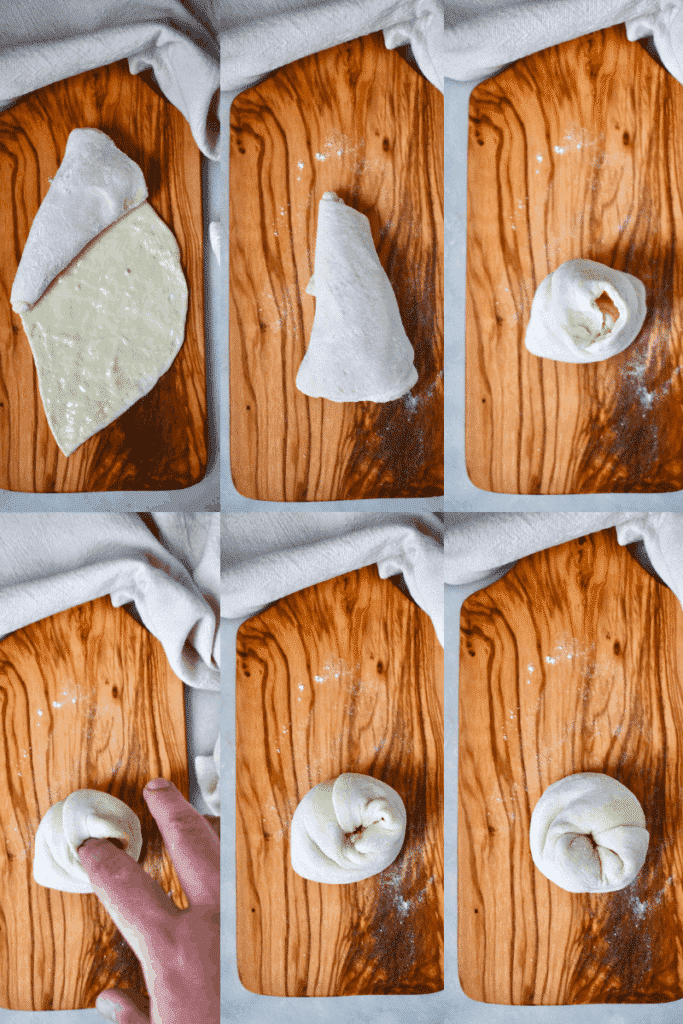
From this step, let the dough rest again and then roll out paper-thin on a lightly oiled surface. The dough will stick to the surface but will remain pliable enough to remove slowly without tearing. Cook the flatbread on a cast-iron plancha or skillet. Watch my "Roti & Curry Chicken" story highlights on instagram for a more in-depth understanding.
Serve this alongside my Curry Chicken, or your favorite dips or spreads. The instruction list is long, but don't let that stop you from making this amazing homemade flatbread. It will become an instant favorite.

📖 Recipe
Roti Buss-up-shut
This Roti recipe is simple but requires just a little patience and time. That said, it is well worth the effort, and just remember, most households make a version of this every day in the island nation of Trinidad.
Ingredients
- 4 cups All-Purpose Flour, + more for dusting
- 1 teaspoon Baking Powder
- 1 teaspoon Kosher Salt
- 2 teaspoon Granulated Sugar
- 2 teaspoons Oil + more for the bowl
- 1 ½ cups Water, warm
- 4 tablespoons Unsalted Butter, softened
- 4 tablespoons Oil, a neutral oil like canola or corn
Instructions
- Coat a medium bowl with oil, set aside.
- In a large bowl, combine the flour, baking powder, salt, and sugar and whisk to combine.
- Make a well in the middle of the bowl and add the oil. Slowly add the water ½-1/4 C at a time and gently lift the flour from the bottom just to wet the flour. Do not work the flour at this time, we are simply wetting the flour, we do not want to develop the glutin at this time.
- Transfer the wet flour to your oiled bowl and continue wetting the flour until you have an empty bowl.
- Gently work the shaggy dough into a ball, kneading it as gently as possible. We are not trying to develop structure at this point, just bring the dough together.
- Let the dough rest in the bowl, covered with a damp cloth, for about 30 minutes.
- After the dough has rested, divide it out into 10 evenly sized balls. Roll them into perfect shapes and rest under a damp cloth 15 minutes longer.
- Mix the softened butter and oil in a small bowl and mix together gently, leaving chunks of butter to be seen.
- On a lightly floured surface, roll the balls out into circles about the thickness of a tortilla. Using a brush, brush the top of the circle with the butter and oil mixture. Dust lightly with flour, cut a slit from the middle to the outside, and roll the circle up to form a cone. Stand the cone up and bring the tail of the dough to the top and press it into the center, form a ball again. Doing this creates all of the flakey layers we want in the end. Continue until all the balls have been rolled and coned.
- Let the dough rest another 15 minutes or so, or by the time you are done with the last one, the first one will be ready to roll again.
- Heat a cast-iron plancha or skillet over medium-low heat.
- Next, roll the balls out to a paper-thin circle on a lightly oiled surface using a rolling pin. You may need to very light oil your pin, and be sure it is rolling and not just pressing the dough, this second rolling creates all the thin layers in your flatbread.
- Cook the flatbread over a gentle heat for about 1-minute per side. You will see it begin to change colors and go from translucent to white. When this begins to happen, flip. You do not want to crisp the flatbread or brown it in any way. If this is happening, lower your heat.
- Flip every minute until the bread is fully cooked and you no longer see any translucent spots.
- Now the fun part. Using two spatulas or wooden spoons slap the flatbread to open up all the layers. From the two outer edges press the flatbread together quickly back and forth spinning it as you go and hitting it from all sides.
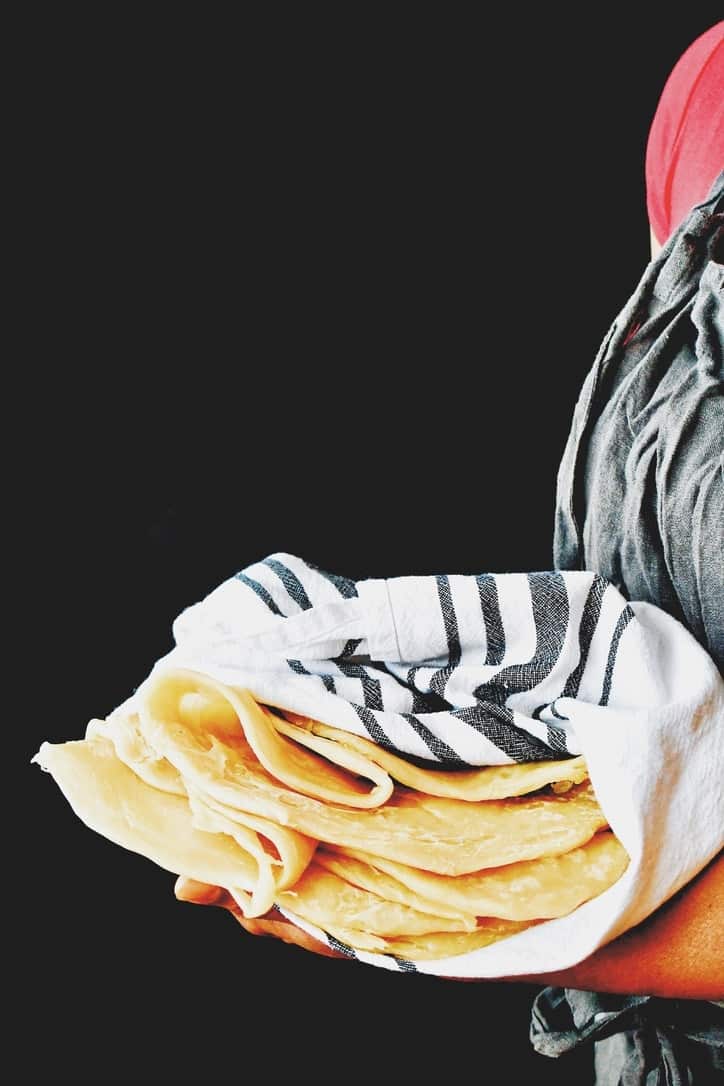
- Place in a bowl lined with a towel and continue adding the flatbread on top of each other until they are all done.
- Alternatively, place the cooked flatbread in a towel and beat it on the counter to separate and open the layer, then keep in a towel-lined bowl to keep warm as you go.
- Serve with Curry Chicken or your favorite dips and enjoy with your hands.
Nutrition Information:
Serving Size:
1 gramsAmount Per Serving: Unsaturated Fat: 0g
Did you make this recipe? Let me know by leaving a review or comment! And be sure to sign up for my newsletter, and follow along on Instagram, Pinterest, and Facebook!
Did you make this recipe? Let me know by leaving a review or comment! And be sure to sign up for my newsletter, and follow along on Instagram, Pinterest, and Facebook!










Leave a Reply