I personally love ribs that are cooked fall off the bone tender. They can take a really long time to reach that point depending on how you cook them. These Instant Pot BBQ Ribs cook in about ¼ of the time of traditional cooking methods meaning you can enjoy them any day of the week with minimal effort!
The instant pot gets the ribs fully cooked and completely tender in just 30 minutes of pressure cooking. Then I throw them on the grill or under the broiler in the oven to crisp up and get 'em saucy letting them cool for about 15ish minutes to dry a little bit after they come out of the pressure cooker.
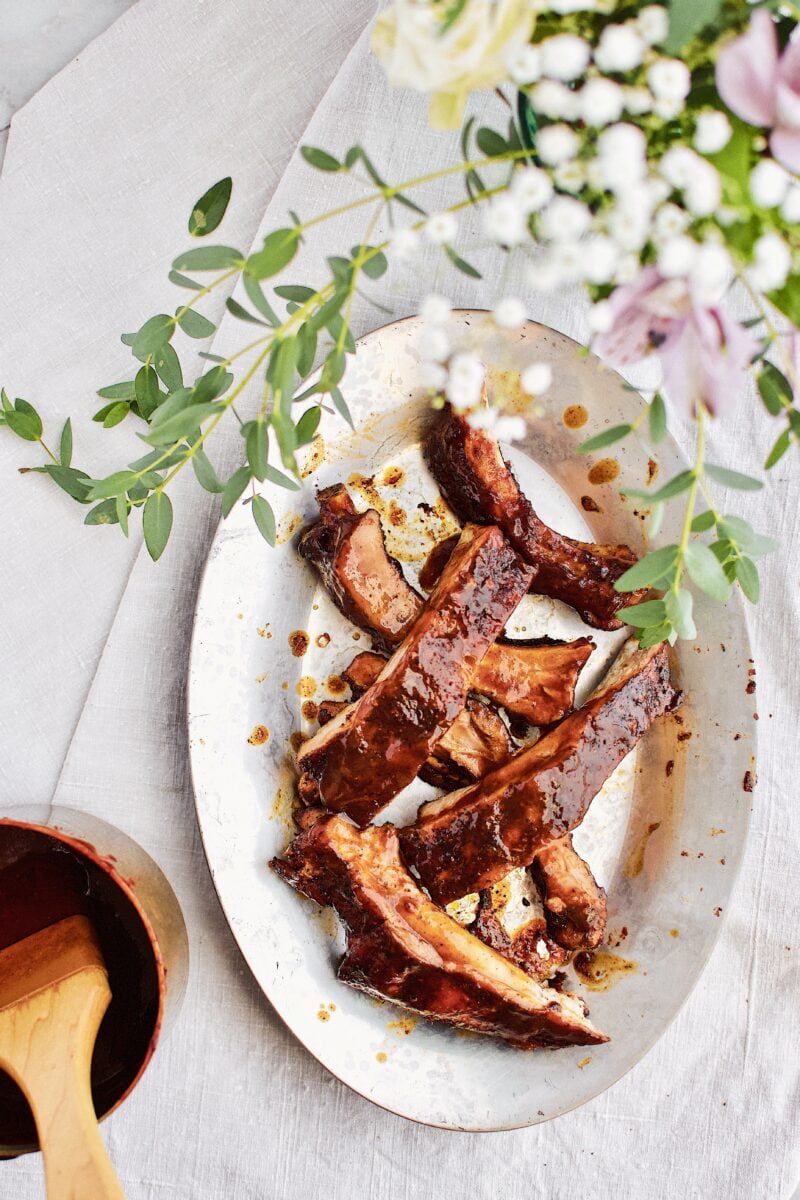
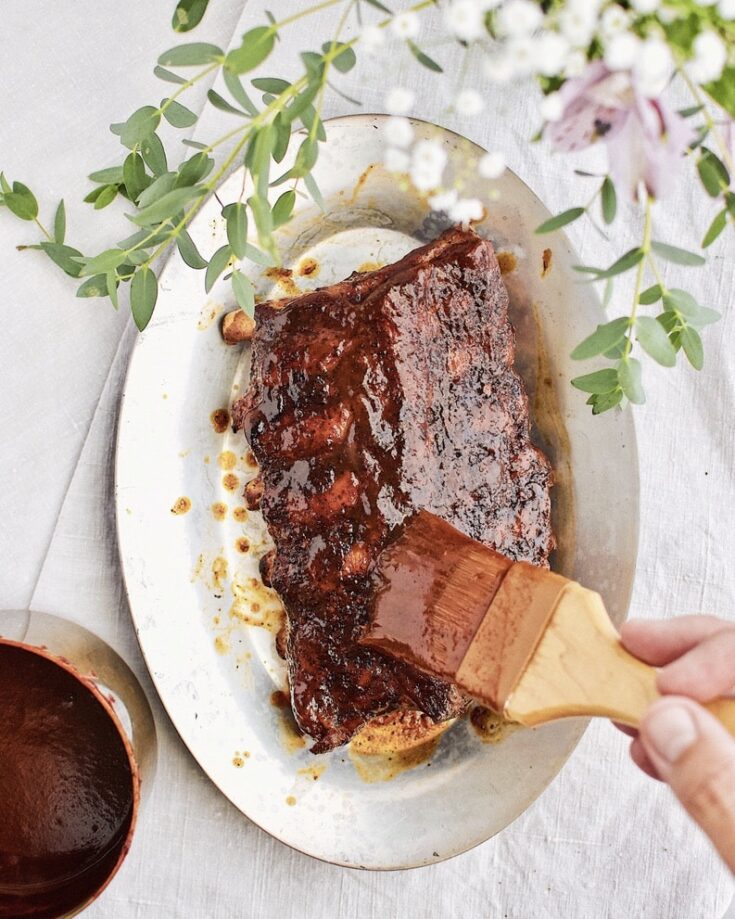
Then I sauce, allowing the sauce to dry a bit on the grill or under the broiler, then I sauce, dry, and repeat until I am happy with them and they are sufficiently sticky! I do 3-4 sauce applications. I know there is a great debate on whether or not to sauce or not to sauce, but I like sauce on ribs like this that haven't been smoked.
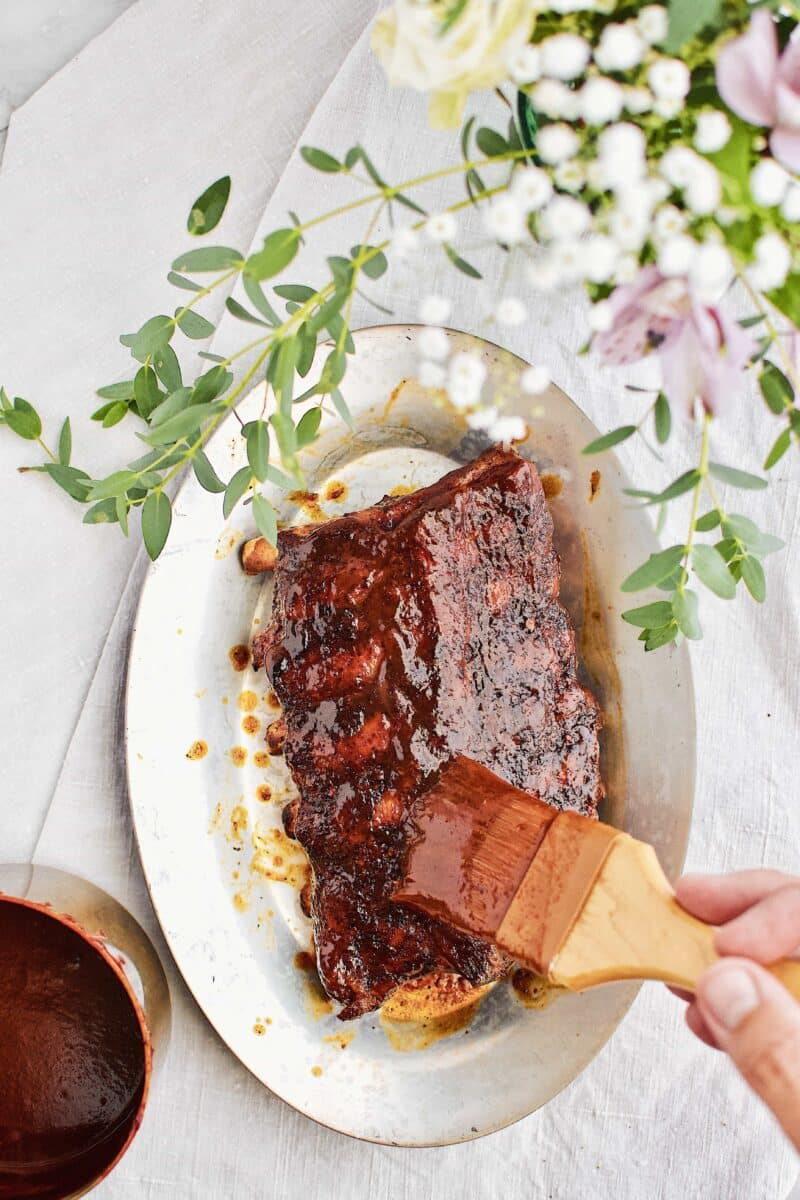
Start with the bottom side up. When they have dried out enough for the sauce to stick, I sauce them at least twice and then flip. I then try to keep the grill or broiler on medium heat and sauce the tops 3-4 times.
Cooking your Instant Pot BBQ Ribs
Ok, I got a little ahead of myself there. Let's back it up a little bit and talk about the initial cooking in the instant pot or electric pressure cooker. But that part is simple too, you just season, set it, and forget it!
If you have a favorite BBQ rub or seasoning, now is the time to employ it. I actually like the simplicity of salt and pepper and then saucing at the end. Sweet Baby Rays or Stubs make my family's favorite store-bought sauce, so that's what I usually end up using.
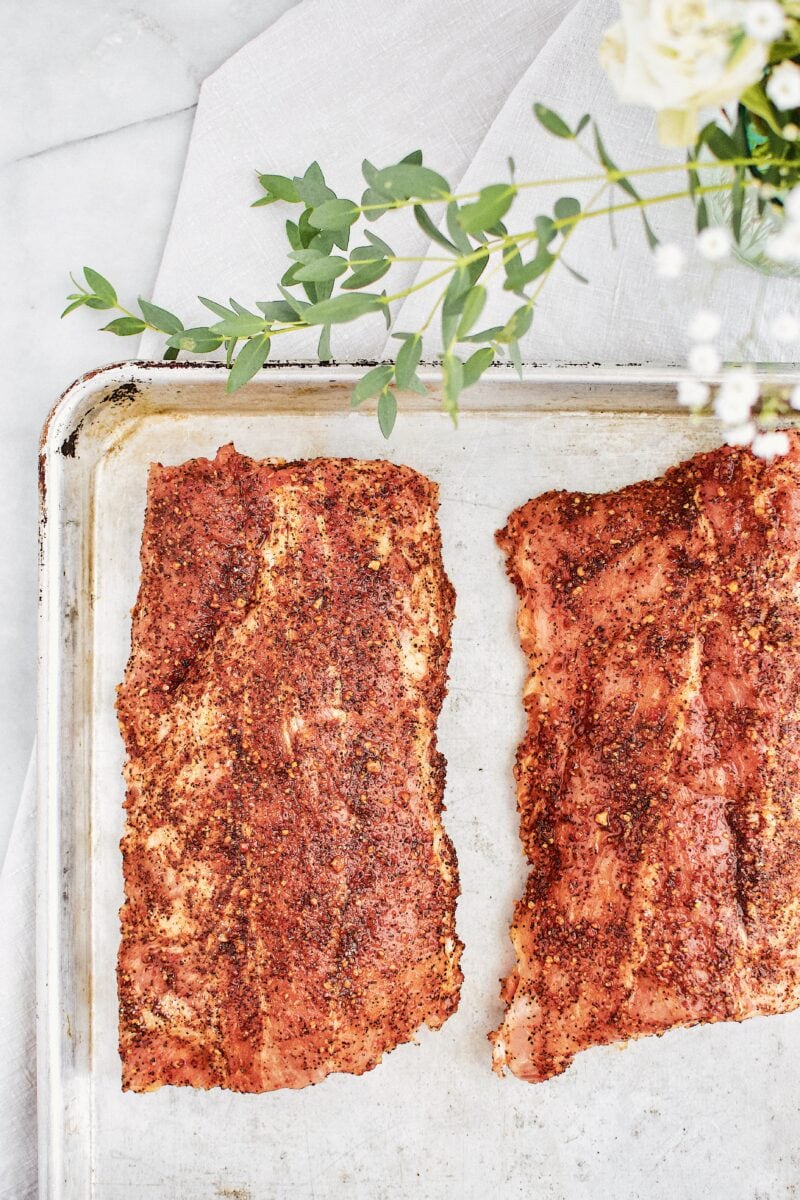
So to cook your ribs. Season them with salt and pepper or your favorite bbq rub, I love the coffee rub from Trader Joe's for this.
Place them in the pressure cooker fitted with a rack and about an inch of water in the bottom. Add your ribs and cook on Manual High Pressure for 30 minutes.
The pressure cooking process will cook the meat thoroughly while making it super tender. It will also release much of the fat, making grilling better at the end with little to no flare-ups. I typically only cook baby back ribs because they are smaller, more tender, and just my favorite.
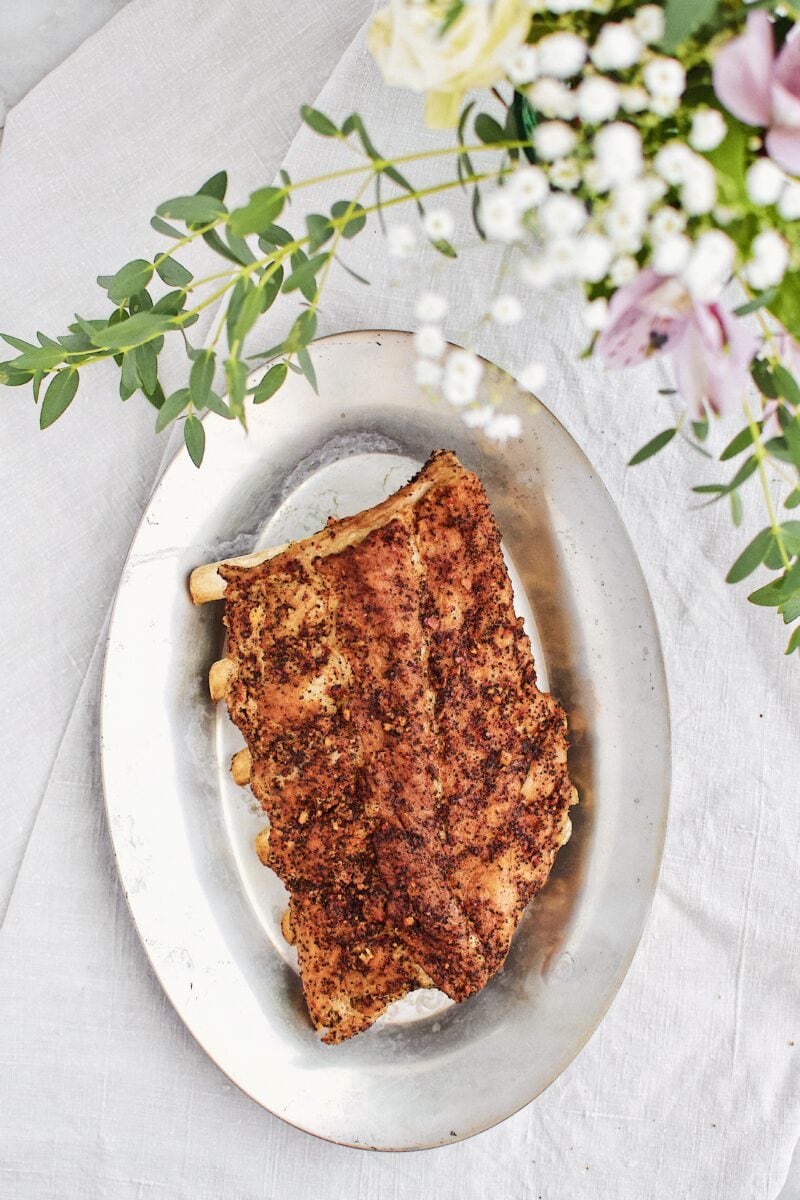
This is what they look like just out of the pressure cooker while I let them dry before adding the BBQ sauce and finishing cooking.
Types of Ribs I use...
You can use any type of rib you like, just know the cooking time may vary a bit from what I am sharing with you here. I also sometimes make my own BBQ sauce from the drippings, but not most of the time so I am sharing my quick version with you. Make it your own, that's the fun part!
When they finish on the pressure cooker, refer to the grilling process above. Finishing on the grill, in my opinion, is what makes them great. You could also finish them under the broiler if you don't have a grill, this is a great option if you don't have a grill.
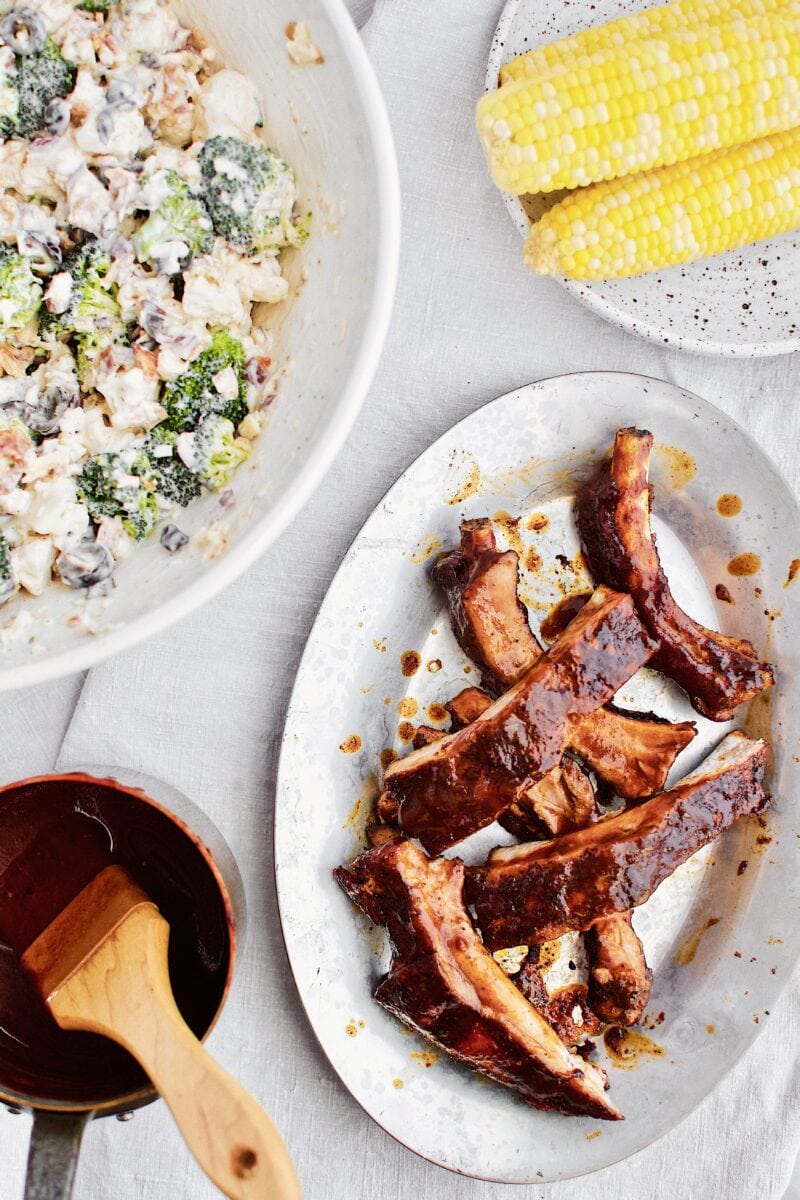
If you're looking for the greatest side dish, my Crack Slaw goes great with this recipe and is super refreshing! I also loved it with my friend Kathryn's Sugar Snap Pea Salad, it's the PERFECT side salad for these sticky ribs.
Did you make this recipe? Let me know by leaving a review or comment! And be sure to sign up for my newsletter, and follow along on Instagram, Pinterest, and Facebook!
📖 Recipe
Instant Pot BBQ Ribs
The pressure cooker makes these ribs something you can make any day of the week. Toss them in and 30 minutes later you have ribs on the grill getting sauced and dinner is served.
Ingredients
- 2 racks Baby Back Ribs
- BBQ rub of Choice
- Salt
- Pepper
- Favorite BBQ Sauce or Homemade
Instructions
- For pressure cooking, cut rib racks in half.
- Season with BBQ Rub or Salt and Pepper.
- Place in pressure cooking pot fitted with a roasting rack and about an inch of water. Place the lid on with the pressure valve closed.
- Cook on manual high pressure for 30 minutes. You can manually release the pressure if you are in a hurry or let it release naturally.
- Remove to a pan and preheat your grill to high.
- On a hot grill, place the ribs bottom side up, close lid and let them cook until they have dried a little bit. Then start basting with BBQ Sauce. I usually thin the BBQ if it is store-bought, with a little of the drippings. Sauce the bottoms twice, then flip and sauce the tops, allowing the sauce to dry and cook into the ribs between brushings, two to three times until they are as saucy as you like them!
- Enjoy!
Notes
If you don't have a grill you can finish the ribs under the broiler in the oven.
Nutrition Information:
Serving Size:
1 gramsAmount Per Serving: Unsaturated Fat: 0g
Leave a Reply