Enjoying ice cream on a warm day just hits differently when it is served inside this homemade Waffle Cone Recipe. This is the best cone I have ever had, I don't know if it has anything to do with it being fresh or not, but the flavor is unmatched!
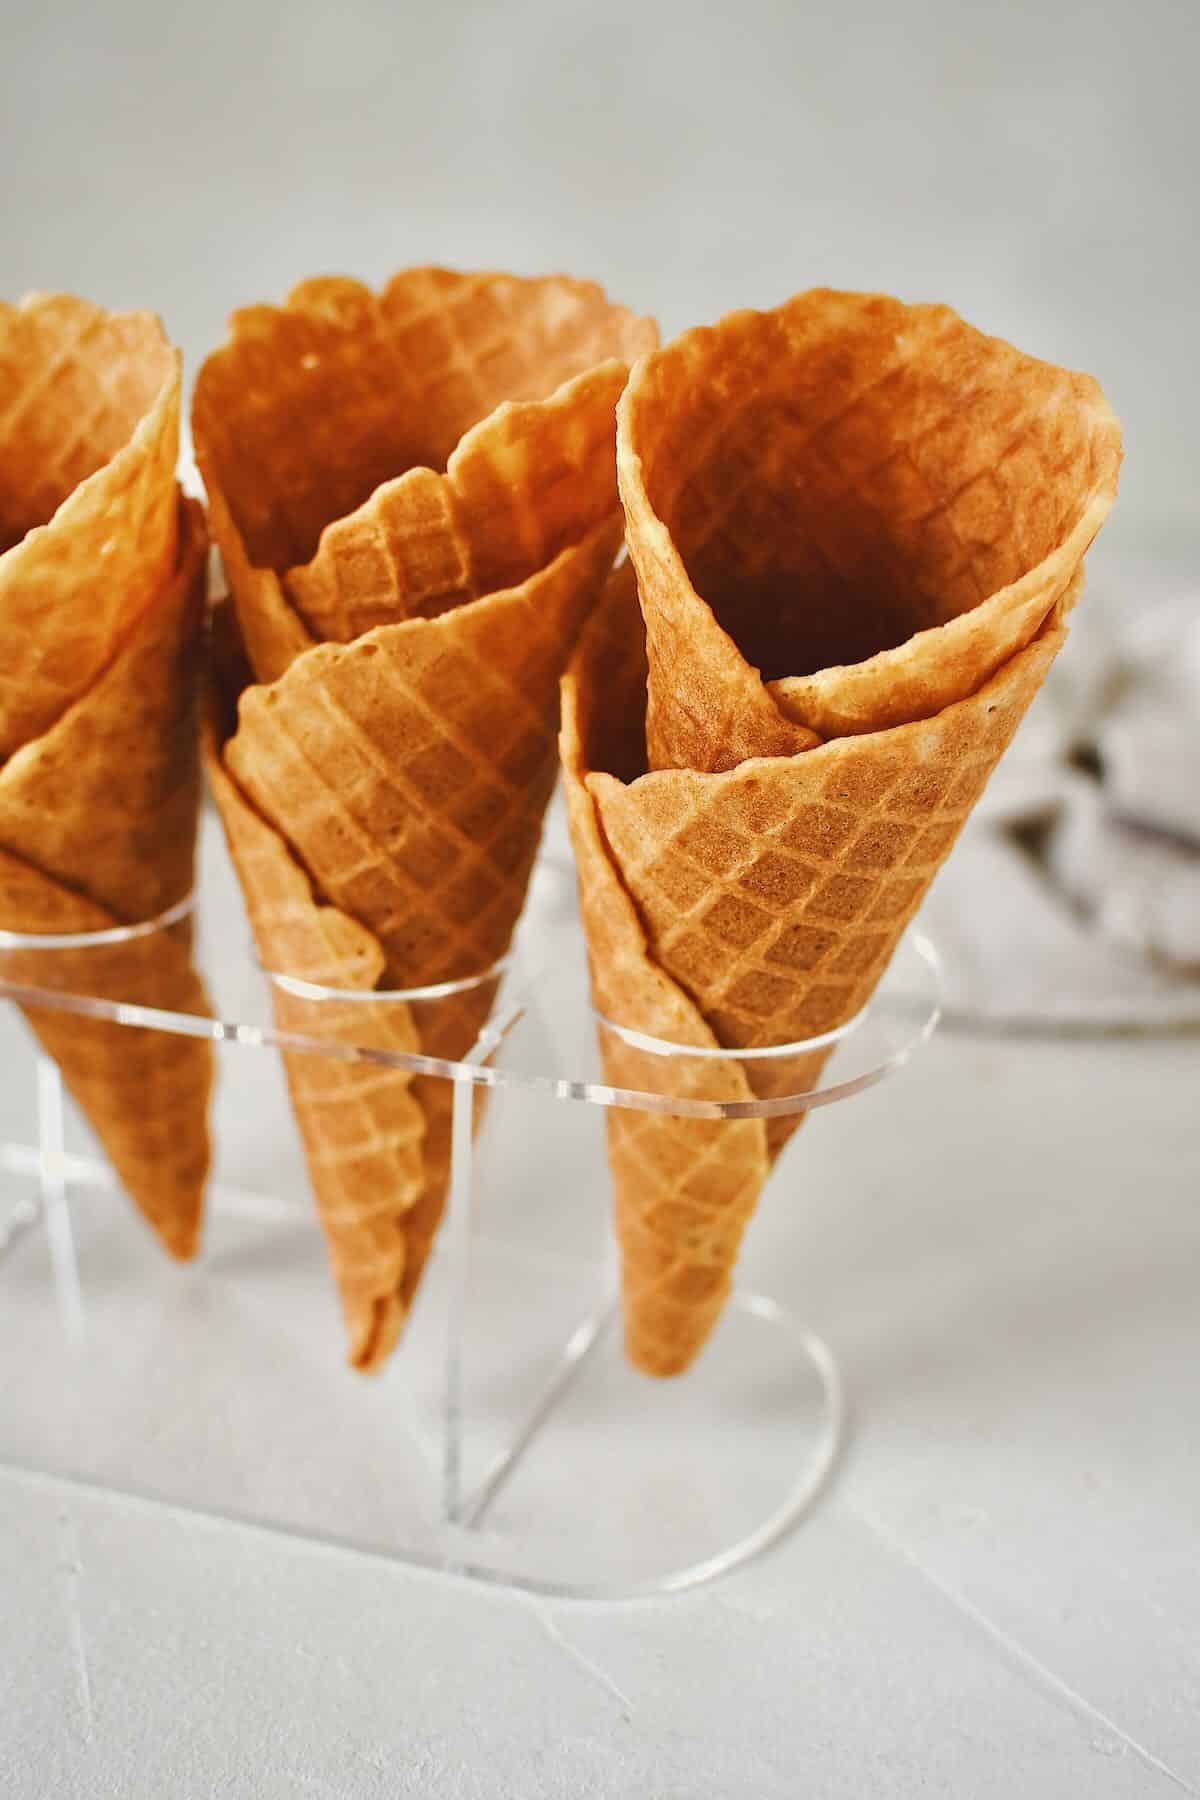
While getting the roll right takes a little bit of practice, once you get it you'll be a pro. I have done my best to describe it properly here in hopes of helping you achieve success on the first try. But don't fret, either way, you'll end up with something delicious.
Ingredients
Making a waffle cone batter is a lot like pancake batter, except you'll mix till smooth. It also uses some richer ingredients, like heavy cream, and the mixed flavor of almond and vanilla extract perfumes the batter and gives amazing flavor.
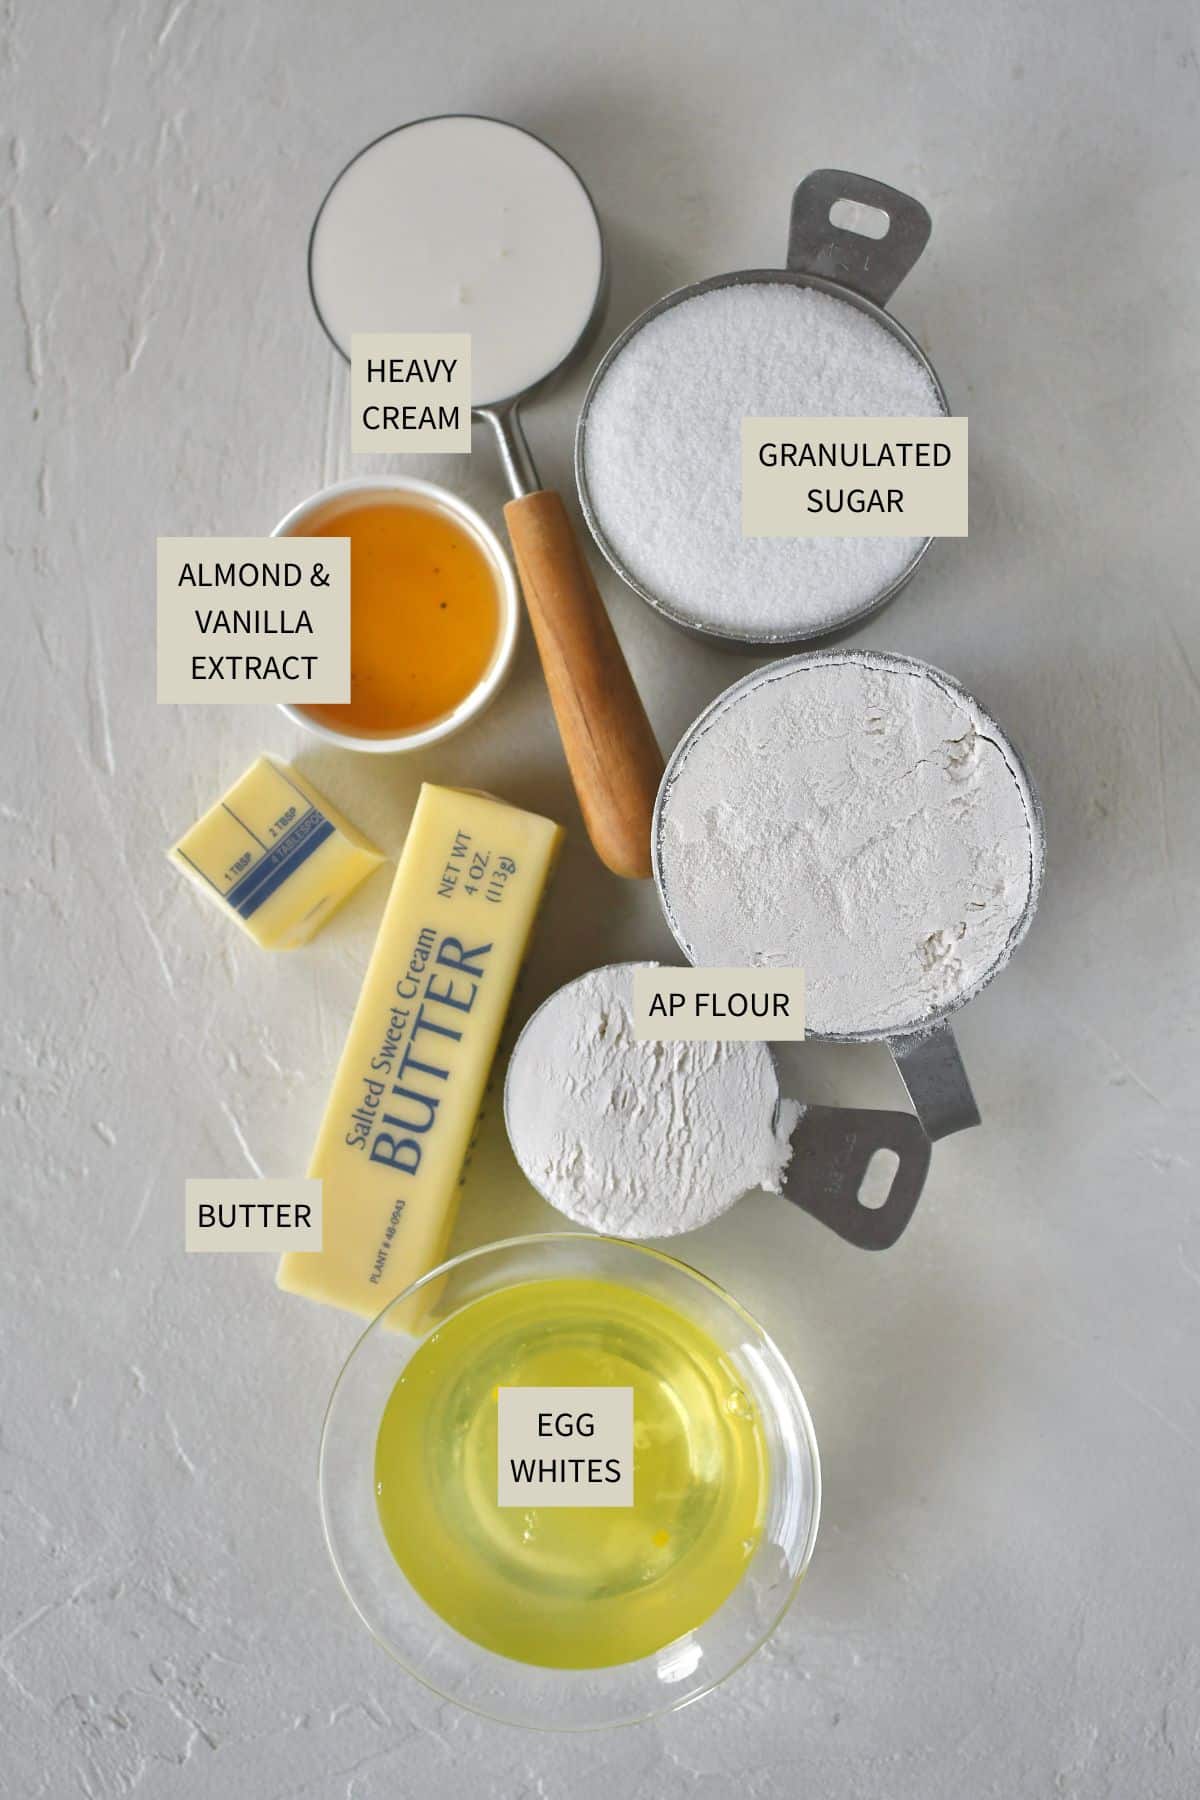
Beyond that, the batter is pretty basic, flour, sugar, and egg whites. It is beyond simple. The only other ingredient you need is a waffle cone iron, which I decided was worth the investment because every time I want a cone they are either stale or broken, so making my own was the logical next step, right?
Use the JUMP TO RECIPE button at the top of the post, or scroll to the bottom of the post to see the full recipe card with ingredient measurements and instructions.
Method
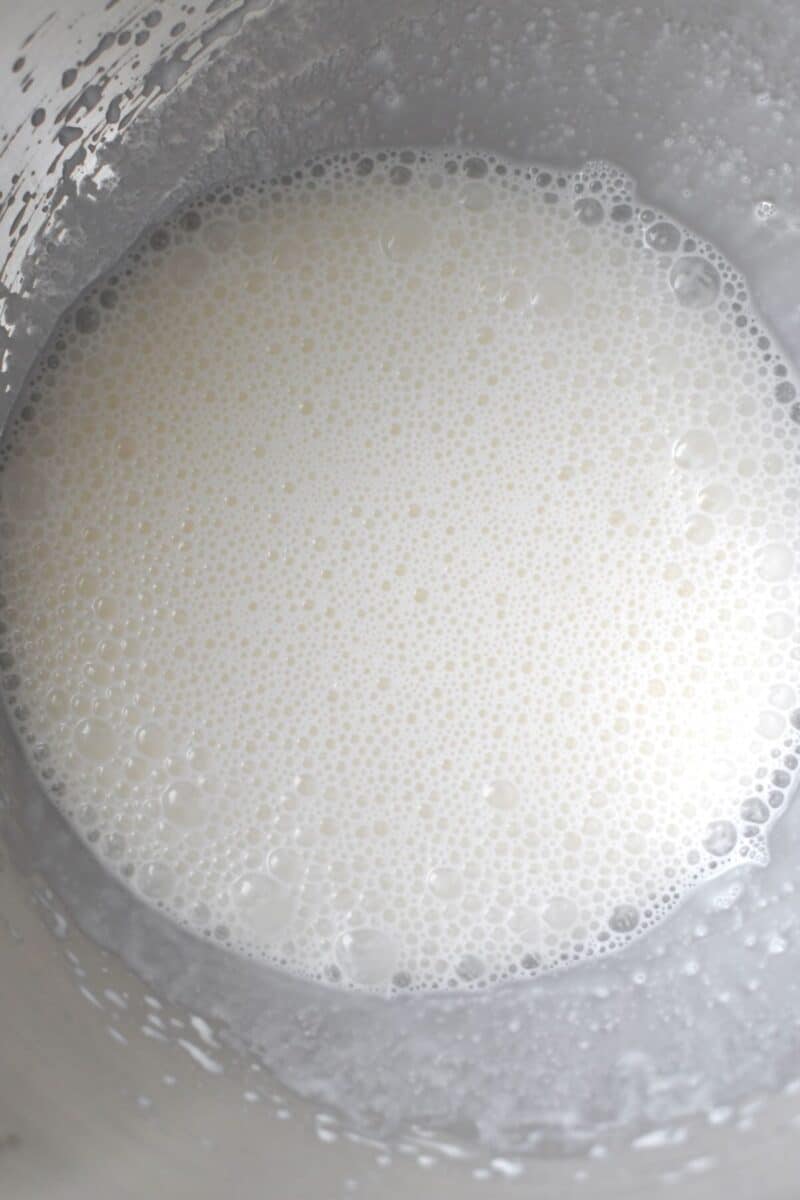
To make the batter, first whip the egg whites and cream together until well combined and frothy. Then add the sugar, extracts, and drizzle in the butter and beat until evenly mixed. Finish with the flour and whip until smooth.

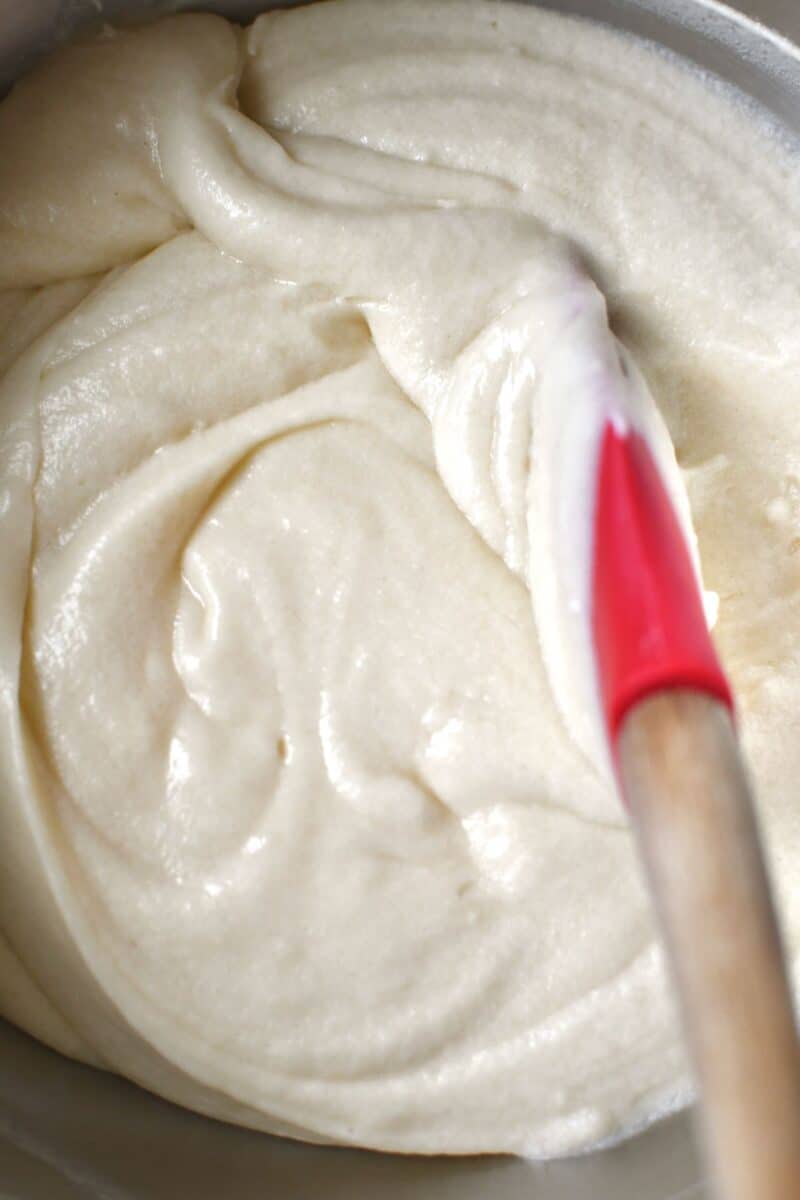
Then heat the waffle cone iron. The one I linked has an adjustable knob to make it hotter or colder, I like the ability to control the heat. You need less batter than you think, only 1 ounce makes the perfect size cone, any more and they are too big, and notice they batter doesn't need to spread all the way to the edges of the maker and over flow.
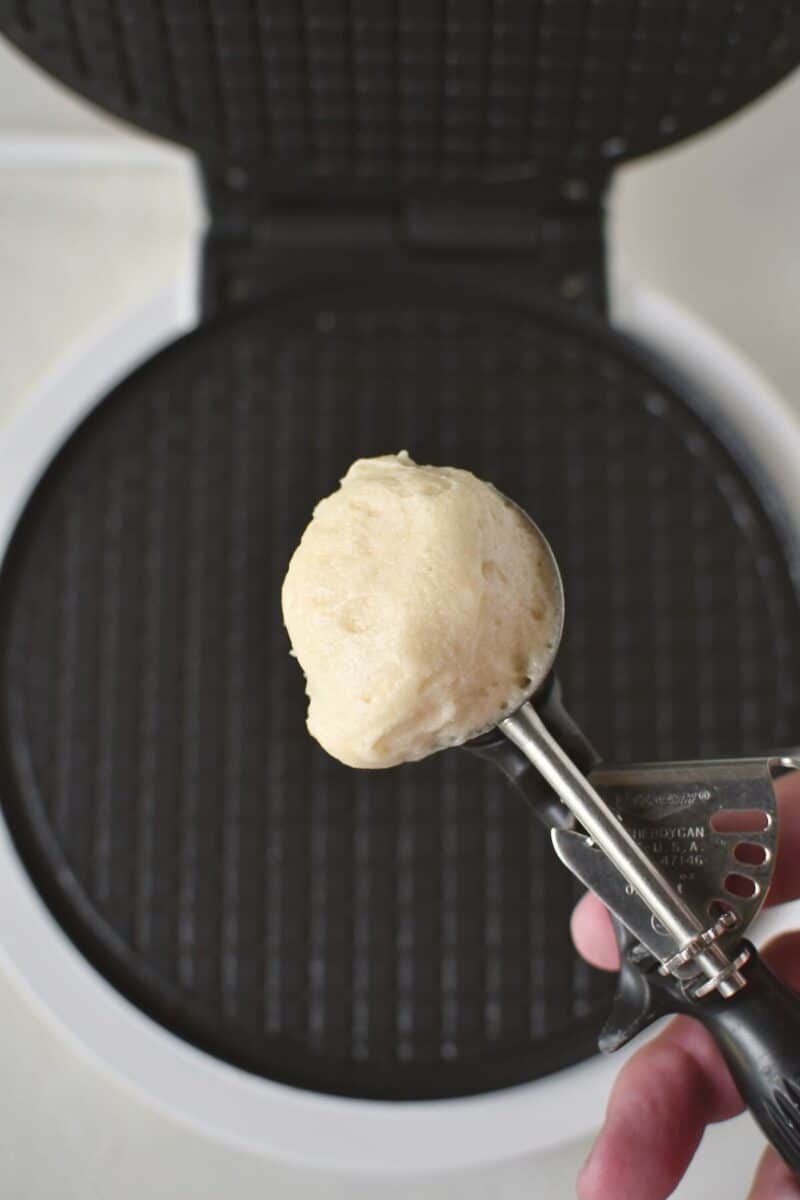
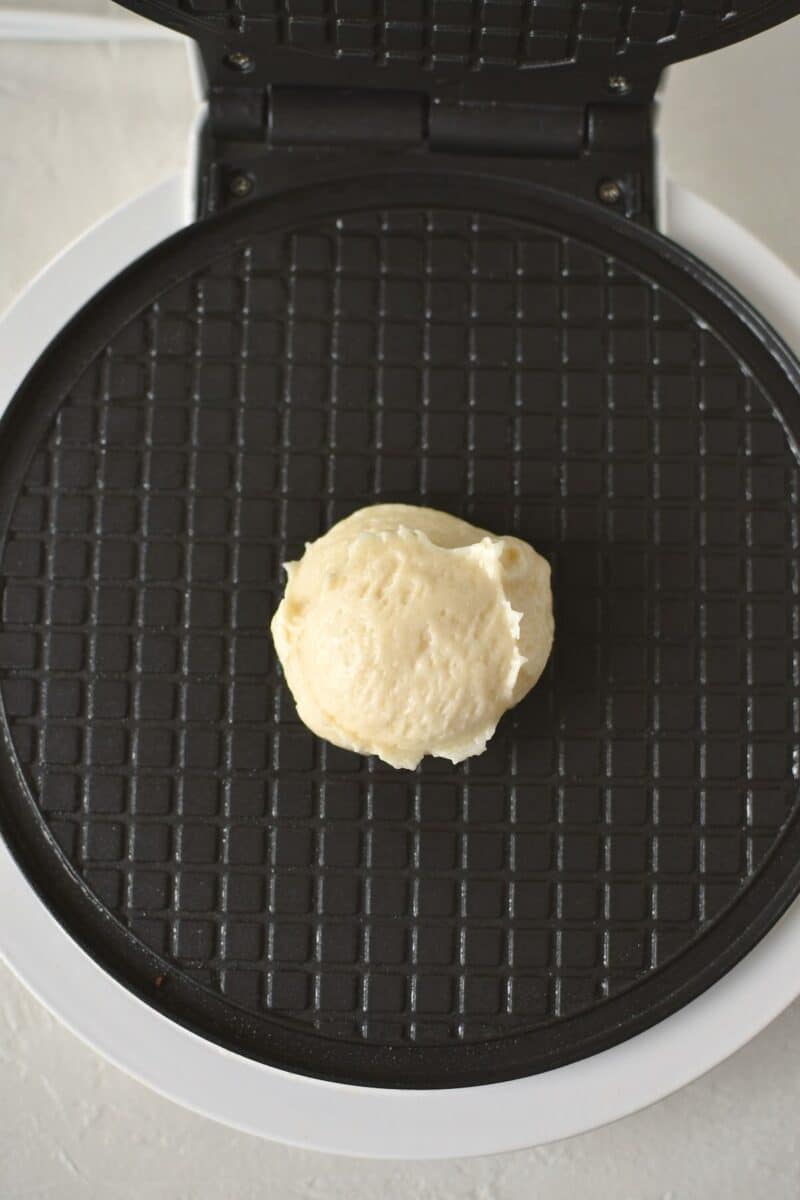
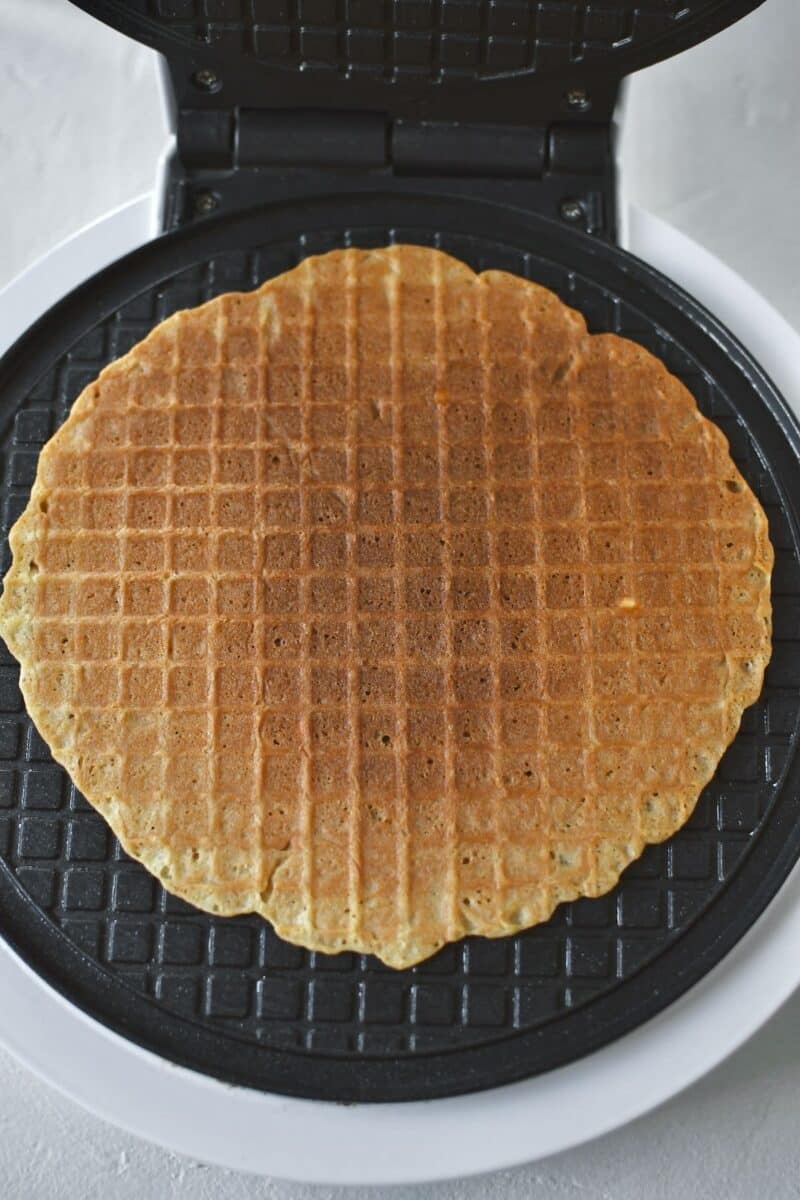
Now comes the important part. You have to work semi-quickly, but you do have about 2 minutes to get the roll just right, as long as you are handling it. The cone is VERY hot so I first roll the cone with a paper towel in it, twist it all the way around, remove the towel, then roll again. The first roll gives it a good memory to roll into it.
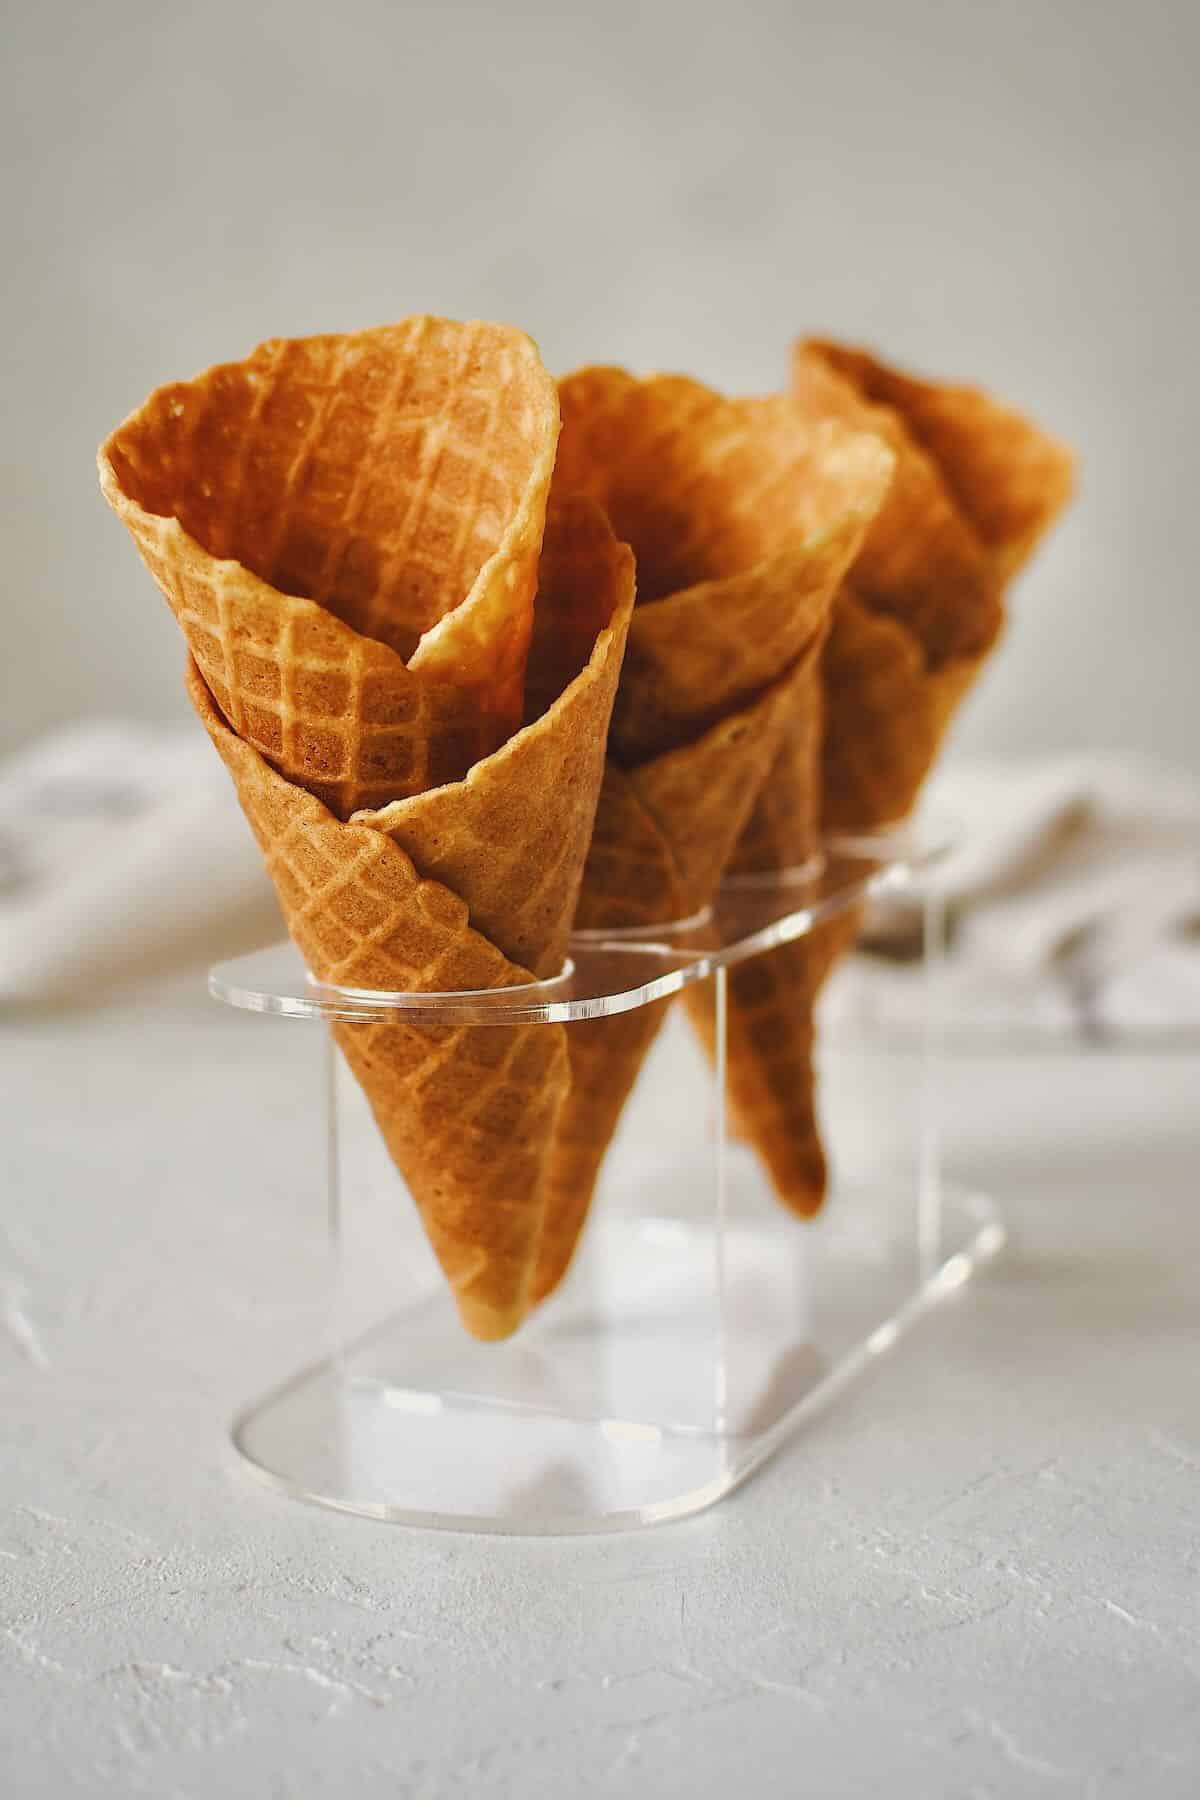
The most important thing to note here is that a waffle cone should have a fold in it. This alluded me for a while, but think of it as an open-top fortune cookie. I have left it someone open in the picture below to show you, but once you get the fold in, press the edge really tightly with the cone form and it will seal up really tight and nice.
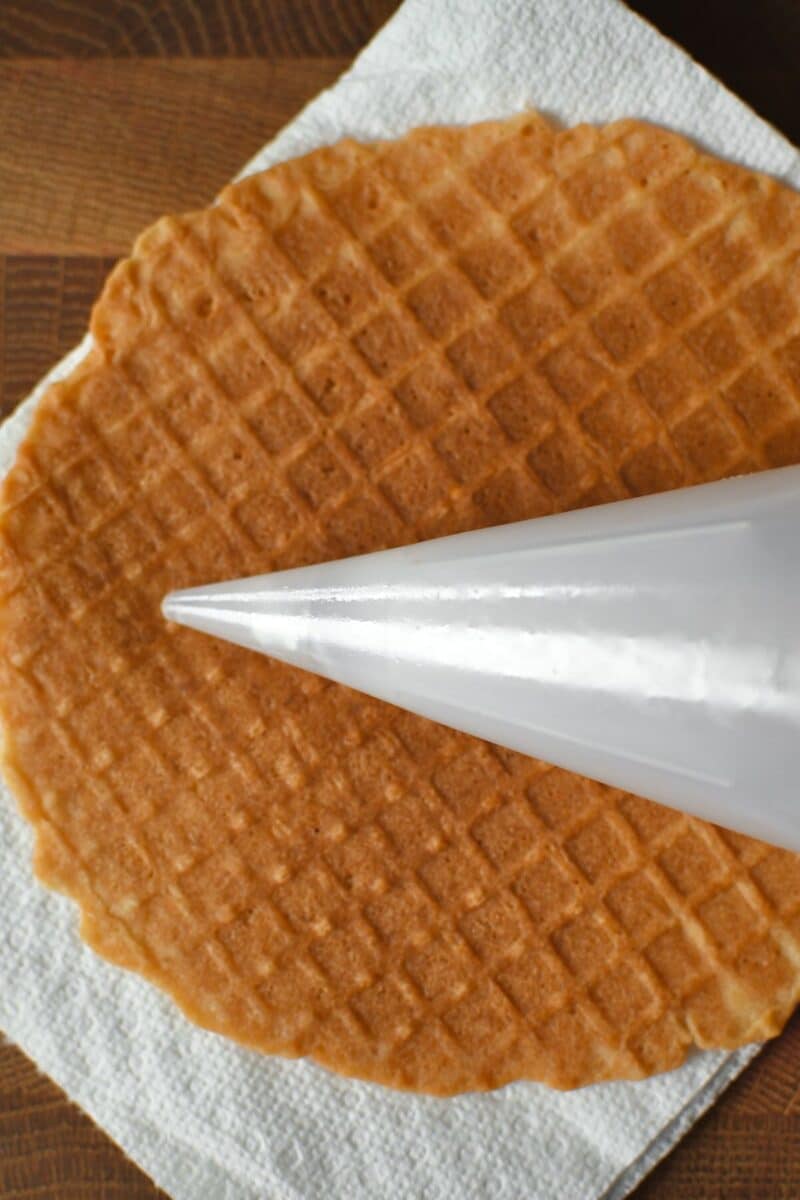
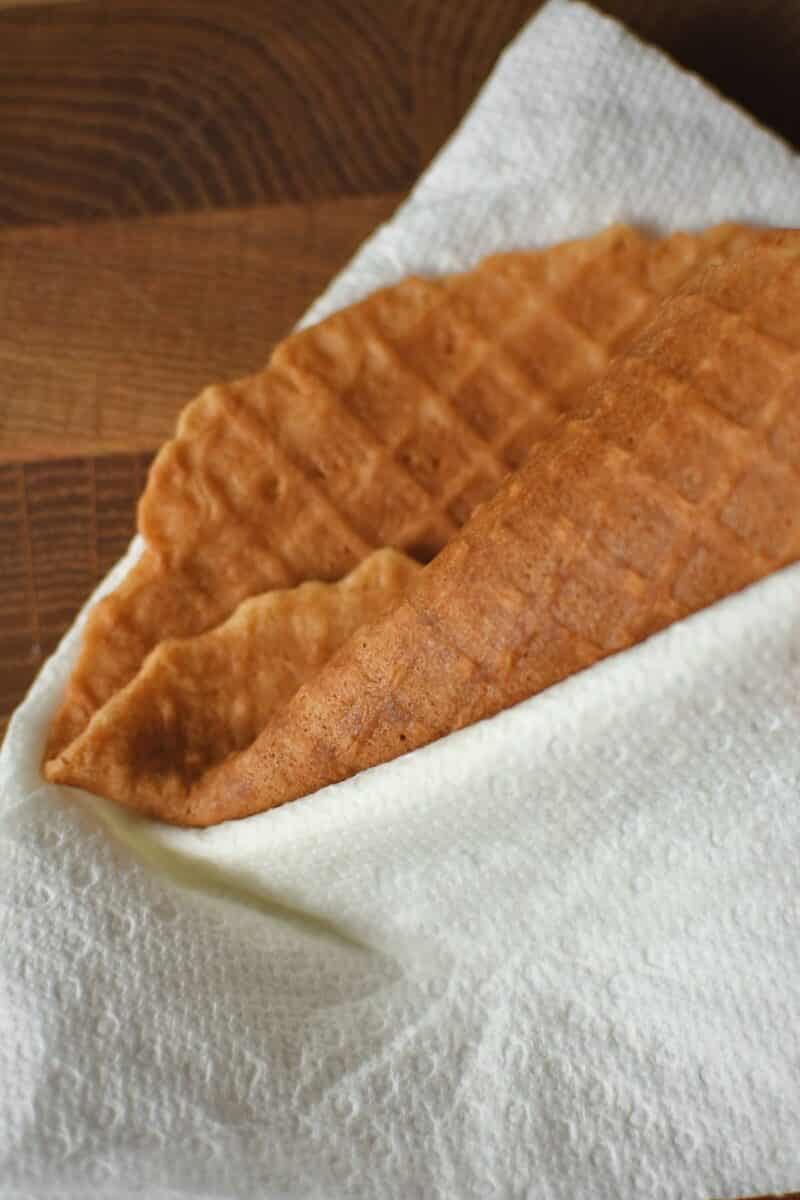

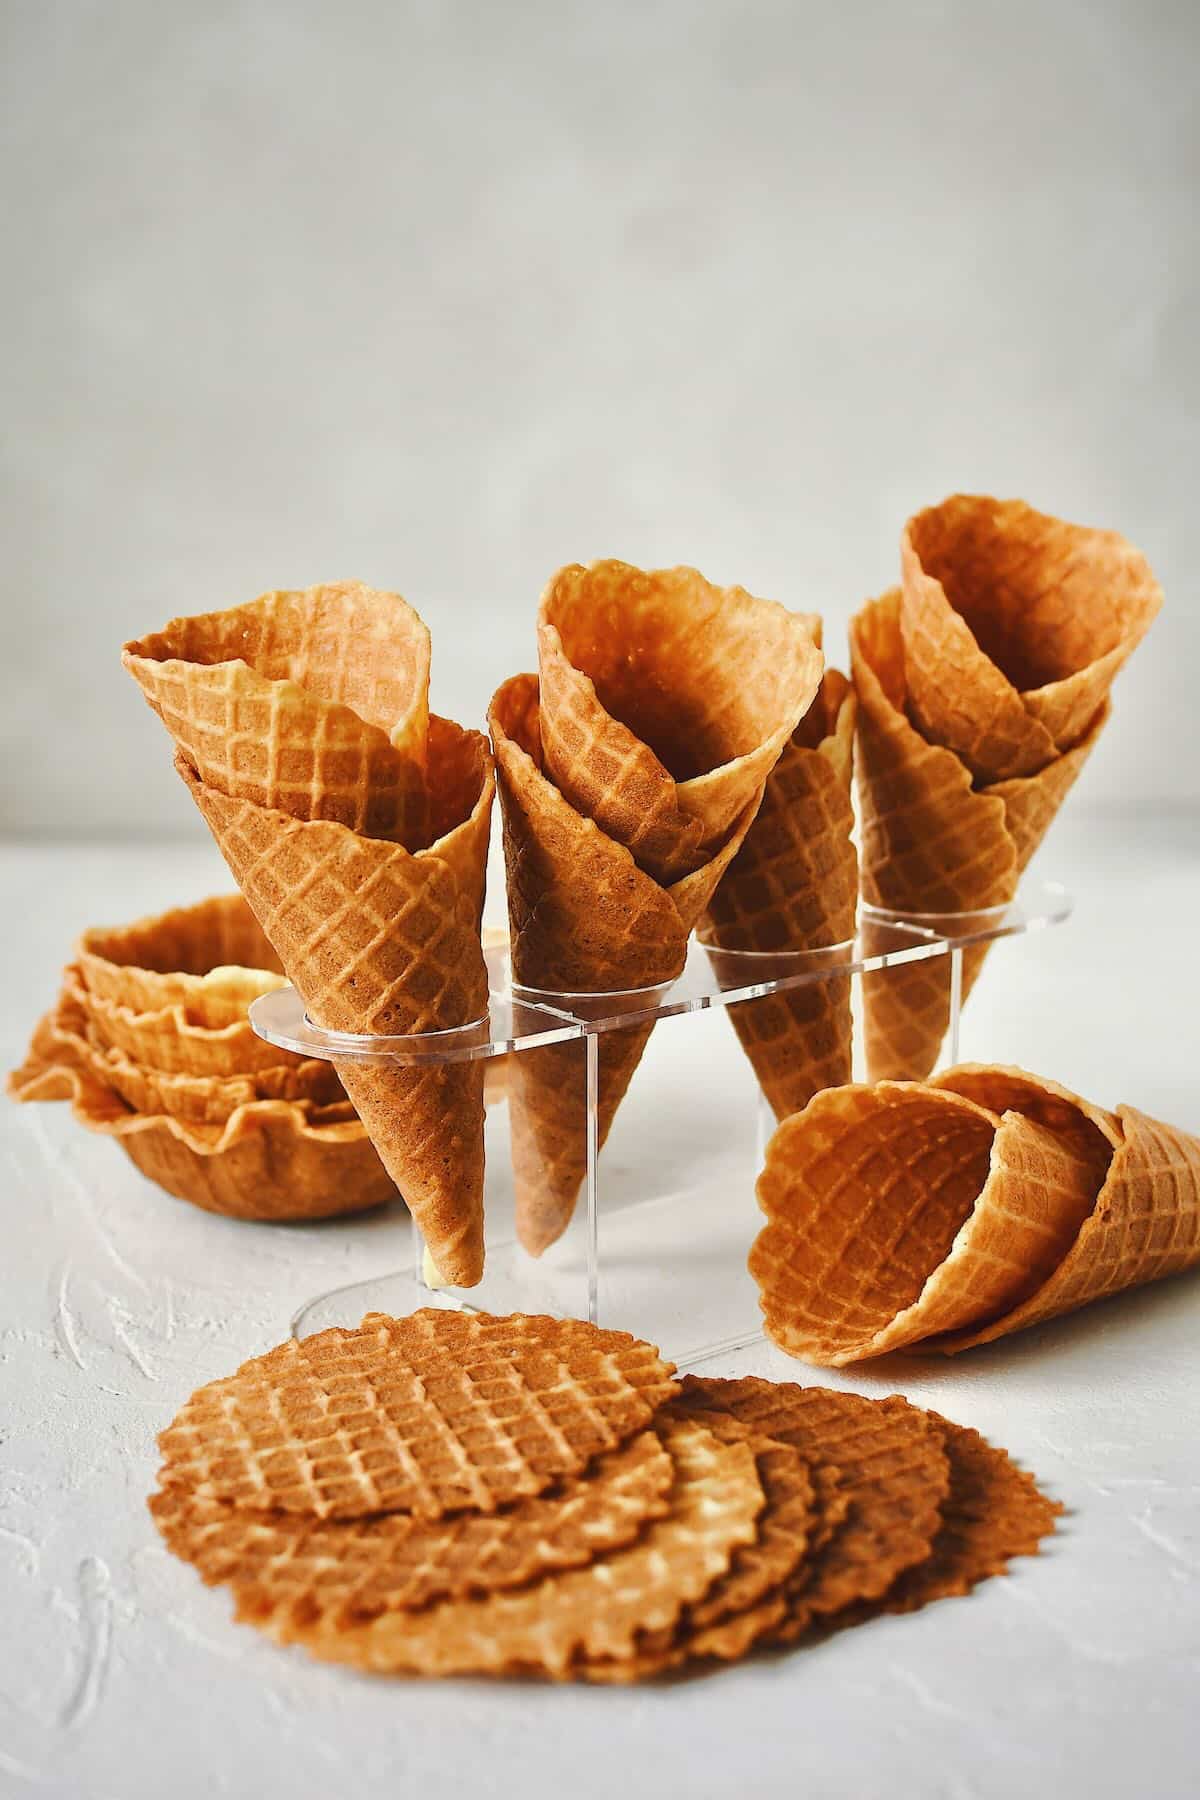
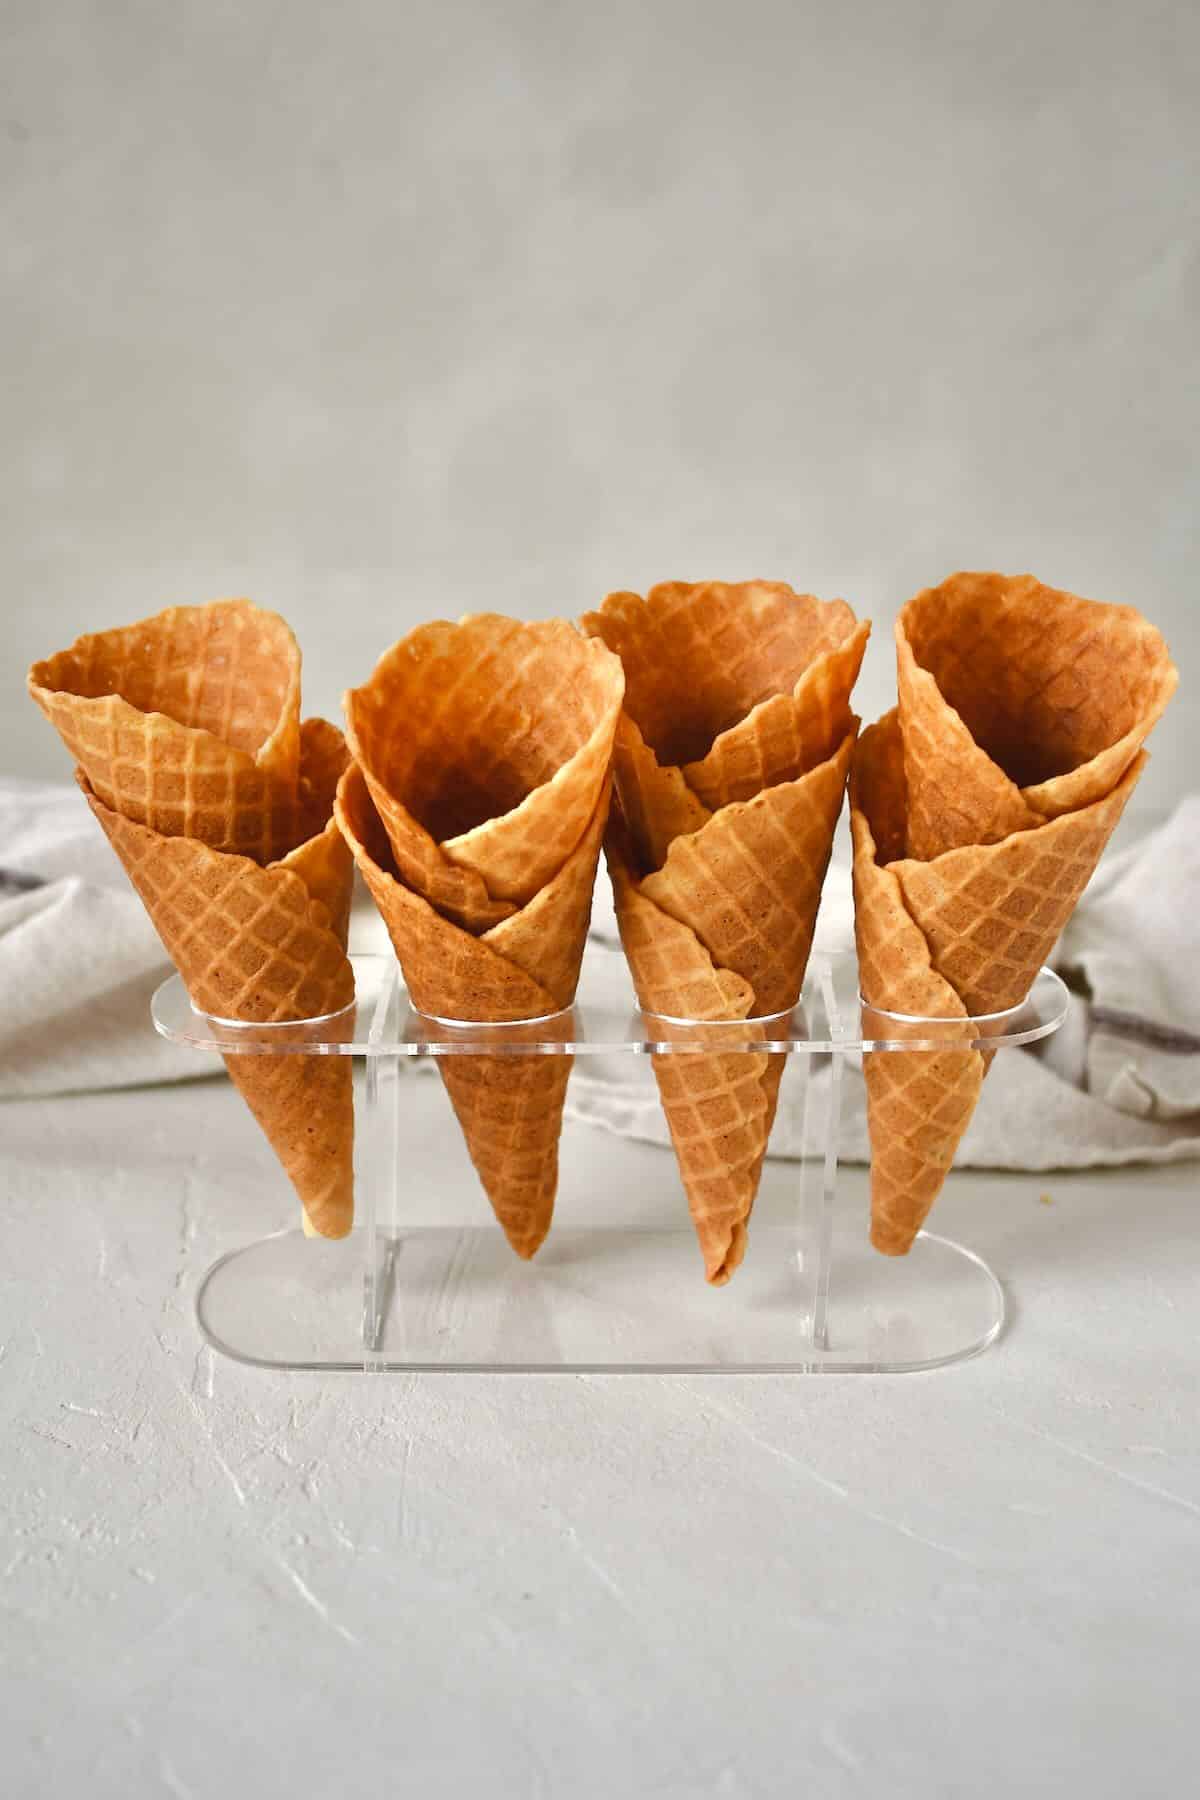
Set the cones in a holder or a glass while they cool so they will hold their round shape. Once you get in a rhythm you can crank these out really fast. I suggest placing another dollop of batter in the iron, the very second you remove a cooked waffle to fold, this gets you in a good groove. You can also make bowls or simple wafers, the waffle iron I linked earlier has a bowl and cone mold that comes with it.
Notes & Tips
This recipe makes about 16-20 cones depending on the size you make them. If I am going to take the time to do it I like to make a bunch. They actually hold up really well in a zip-top bag for a few weeks.
This is defiantly something you want to make when calm, especially the first 2 or three times. It is a little fiddly, but not hard. It takes a few to get the hang of it. Don't stress, my family ate quite a few with ice cream dripping out the bottom of them. They still eat great.
Take a deep breath, and be willing to try. You'll be so excited when you get it right, I know I was!
Substitutions
This is one of those recipes that has so few ingredients that if you start swapping them out it just may not turn out as good as it should be.
The only real swap I think could be made is to make them gluten-free. You could swap the flour for a cup-for-cup gluten-free flour swap.
The recipe thrives on the fat thought, it is what makes the final product pliable enough, for long enough to shape. It also makes it extremely flavorful.
If you do swap the salted butter for unsalted, add ½ a teaspoon of kosher salt in with the flour.
When it comes to the extracts, you can use all vanilla or all almond if you have to. But the blend of the two really helps make these great.
Perfect Ice Creams for these Cones
Did you make this recipe? Let me know by leaving a review or comment! And be sure to sign up for my newsletter, and follow along on Instagram, Pinterest, and Facebook!
📖 Recipe
Waffle Cone Recipe
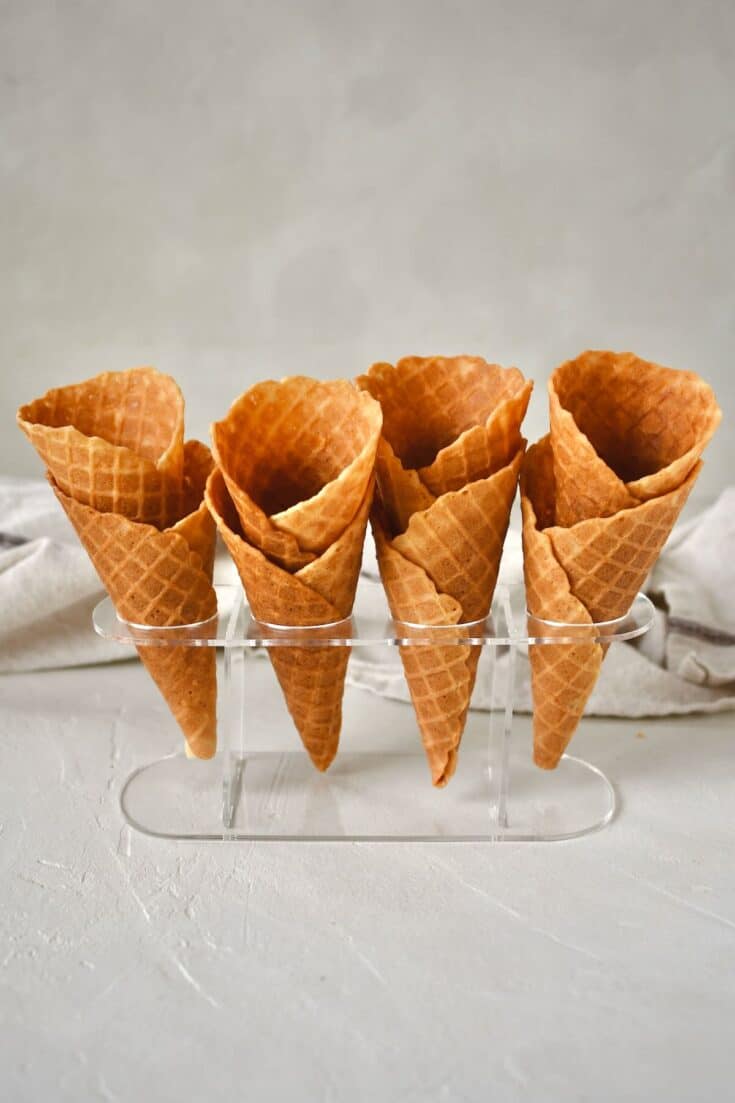
Enjoying ice cream on a warm day just hits differently when it is served inside this homemade Waffle Cone Recipe. The flavor is unmatched.
Ingredients
- 4 large Egg Whites
- ½ cup Heavy Cream
- 1 cup Granulated Sugar
- 2 teaspoons Vanilla Extract
- 2 teaspoons Almond Extract
- 10 tablespoons Salted Butter, melted & cooled slightly
- 1 ⅓ cups All-Purpose Flour
Instructions
- In the bowl of a stand mixer fitted with the whip attachment, combine the egg whites and cream and whip for 90 seconds until well combined.
- Add the sugar and extracts to the bowl and whip for 60 seconds longer.
- Slowly drizzle in the melted butter with the mixer running on low.
- Gently place the flour in the bowl and whip just til no lumps remain and the batter is smooth for about 60 more seconds.
- Heat a waffle cone iron and cook according to your machine's directions, you want golden, but not dark brown waffles.
- To make a cone, place the golden brown waffle on a double paper towel or no lint kitchen towel. Place a cone form on the waffle with the tip about 1 inch from the edge. You shouldn’t take it all the way to the edge or you will end up with a hole in the bottom of the cone.
- Lift the waffle with the towel and roll it with the towel inside of it all the way around, folding the tip to create a tight bottom with no hole in it. It isn’t just rolling the waffle around the form, you have to make a fold to seal the cone up.
- Unroll the cone and remove the towel and roll it up again without it, pressing the fold firmly to create a tight cone. Hold it till it firms up and holds its shape or place it in a holder or glass to cool completely.
- It takes a few tries to get it just right and if you break one, that’s ok, it’s just a snack, or if you put the shards into a bowl of ice cream, no big deal. But when you get really good, there should be no hole in the bottom of the cone!
- The cones are best the same day they are made, but they will keep for up to 2 weeks in a zip-top bag or air-tight container at room temperature.
Notes
Notes & Tips
This recipe makes about 16-20 cones depending on the size you make them. If I am going to take the time to do it I like to make a bunch. They actually hold up really well in a zip-top bag for a few weeks.
This is defiantly something you want to make when calm, especially the first 2 or three times. It is a little fiddly, but not hard. It takes a few to get the hang of it. Don't stress, my family ate quite a few with ice cream dripping out the bottom of them. They still eat great.
Take a deep breath, and be willing to try. You'll be so excited when you get it right, I know I was!
Substitutions
This is one of those recipes that has so few ingredients that if you start swapping them out it just may not turn out as good as it should be.
The only real swap I think could be made is to make them gluten-free. You could swap the flour for a cup-for-cup gluten-free flour swap.
The recipe thrives on the fat thought, it is what makes the final product pliable enough, for long enough to shape. It also makes it extremely flavorful.
If you do swap the salted butter for unsalted, add ½ a teaspoon of kosher salt in with the flour.
When it comes to the extracts, you can use all vanilla or all almond if you have to. But the blend of the two really helps make these great.
Recommended Products
As an Amazon Associate and member of other affiliate programs, I earn from qualifying purchases.
-
Proctor Silex Waffle Cone and Ice Cream Bowl Maker with Browning Control, Shaper Roller and Cup Press, 7.5” Nonstick Plates, White (26410)
-
Clear Tek Clear Acrylic Ice Cream Cone Holder - 3 slots - 7" x 2 ¾" x 3 ¼" - 1 count box - Restaurantware
-
Vollrath Disher - Color Coded Size 30
-
KitchenAid KSM150PSCE Artisan Stand Mixers, 5 quart, Copper Pearl (Renewed)
Nutrition Information:
Yield:
16Serving Size:
1Amount Per Serving: Calories: 182Total Fat: 10gSaturated Fat: 6gTrans Fat: 0gUnsaturated Fat: 3gCholesterol: 27mgSodium: 73mgCarbohydrates: 21gFiber: 0gSugar: 13gProtein: 2g
This is an estimated caloric value, actual numbers may differ based on the ingredients used.














Leave a Reply