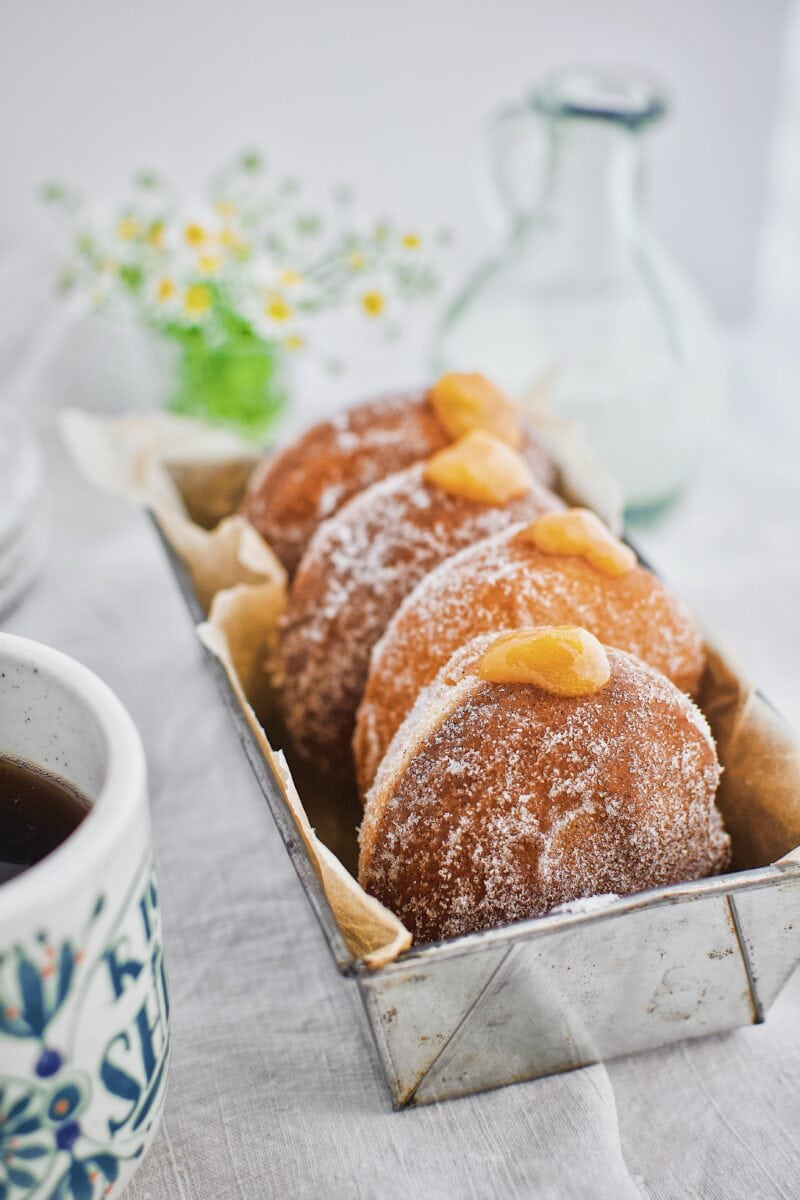
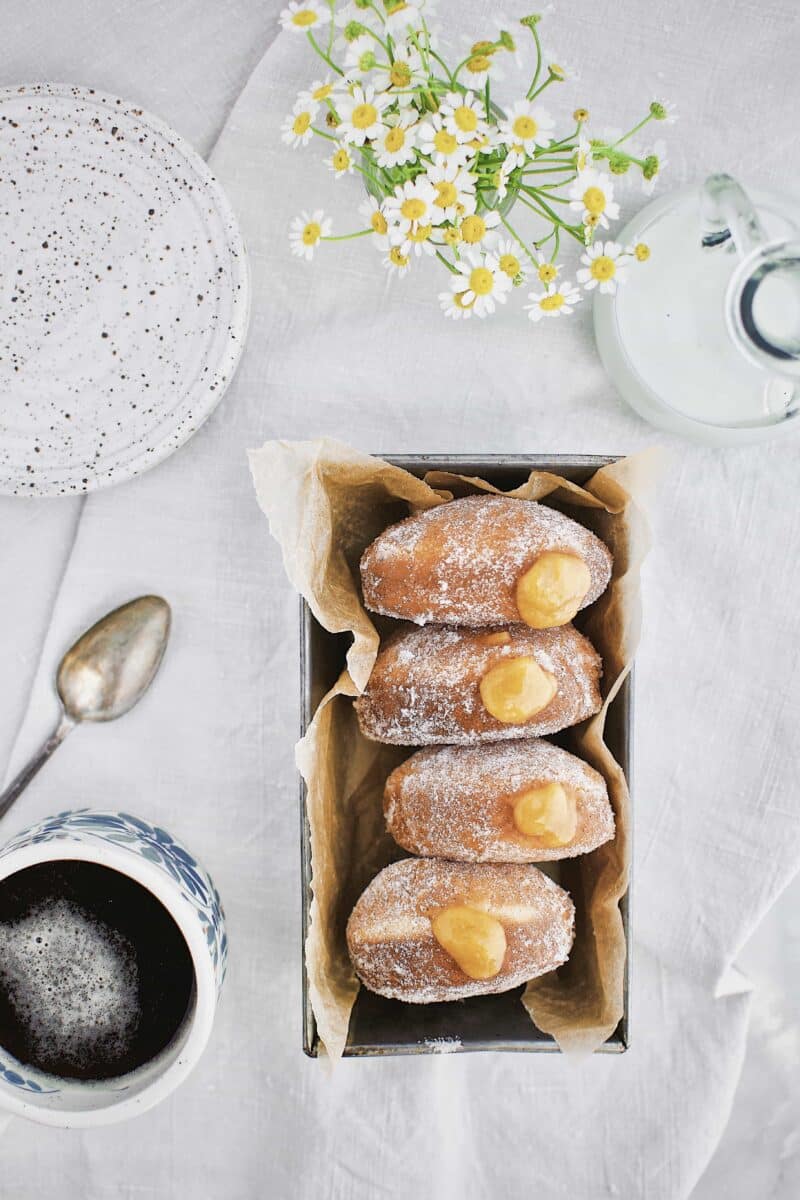
I was searching for the perfect recipe to share with you for national donut day, so I came up with this one. I wanted to share the recipe for my amazing Peach Jelly Donuts with you today because they came out so, so GOOD! I hope you make them and love them as much as I do.
The Jelly
To make the jelly you will need to peel and remove the pit from 4 cups of peaches, 6-8 depending on size. My peaches were so ripe that the skins basically fell off, so I just peeled them with a paring knife and threw them in a sauce pot.
They cook for about 20 minutes at a gentle simmer with 1 cup of sugar and 1 packet of gelatin to ensure it firms up a little when cooled. Chill in the refrigerator for at least 3 hours to make sure it is completely cooled and set. Then you are ready to fill your donuts.
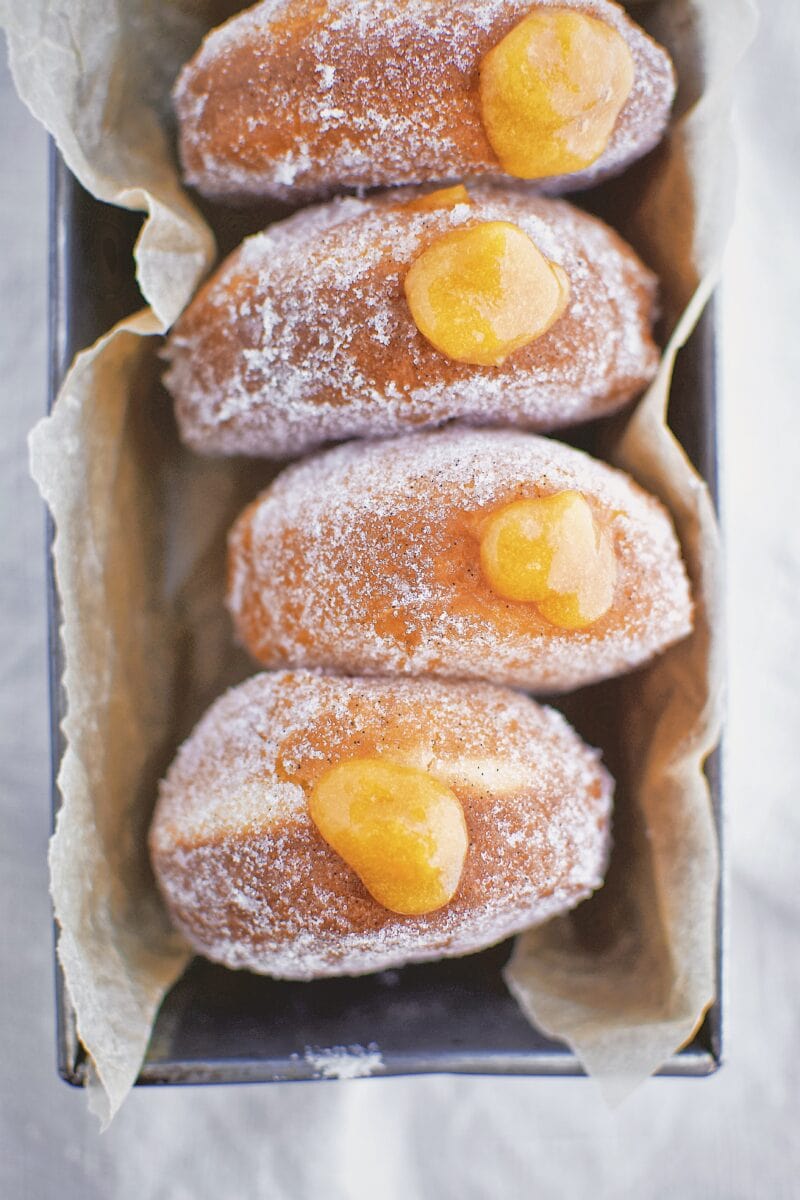
Get you one of these tips to make filling the donuts a breeze.
Ingredients Needed:
Peaches
Sugar
Powdered Gelatin
The Donuts
Now I read a few recipes before deciding to go with. I went with the one I found on the NYT website, thinking it would be well tested and ready to go. That wasn't quite the case, so here is my adapted version.
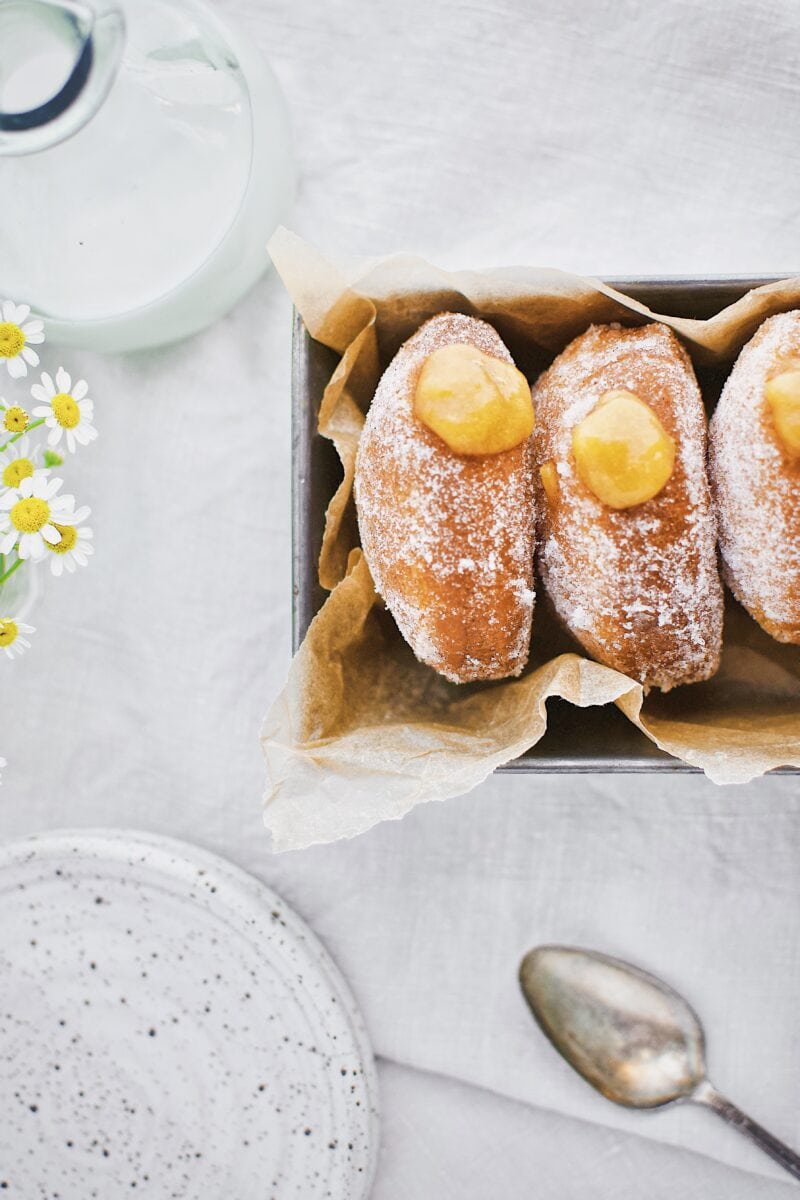
I will say however that it comes out as the most beautiful and soft dough. It's very easy to work with. You will need a great dutch oven to fry the donuts in (this one is
Ingredients needed:
- Milk
- Active Dry Yeast
- Eggs
- Butter
- Sugar
- Kosher Salt
- All-Purpose Flour
- Canola Oil Pan Spray
- Peanut Oil
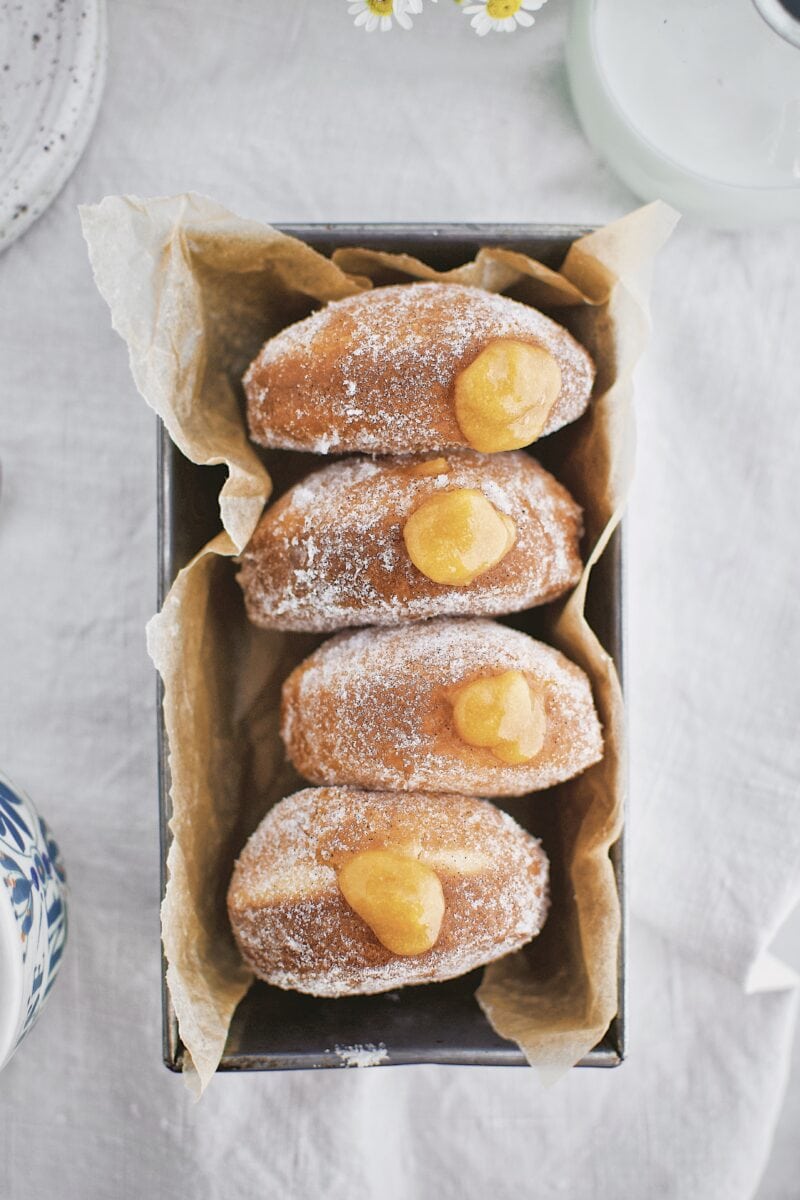
Why "THESE" Peach Jelly Donuts?
They produced the most beautiful bakery-quality Peach Jelly Donuts that I am sure to make again and again. My family was especially pleased and when I told them to eat up because they are best fresh, they dug right in! The recipe is really easy and pretty straight forward.
I really think now that I have done this that anyone who tries will get it right. You can make the jelly or use store-bought, whatever you do, take this little adventure and learn something new. It was actually really fun to step out of my comfort zone and make something I haven't made before
You can also cut this dough like traditional donuts with the center removed and have a fantastic yeasted donut that you can dust with cinnamon sugar or drizzle chocolate over. But the Peach Jelly Donuts is where it's at!
Looking for a Gluten-Free Donut?
This recipe for Gluten-Free Fried Cake Donuts from my friend Chandice at ThisVivaciousLife is a perfect option for those who don't tolerate gluten.
📖 Recipe
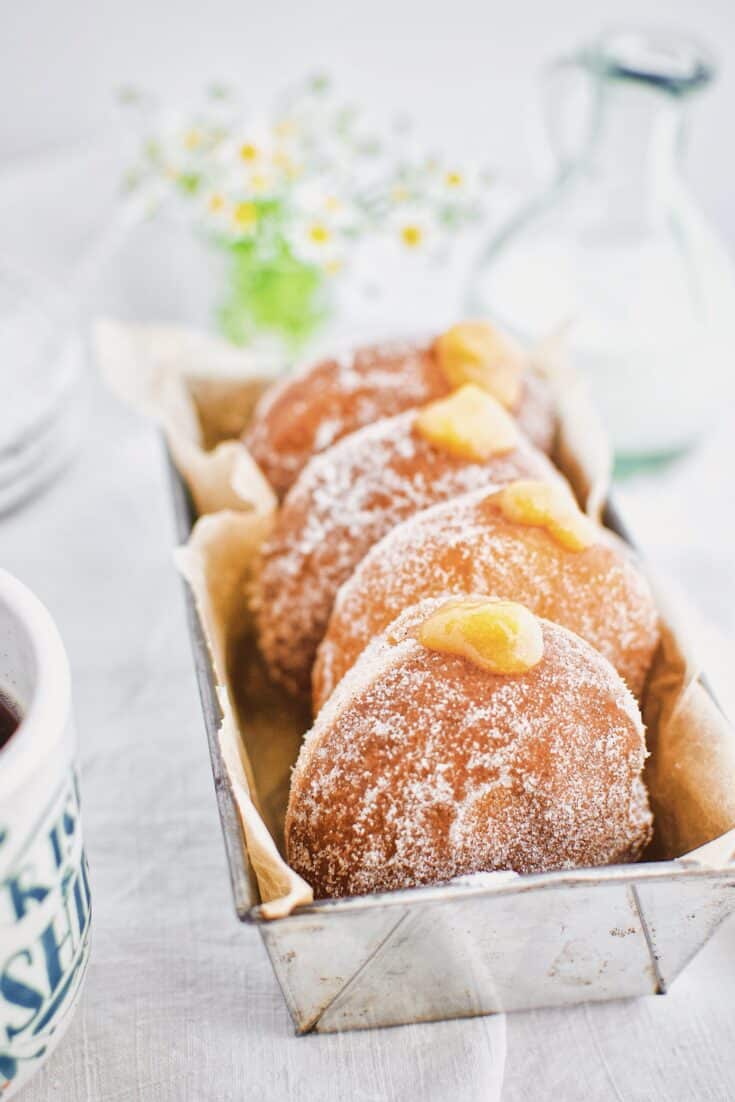
Peach Jelly Donuts
This reipe inculde the instructions to make homemade Peach Jelly and fresh Yeasted Donuts.
Ingredients
The Jelly
- 4 cups Peaches, fresh, peeled and sliced
- 1 cup Sugar
- 1, 0.25 oz packet Gelatin, bloomed
The Donuts
- 1 cup Milk
- 2 ¼ teaspoons Active Dry Yeast
- 2 eggs
- 8 tablespoons Butter, melted and cooled
- ¼ cup Sugar
- 1 teaspoon Kosher Salt
- 4 ¾ cups All-Purpose Flour, plus more for rolling out the dough
- Canola Oil Pan Spray, for coating the bowl
- 2 quarts Peanut Oil, for frying, or any neutral oil
Instructions
The Jelly
- Remove skin and pit from 6-8 peaches. Dice into large pieces, they don’t have to be precise, they will cook down and get soft.
- Add peaches and sugar to a small saucepan and heat over medium-low until the peaches begin to release some liquid and the sugar complete dissolves, stirring often.
- Reduce heat to a simmer and cook for 15-20 minutes, until the peaches have broken down.
- Bloom the gelatin packet in ½ a cup of water for 1 minute. Stir to combine and be sure it is well mixed.
- Add gelatin to the pot and stir to combine, simmer for 2 minutes more.
- Remove from heat and place your jelly on a plastic wrap lined small sheet pan if you want to cool quickly, or a bowl. Place in the fridge and allow to fully cool. This will take 3-4 hours, stir occasionally if you need to use sooner.
The Donuts
- Heat the milk to 90 degrees. In the bowl of a stand mixer, combine the milk and yeast. Stir lightly, and let rest until the mixture begins to foam, about 5 minutes.
- Fit the mixer with the dough hook and beat the eggs, butter, sugar, and salt into the yeast mixture. Add half of the flour, and mix until combined, then mix in the rest of the flour until the dough pulls away from the sides of the bowl. If the dough seems wet at this point and isn’t completely releasing from the sides of the bowl, add a little more flour, 2 tablespoons at a time. The dough will kneed for about 5 minutes before it lets go of the bowl. Remove dough and lightly spray the mixer bowl with the pan spray. Cover with a kitchen towel and let rise at room temperature until it doubles in size, about 1 hour.
- Turn the dough out onto a floured surface, and roll it to ½-inch thickness. Cut the doughnuts out with a 3-inch biscuit cutter. Knead any scraps together, only once, let rest for a few minutes, repeat the process.
- Put the doughnuts onto floured baking sheets with plenty of room between each one. Cover with a kitchen towel, and let rise in a warm place until they are slightly puffed up and delicate, about 30 minutes. You can also proof in the oven. Heat to 200 at the beginning of this step, turn off the heat, put the baking sheets in the oven and leave the door ajar. We don’t want to heat the dough, just create a warm environment for the yeast to work.
- About 15 minutes before the doughnuts are done rising, heat the oil in a Dutch oven over medium heat, and heat it to 375 using a candy thermometer. Meanwhile, line a cooling rack, baking sheets or plates with paper towels.
- Carefully add the doughnuts to the oil, a few at a time. If they’re too delicate to pick up with your fingers (they may be this way if you rose them in the oven), use a metal spatula to pick them up and slide them into the oil. It’s O.if they deflate a bit; they’ll puff back up as they fry. When the bottoms are deep golden, after 45 seconds to a minute, use your spider strainer to flip; cook until they’re deep golden all over. Transfer the doughnuts to the prepared plates or racks, and repeat with the rest of the dough, adjusting the heat as needed to keep the oil at 375.
- When the doughnuts are cool enough to handle but still warm, roll them around in a shallow bowl of granulated sugar to coat.
- Fill with your peach jelly. Enjoy!
Nutrition Information:
Serving Size:
1 gramsAmount Per Serving: Unsaturated Fat: 0g
Looking for some other goodies?
Take a look at a few of my more decedent recipes or reviews below.
JoJo's Biscuits- Magnolia Table Recipe Review - Free Recipe
Get my NEW e-Cookbook here!! ⬇️

-
My Favorite Kitchen Tools!
Here are a few links to some of my favorite kitchen tools! You get a car, YOu get a car, YOU ALL GET A CAR...in my best Oprah voice ?
These Rösle Silicone Tongs are a little pricey but they will last you the rest of your life and are the softest in your hand. This is important for someone like m that cooks so much. It reduces strain, I have 4 sets in my kitchen! ?
These are my FAV Nordic Ware Sheet Pans, every kitchen should have at least 2 sets of these! I think I have at least 4 of each of these. ?
This is my favorite pressure cooker, the Fagor is the same concept as the "Instant Pot" but easier to use in my opinion, if you don't have one you NEED one, it will be your best friend in the kitchen!
A sharp knife is the most important tool in the kitchen, these Japanese steel "Shun" knives are my favorite! And this is a great starter set to build on. Once you try them you will be in love so use this as a foundation you can build on for years to come.
This Scanpan 11" skillet is just the right size for almost anything you will need to cook and my best friend and a real workhorse in my kitchen, it’s also a great deal at $99. Scanpan is the best in the world for healthy cooking. It is coated with a proprietary ceramic titanium coating that is durable while allowing you to use fewer fats and oils when cooking. It is a coating only they use. I could talk all day about my love for these pans, message me if you want more info. Here are some other sizes that are available if you are looking to outfit your kitchen with some new goodies. 8" & 10" Skillet setor 8" Skillet, I still need this one for my kitchen ? Also, I don't really know how to cook small so the 12.5" is my other fave!
This giant vat of olive oil is my favorite, I decant it into a smaller bottle for my counter. Or put this spigot on top of a wine bottle!
This Tovolo jar scraper has to be my single favorite kitchen tool, it is definitely the most used tool in my kitchen. If you are NOT a gadget person, this is the only necessity I say is a MUST beyond the wooden spoon.
A great wood spoon is essential, this Olive Wood one is my favorite, I have more than I can count. ? But can you really ever have too many?
A food scale can be a very important tool in your kitchen, this one is the one I use every day!
If you love Joanna Gaines as much as I do then the ‘Magnolia Table Cookbook’ is a must in your kitchen, get a copy HERE!
Check out this great product for your mason jar, the Ergo Spout lets you turn any jar into a pourable pitcher. Get yours here! I love making my homemade salad dressing and keeping them this way in the refrigerator.









LaTonya Davis
Hello. I'll be making these at the end of the month when I get my peach truck order. How many does this recipe make and how would they store once made?
Kendell
They are best the day they are made and will keep for 1-2 days depending on the humidity. I would suggest cutting the recipe in half if you don't think you will eat them all in a day or 2.
Aisha
Do you know if you could freeze this, maybe before frying? Would freezing mess up the yeast and/or jelly part? Eating an entire batch in one go sounds great, but probably not ideal!!
Kendell
I would fry them first them freeze before filling with jam. But I would say just cut the recipe in half if you don't want so many, they are best when they are super fresh!