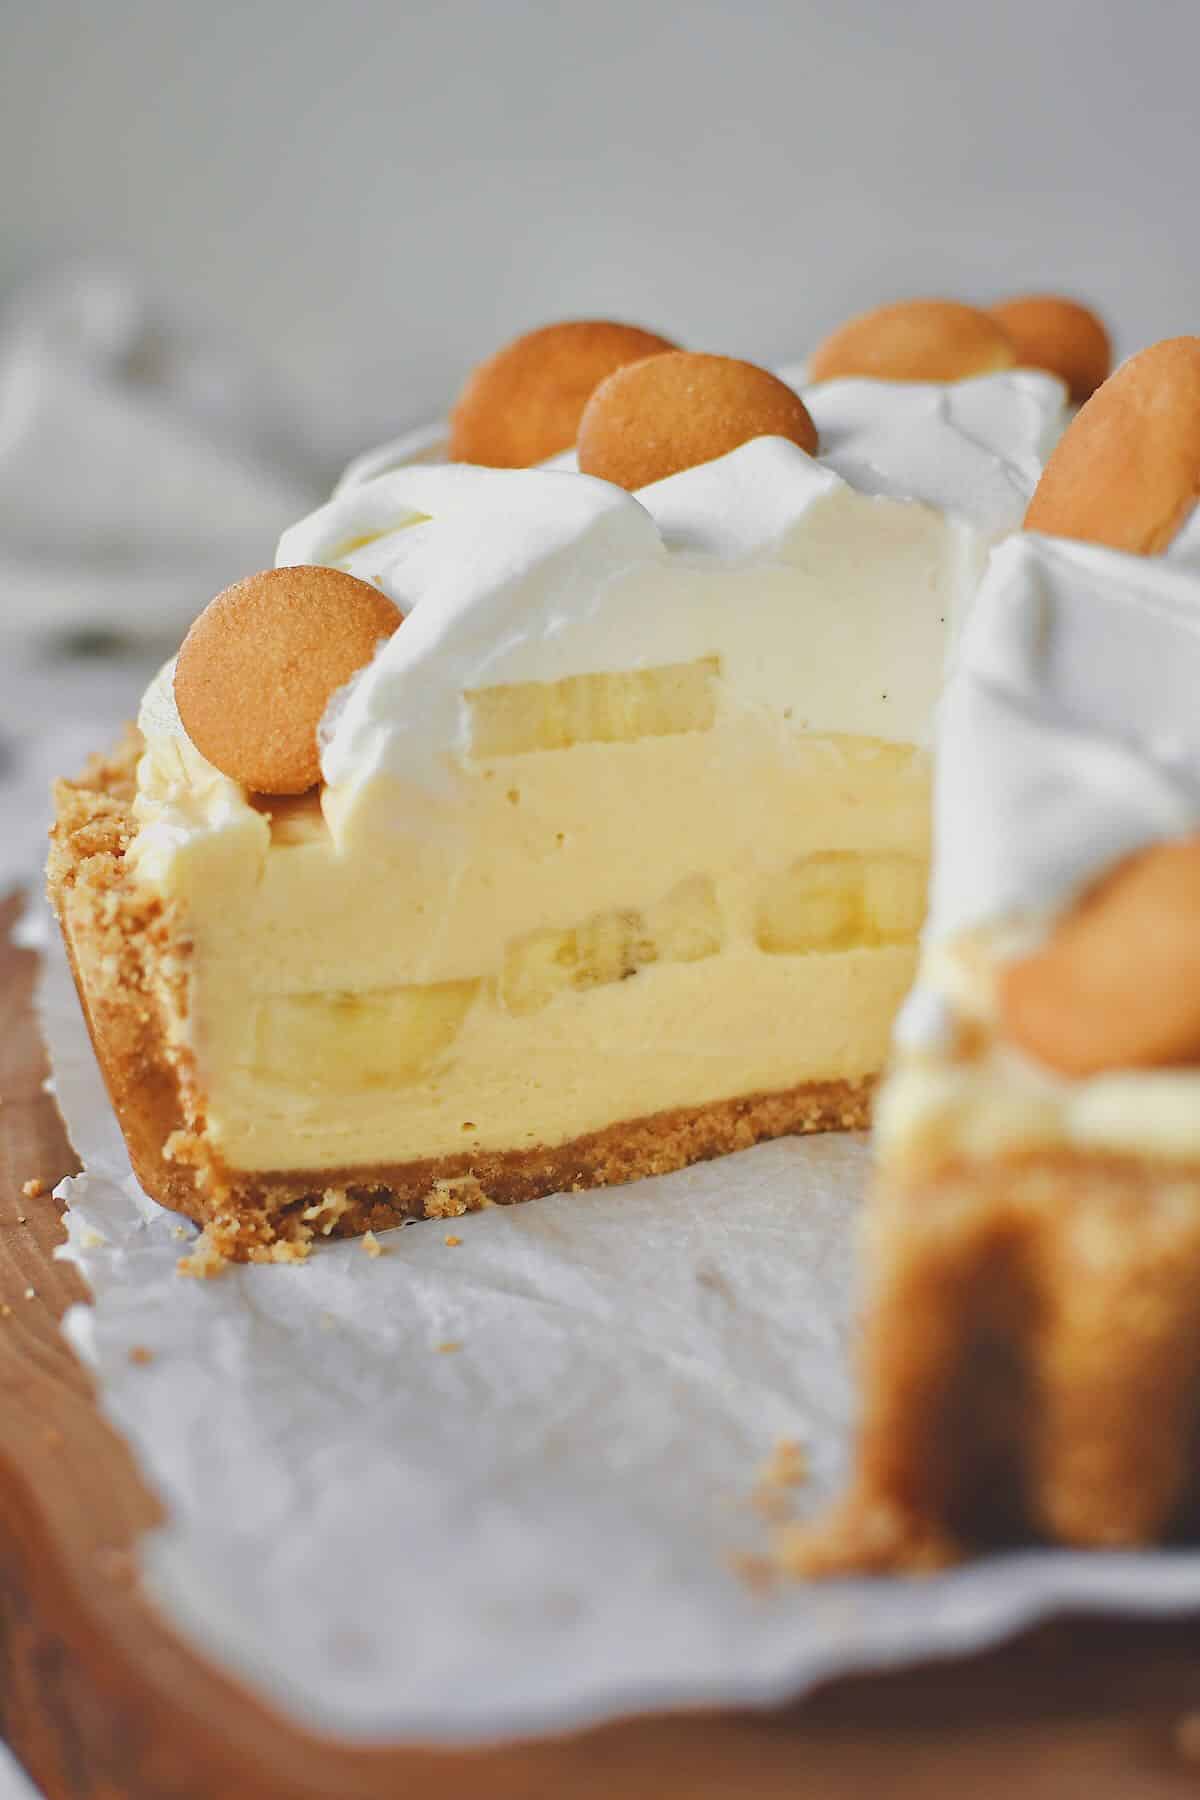
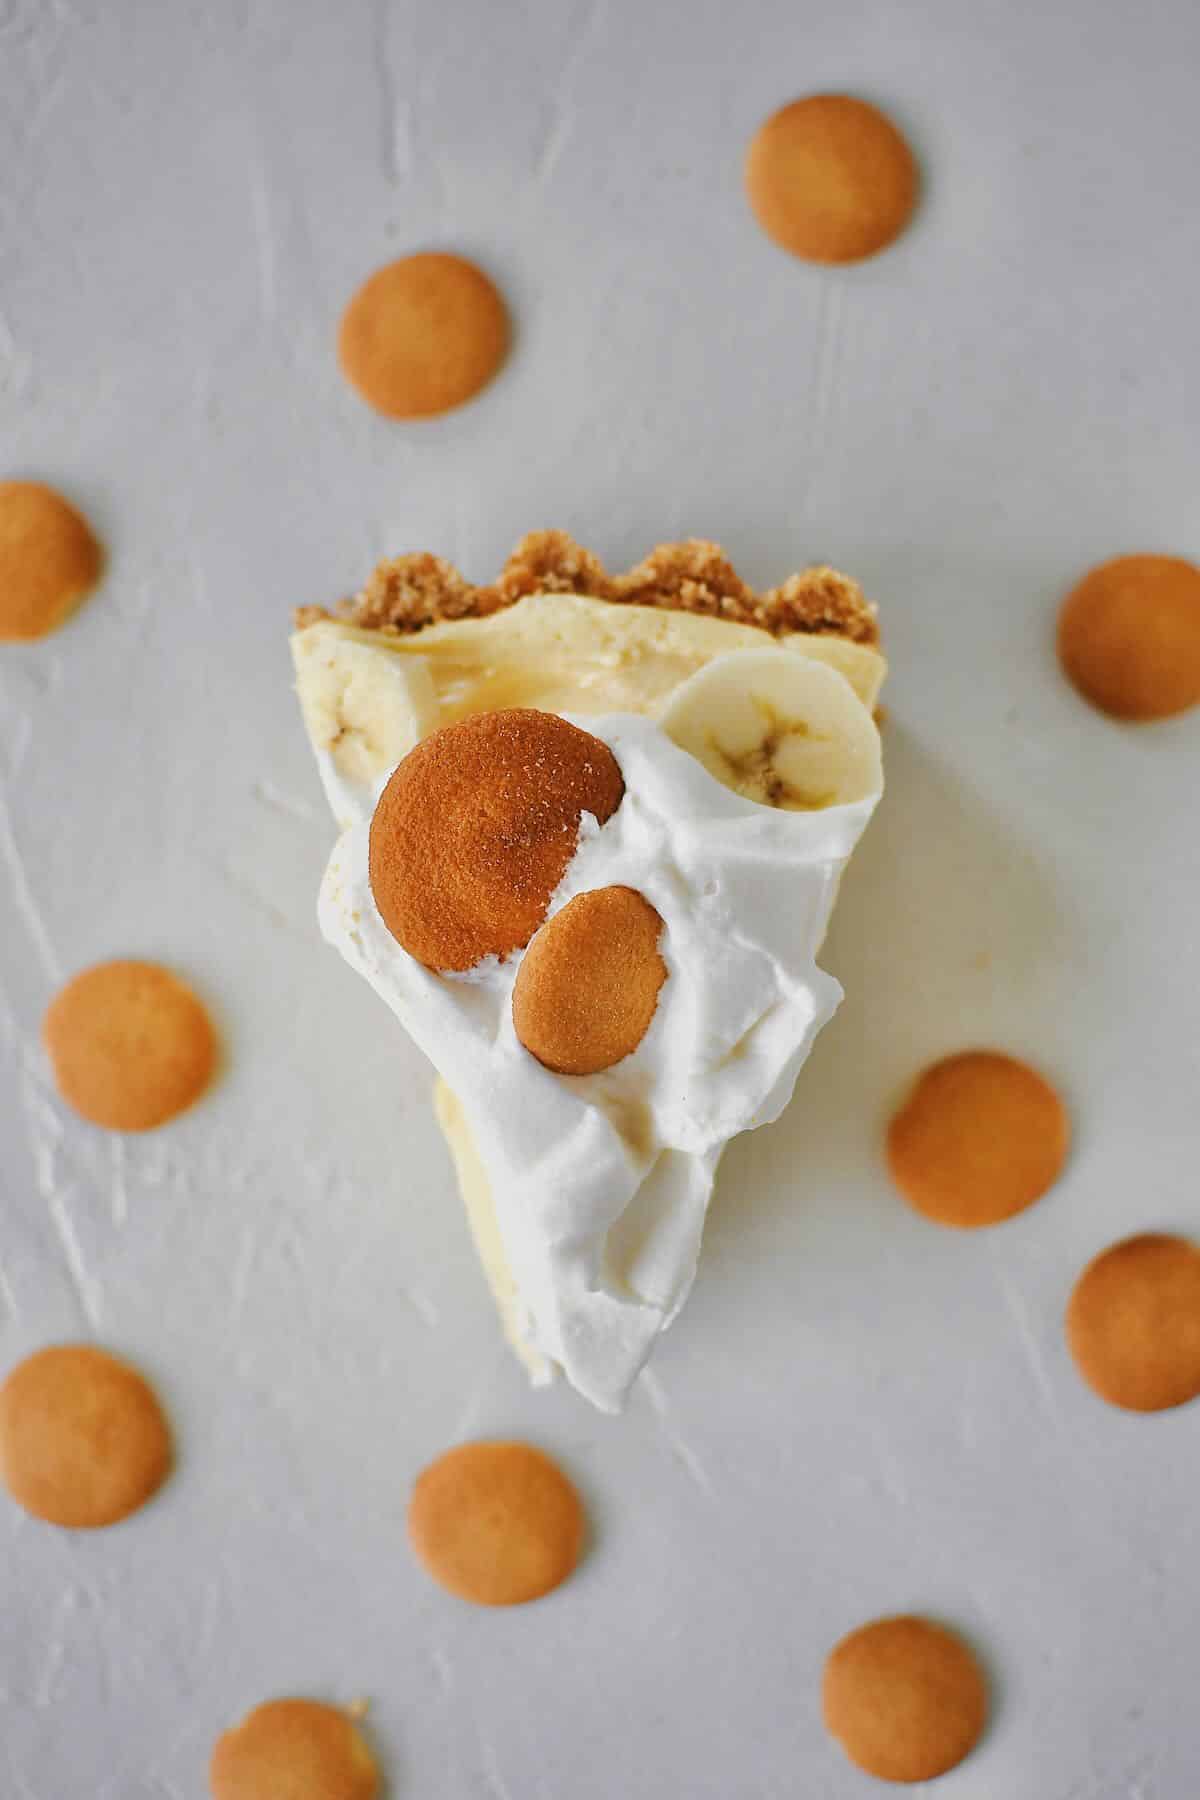
I absolutely LOVE this Banana Pudding Pie, I mean the regular version has always been a fave, but the nilla wafer crust on this one is out of this world! It really is the shining star that brings this recipe up, I don't know what else to say, IT IS SO GOOD. It is totally nostalgic but in an elevated, more delicious form!
This isn't your grandma's banana pudding. I make a lot of recipes and I can truthfully say this is one is THE BEST things I have ever made. It is also the perfect summer dessert because it is no-bake, except for the crust, but I just throw it in the toaster oven for 8 minutes. I also love serving this for the 4th of July, it just feels like quintessentially American!
Ingredients
You'll find this recipe requires most of the same ingredients needed to make a traditional banana pudding, they are just going to be arranged in a different way. The only thing that might be extra is the butter, extra sugar, and nutmeg to make this crust with.
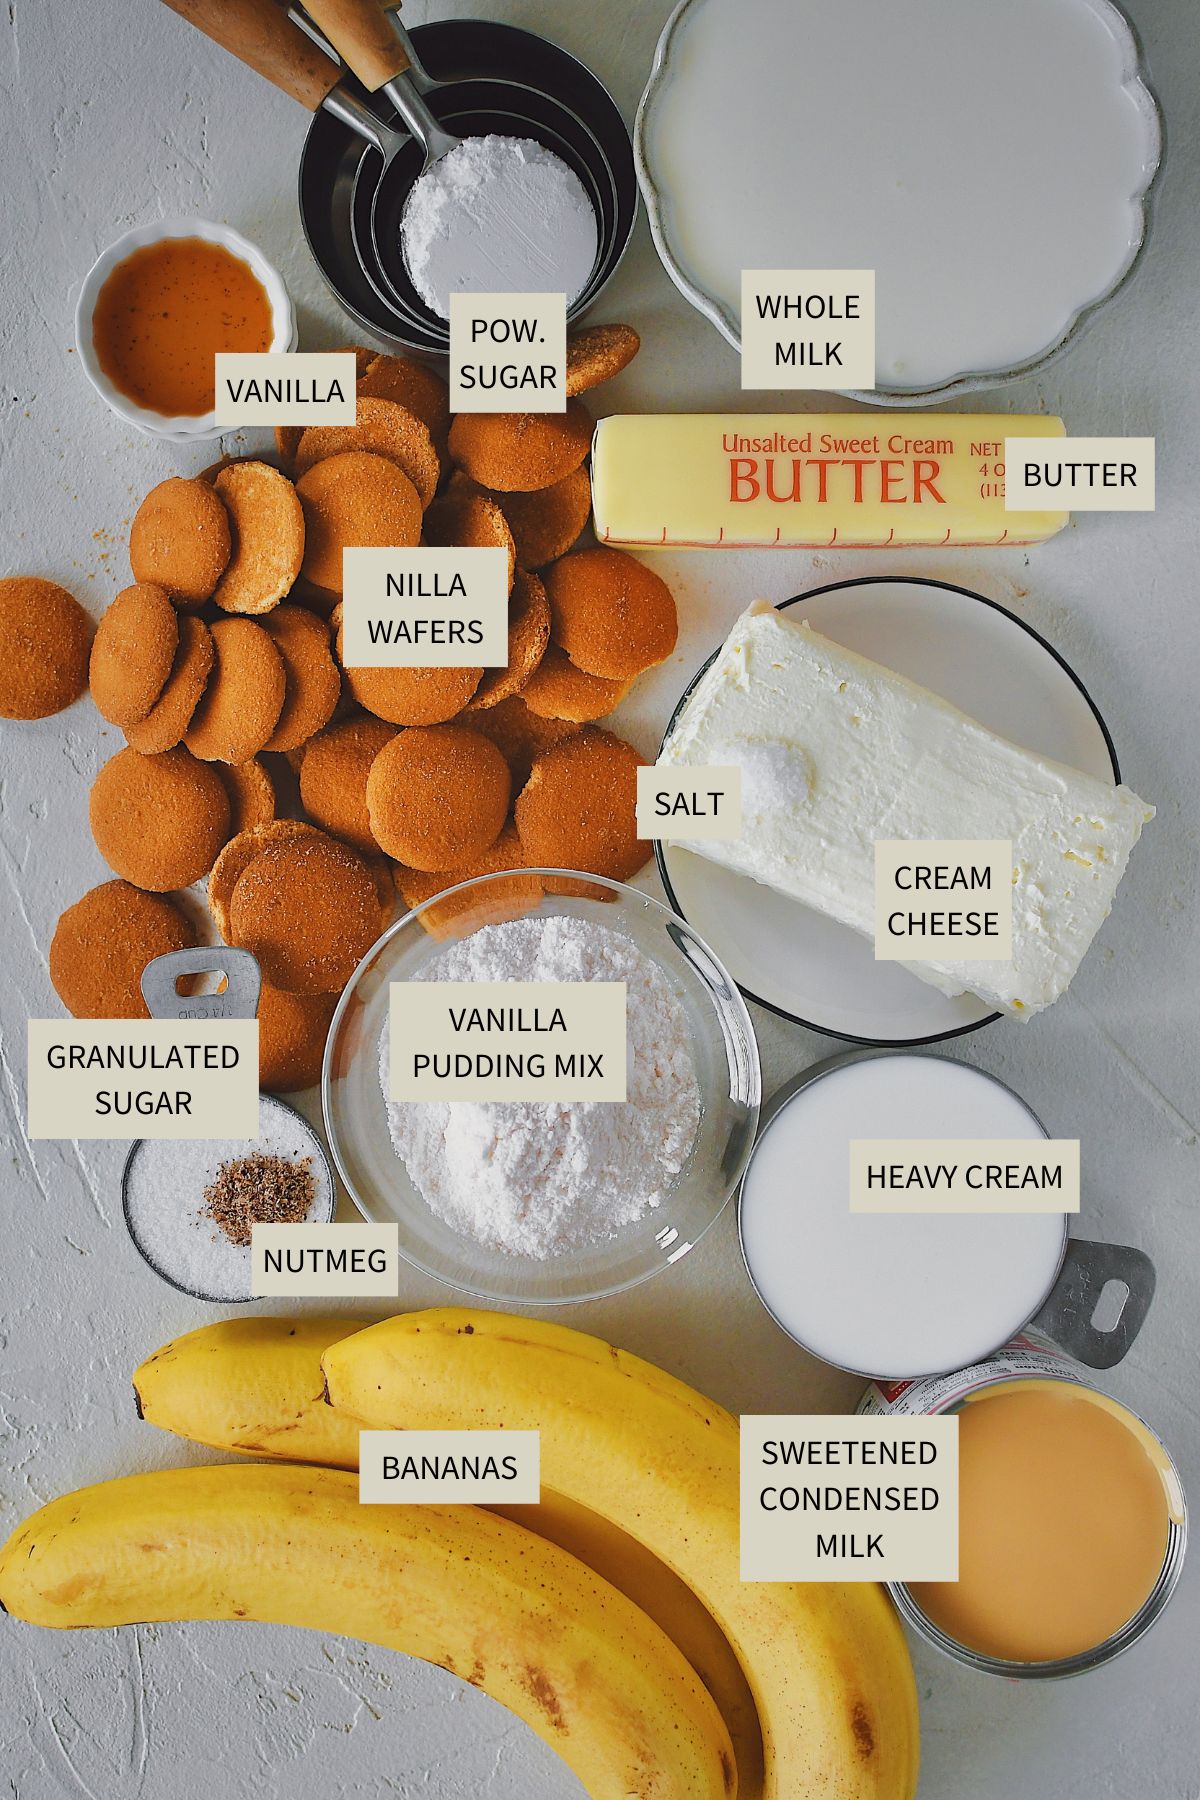
Where the banana pudding part of this recipe varies is the cream cheese that stiffens up the pudding so it can be sliced in a pie crust. It is mixed with the pudding mix and a little less milk than normally used also.
Use the JUMP TO RECIPE button at the top of the post, or scroll to the bottom of the post to see the full recipe card with ingredient measurements and instructions.
Method
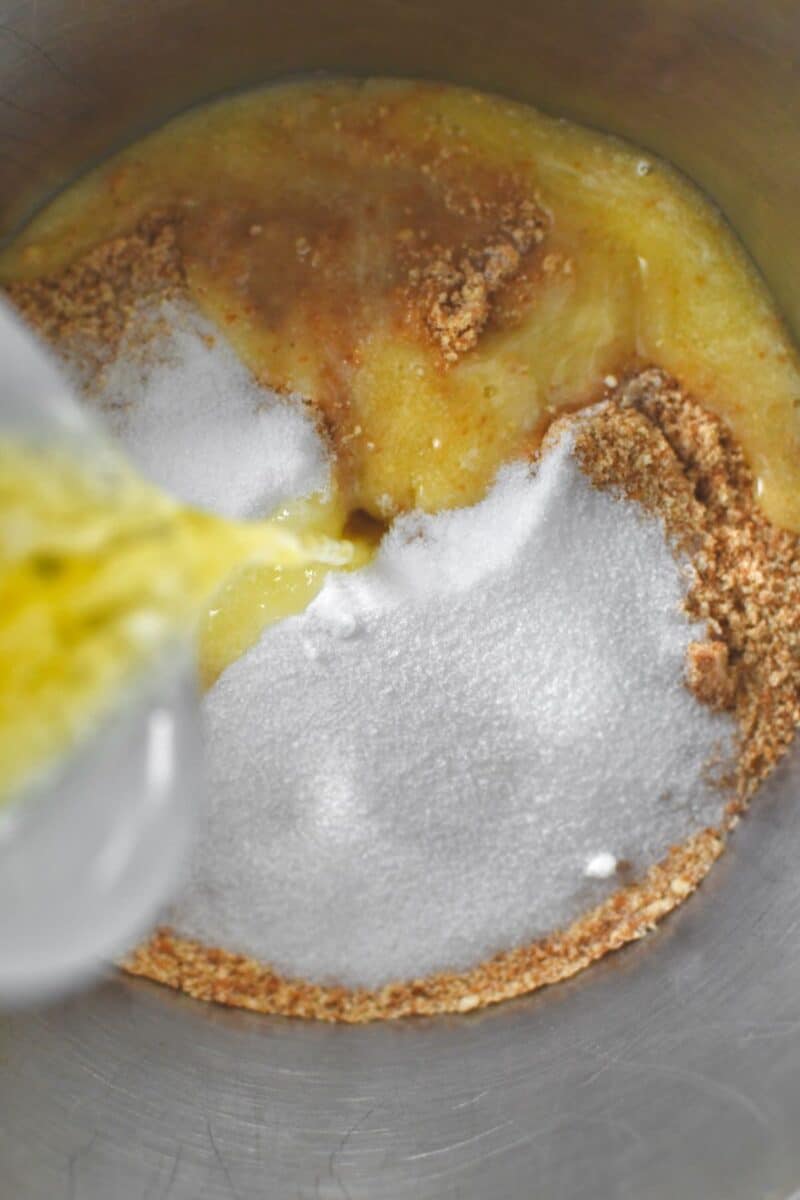
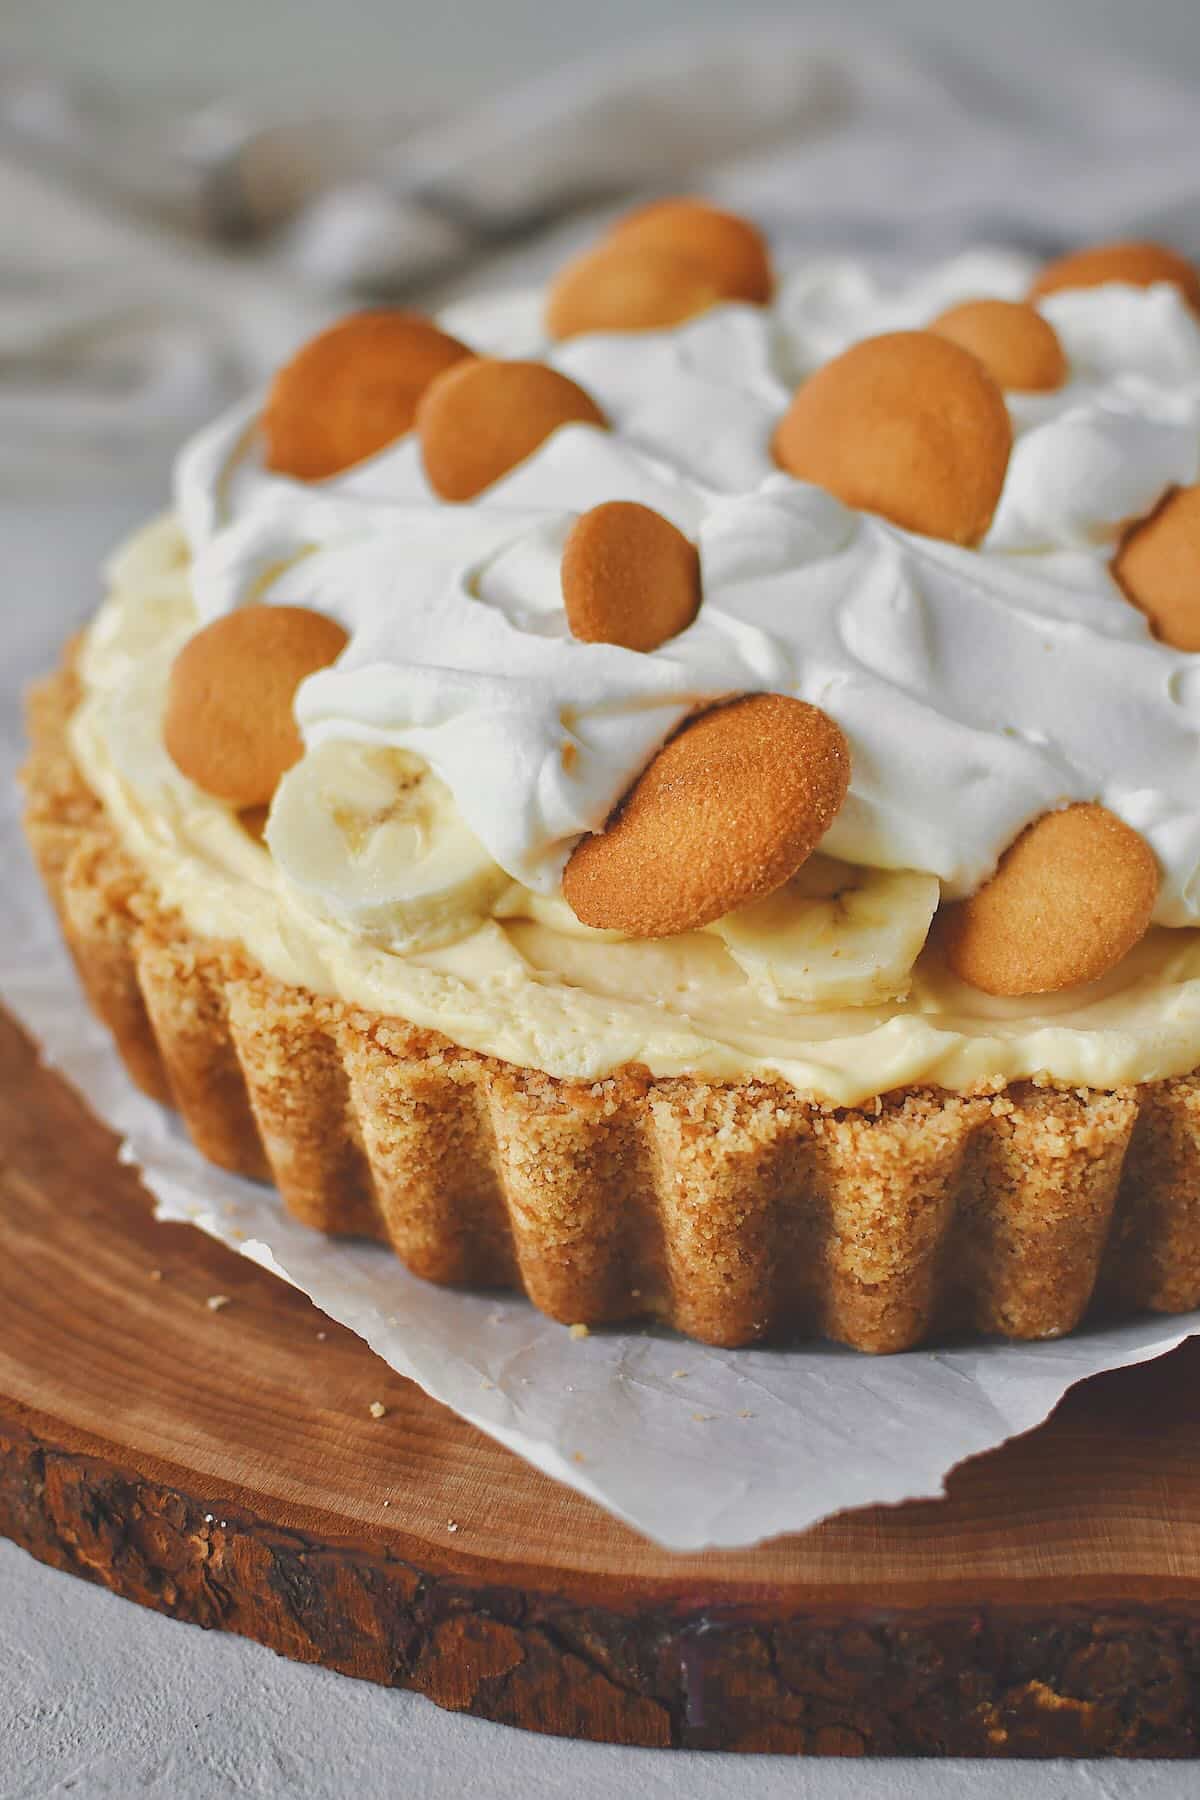
To make this crust, first, grind the nilla wafers till they are small crumbs in a food processor. I do it in my little one in two batches. Then mix the crumbs, sugar, nutmeg, and melted butter and press it into a deep pie, or tart pan. I personally LOVE the tart pan for something different, and it fills it to the tip-top!

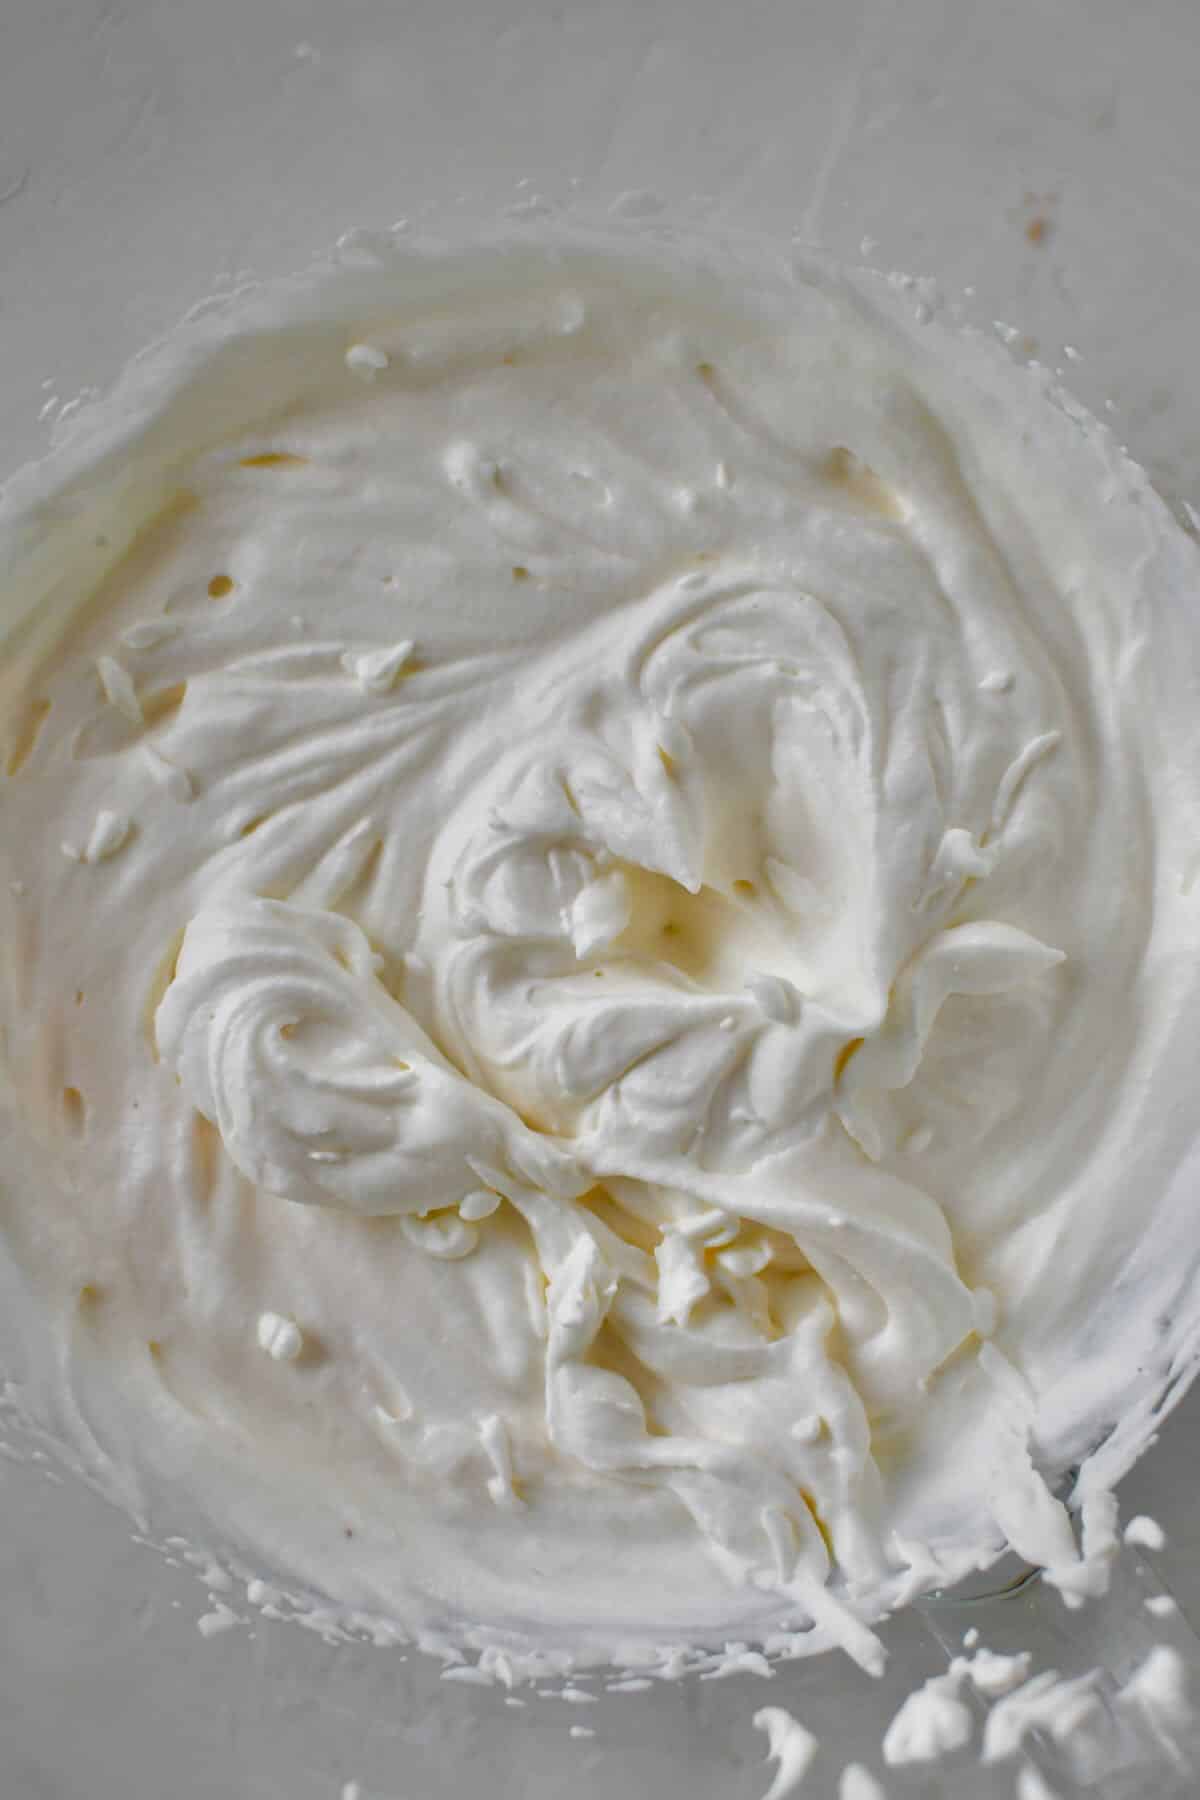
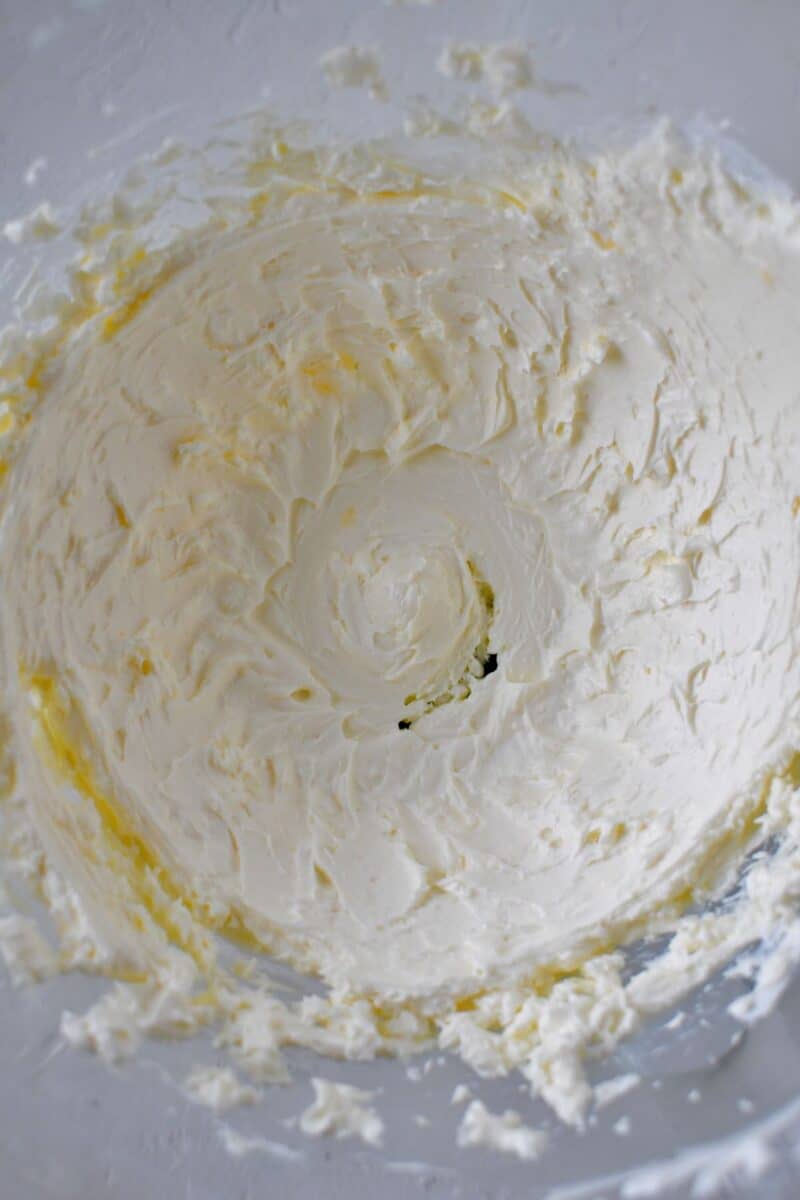
I like to use as few dishes as possible, so I start by whipping the cream in the stand mixer bowl. You do have to remove it to another bowl, but I try.
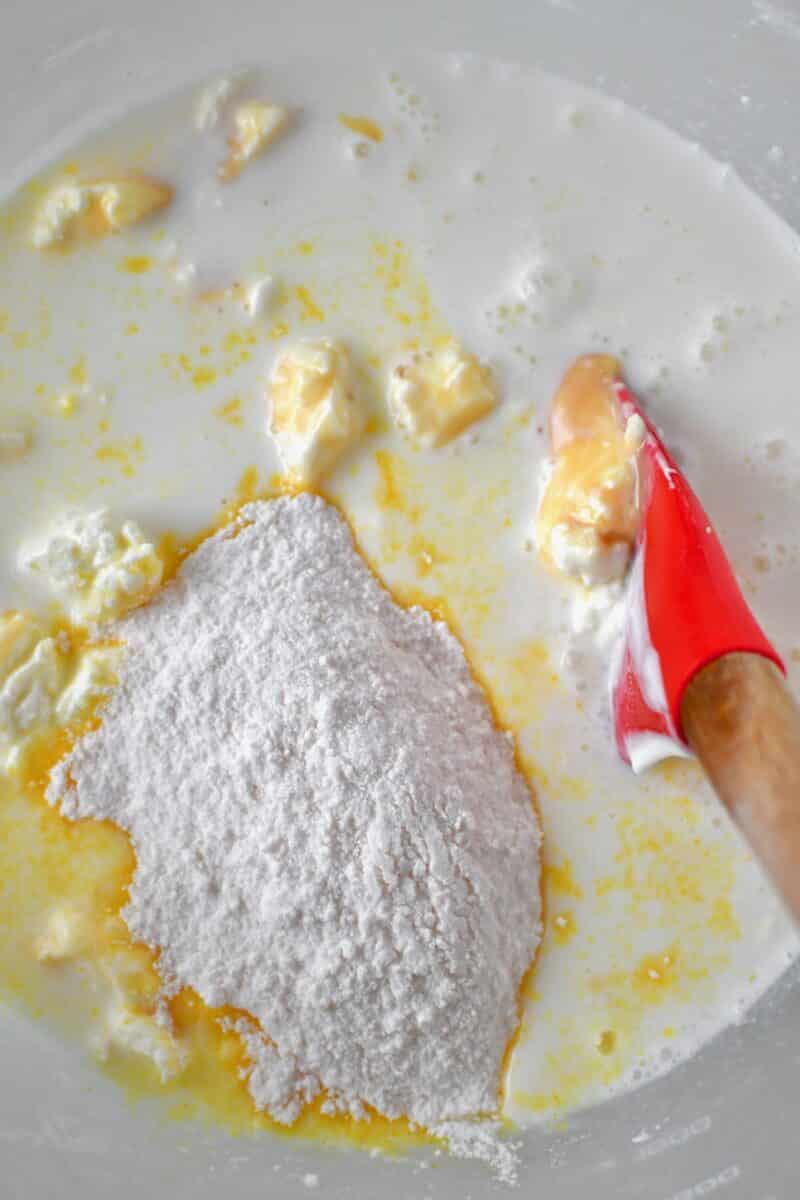
Then in the same bowl, whip the cream cheese till smooth, then add the milk, pudding mix, and sweetened condensed milk and whip till perfectly creamy.
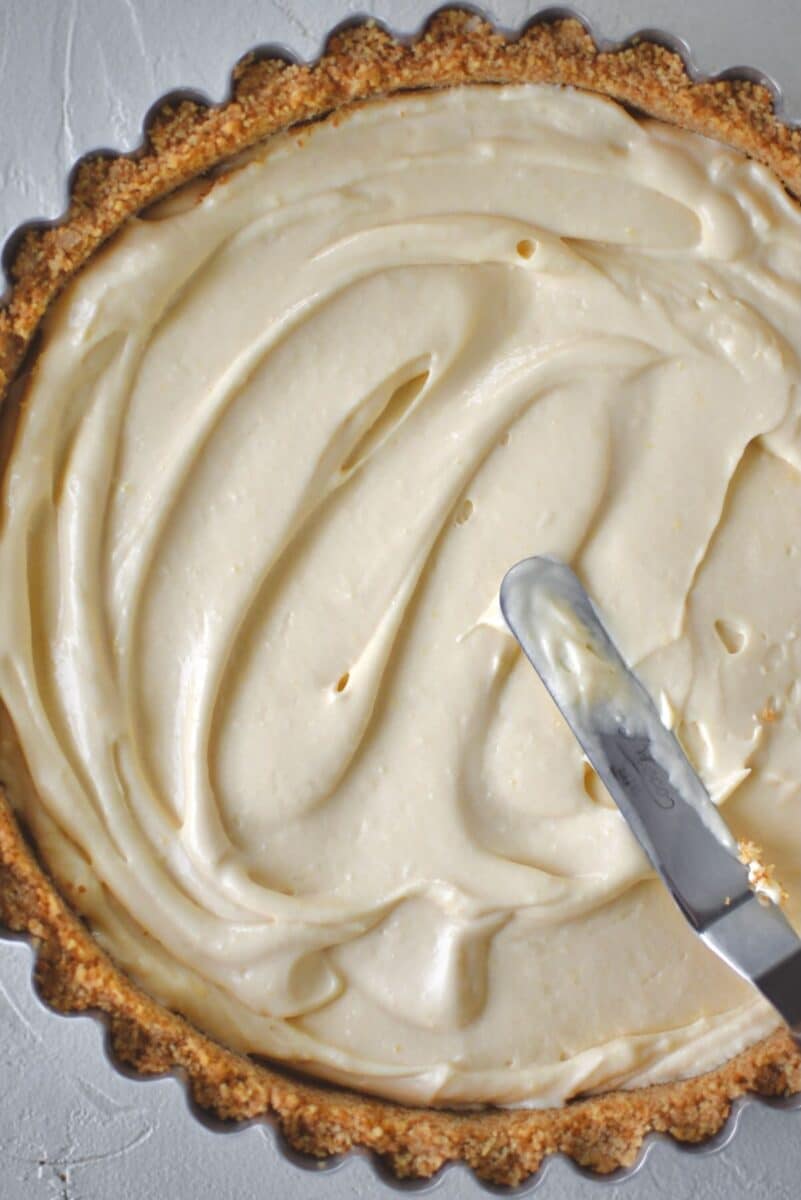
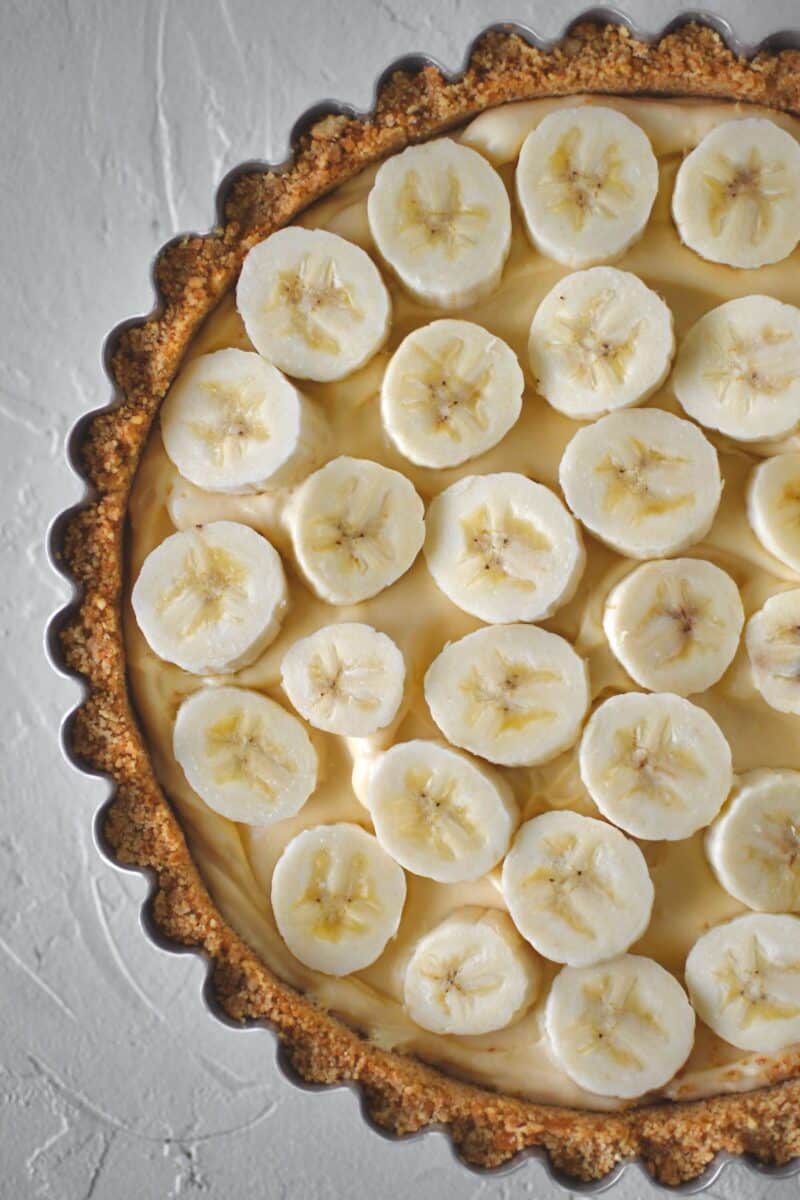
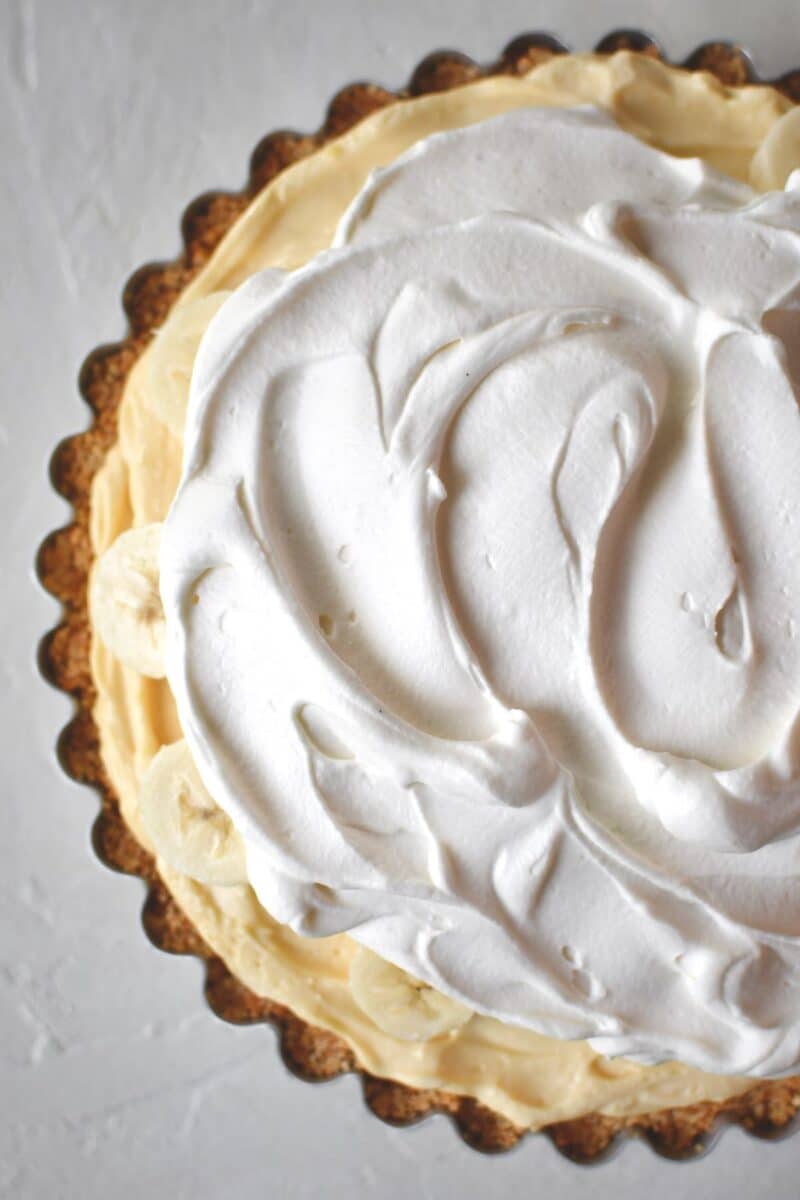
Spread half the pudding mix into the baked and cooked pie crust, top with a full layer of bananas, and then cover with the remaining pudding. You are then going to chill the pie for 24-hours, though it was best after a 24 hour chill.

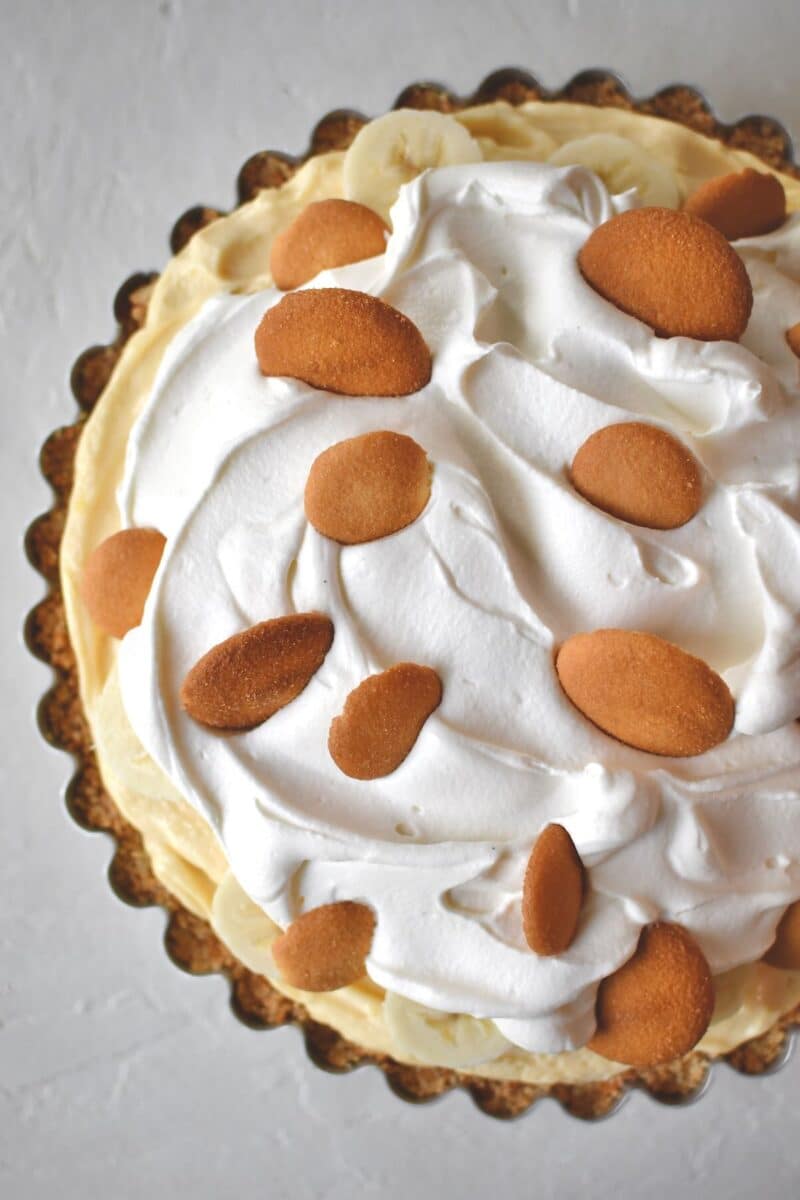
When ready to eat, top the pie with 1 more banana thinly sliced, the remaining whipped cream, and the reserve nilla wafers.
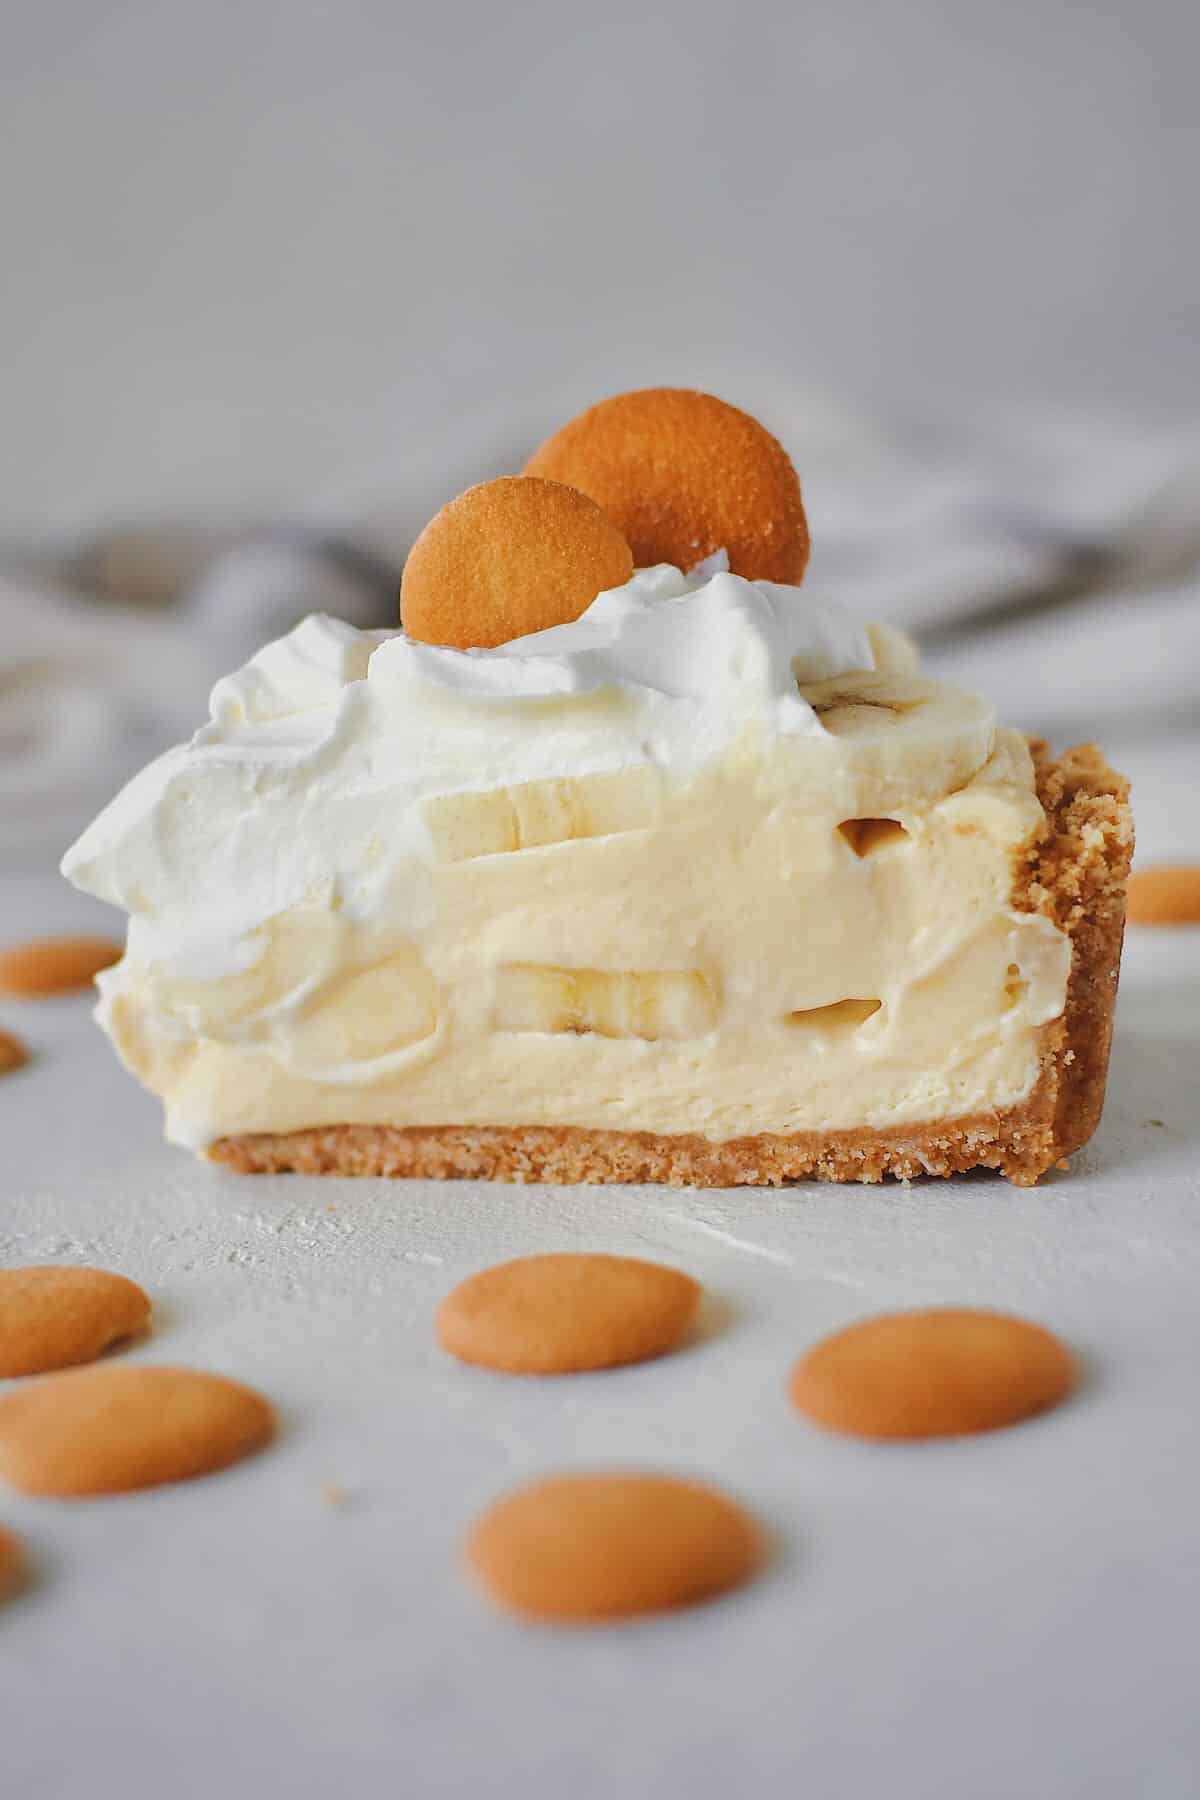
You have to slice the Banana Pudding Pie, RIGHT out of the fridge, otherwise, it gets a little messy. But it holds its shape really well as long as you cut it when it's super cold. But you better believe I still ate it on day 3 when it was soft and fell apart, it was still amazing!
Notes & Tips
I love to make this recipe in a deep tart or quiche pan. At a minimum, you need to use a deep pie pan. If you use a regular shallow pie pan, this recipe will make you two pies. You could also make this in a 9x13 pan and cut it like cheesecake bars or just scoop it like more traditional banana pudding.
The pie slices beautifully and just like a traditional pie within 24-48ish hours of making it. After 48 hours the bananas began to lose a little liquid and it got a little soggy. But at a minimum, I wouldn't cut it for at least 4 hours after making it so it can set up well.
So I would say you can make it up to the day before you want to eat it, but only 1 day.
I will tell you, if you use the deep tart pan I suggest, it gets REALLY full, but doesn't overflow, it just makes for a beautiful mile-high pie!
Substitutions
While you could make this in a graham cracker crust, I don't suggest it. The nilla wafers keep it traditional and it's the best crust I've ever had!
Did you know jello pudding mix is Vegan? If you would like to make this recipe dairy-free, replace the cream cheese with a plant-based version, use coconut-sweetened condensed milk, and swap the whole milk for almond or cashew.
You can also make coconut whipped cream for use in the filling and topping.
Did you make this recipe? Let me know by leaving a review or comment! And be sure to sign up for my newsletter, and follow along on Instagram, Pinterest, and Facebook!
📖 Recipe

Banana Pudding Pie
I LOVE this Banana Pudding Pie, the regular version has always been a fave, but the nilla wafer crust on this one is out of this world!
Ingredients
for the crust:
- 2 cups Nilla Wafer Crumbs, 1, 11-ounce box crushed, minus 12-15 cookies to use for garnish
- ¼ cup Granulated Sugar
- ¼ teaspoon Nutmeg, ground
- 8 tablespoon Unsalted Butter, melted
for the pie filling:
- 1, 8-ounce block Cream Cheese, room temperature
- 1, 14-ounce can Sweetened Condensed Milk
- 1 cup Whole Milk
- ¼ teaspoon Kosher Salt, Morton’s
- 1, 3.4-ounce package Instant Vanilla or Banana Pudding Mix
- 3-4 Bananas, sliced
- 2 cup Heavy Cream
- ¼ cup Powdered Sugar
- 1 teaspoon Vanilla Extract
Instructions
for the crust:
- Preheat the oven to 350˚F.
- Place the Nilla wafers in a food processor and pulse until a fine crumb has formed.
- Place the sugar and nutmeg into the bowl and drizzle in the melted butter.
- Pulse together a few times until the mixture looks like wet sand.
- Press the crust mixture into a deep 9 or 10-inch pie pan and bake in the preheated oven for 8 minutes.
- Let cool completely before adding the pie filling.
for the pie filling:
- In the bowl of an electric stand mixer fitted with the whisk attachment, combine the heavy cream, sugar, and vanilla.
- Beat on medium speed until fluffy and the cream holds a soft peak when you pull the whip out of the bowl.
- Remove the whipped cream to a second bowl, and reserve in the fridge till needed.
- In the same electric stand mixer bowl fitted with the whisk attachment beat the cream cheese until smooth.
- With the mixer on low speed, add the condensed milk, whole milk, and pudding mix. Turn the mixer up to high for about 2 minutes until well blended and fluffy after everything gets working in enough to not splash around.
- Fold in half of the whipped cream into the pudding mixture and beat in the mixer just until combined. Reserve the remaining whipped cream in the fridge till you are ready to serve.
- Spread half the filling in the cooled pie crust, then spread over ¾ of the bananas. Top with the remaining filling.
- Cover the pie and refrigerate for at least 2 hours, up to overnight.
- When ready to serve, top with another layer of bananas and the reserved whipped cream. Garnish with the saved Nilla Wafers and enjoy.
Notes
Notes & Tips
I love to make this recipe in a deep tart or quiche pan. At a minimum, you need to use a deep pie pan. If you use a regular shallow pie pan, this recipe will make you two pies. You could also make this in a 9x13 pan and cut it like cheesecake bars or just scoop it like more traditional banana pudding.
The pie slices beautifully and just like a traditional pie within 24-48ish hours of making it. After 48 hours the bananas began to lose a little liquid and it got a little soggy. But at a minimum, I wouldn't cut it for at least 4 hours after making it so it can set up well.
So I would say you can make it up to the day before you want to eat it, but only 1 day.
I will tell you, if you use the deep tart pan I suggest, it gets REALLY full, but doesn't overflow, it just makes for a beautiful mile-high pie!
Substitutions
While you could make this in a graham cracker crust, I don't suggest it. The nilla wafers keep it traditional and it's the best crust I've ever had!
Did you know jello pudding mix is Vegan? If you would like to make this recipe dairy-free, replace the cream cheese with a plant-based version, use coconut-sweetened condensed milk, and swap the whole milk for almond or cashew.
You can also make coconut whipped cream for use in the filling and topping.
Recommended Products
As an Amazon Associate and member of other affiliate programs, I earn from qualifying purchases.
-
 OXO Good Grips 3-Piece Stainless-Steel Mixing Bowl Set
 -
Tovolo Flex-Core Stainless Steel Handled Spoonula Spatula Spoon, Ergonomic Grip, Dishwasher Safe, Charcoal
-
10 Inch Tart Pan with Removable Loose Bottom, Premium Non-Stick Carbon Steel Pie Pan Quiche Pan, Heavy Duty Fluted Edges Round Baking Pan Ideal for Baking Pies, Tarts, Quiches and Christmas Desserts
-
OXO Good Grips 3 Piece Squeeze & Pour Silicone Measuring Cup Set
-
OXO Good Grips 4 Piece Stainless Steel Measuring Cups with Magnetic Snaps
-
Breville BSB510XL Control Grip Immersion Blender, Stainless Steel
-
KitchenAid KSM150PSCE Artisan Stand Mixers, 5 quart, Copper Pearl (Renewed)


Nutrition Information:
Yield:
12Serving Size:
1Amount Per Serving: Calories: 786Total Fat: 46gSaturated Fat: 25gTrans Fat: 1gUnsaturated Fat: 17gCholesterol: 102mgSodium: 367mgCarbohydrates: 82gFiber: 2gSugar: 59gProtein: 10g
This is an estimated caloric value, actual numbers may differ based on the ingredients used.

Celina L. says
I made this in a 9 x 13 pan and it was perfect! It made so much and everyone was a big fan! Thank you!
Kendell says
love to hear that, and so good to know it worked in a 9x13 pan too!
Michelle Blythe says
I made this for a party, and it was a huge it! Delicious!