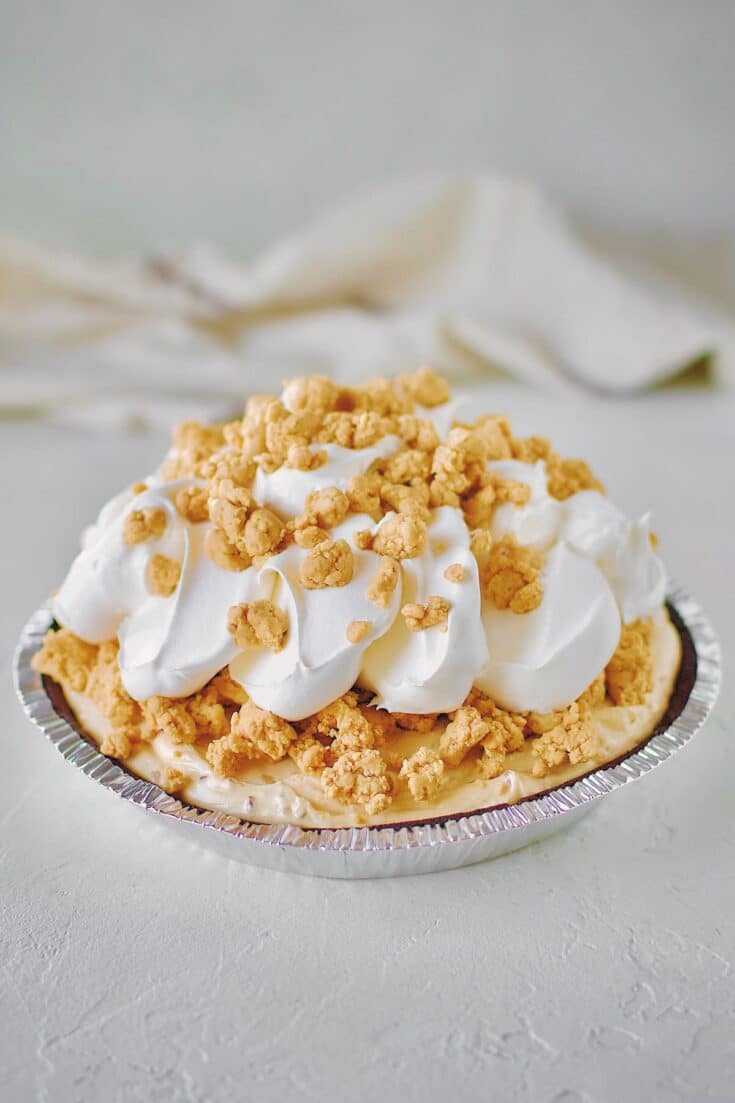
I LOVE all things peanut butter, and this No Bake Peanut Butter Pie ranks super high on the list of best PB things EVER! You are really going to love it. From the chocolate crust to the fluffy filling, but don't skimp on the peanut butter crumble, it might be my favorite part of the whole thing.
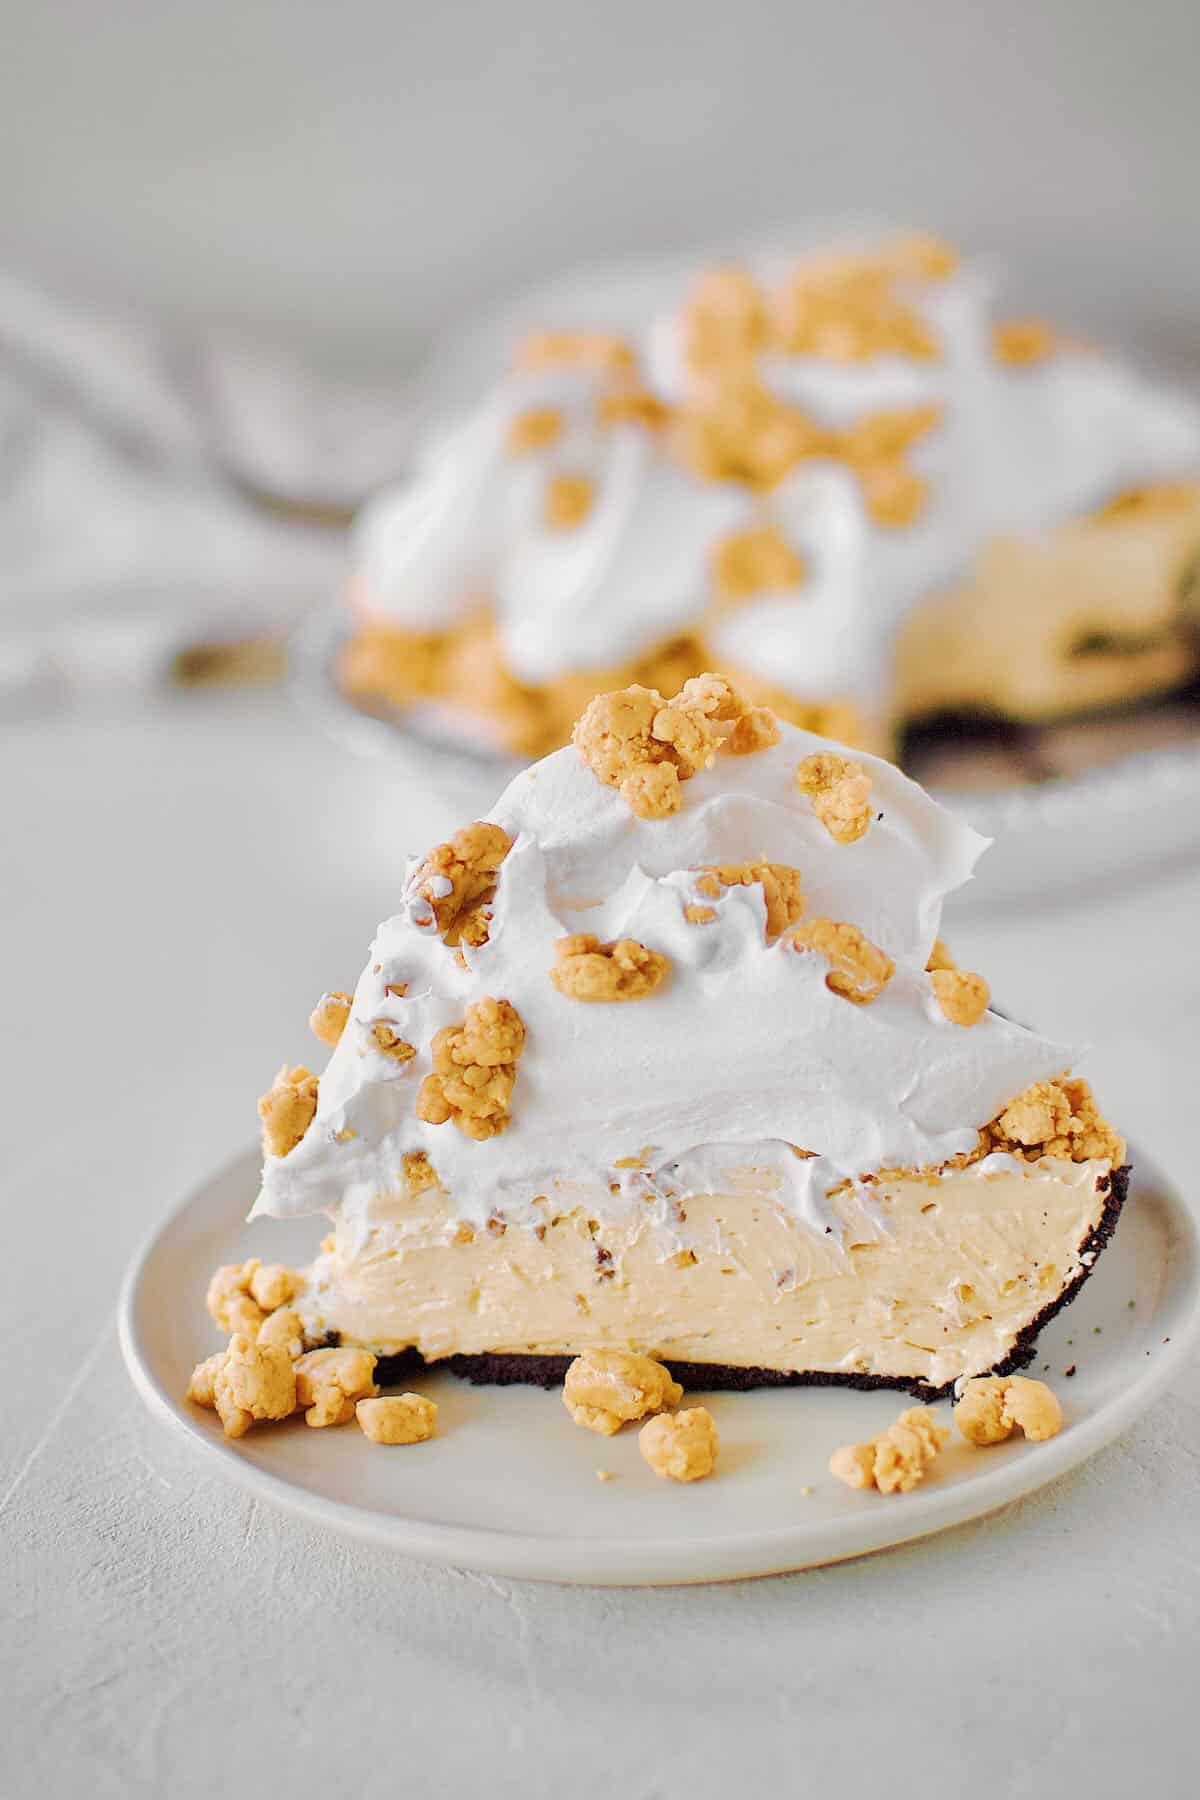
If you have a peanut butter lover in your life, you NEED to make them this pie. I am not a very good pie baker, but the good news with this one is that it does not require any baking, unless you choose to make the crust from scratch, but it is still super easy!
Ingredients
I typically try to make everything homemade for most every recipe I produce on this site. But when I went to make this one, after many tests crushing my own chocolate wafers, I could no longer locate the wafers and had to opt for the store-bought chocolate crust. But the good news is that you can make it either way, and a store-bought crust just lessens the time you have to wait to eat this amazing pie.
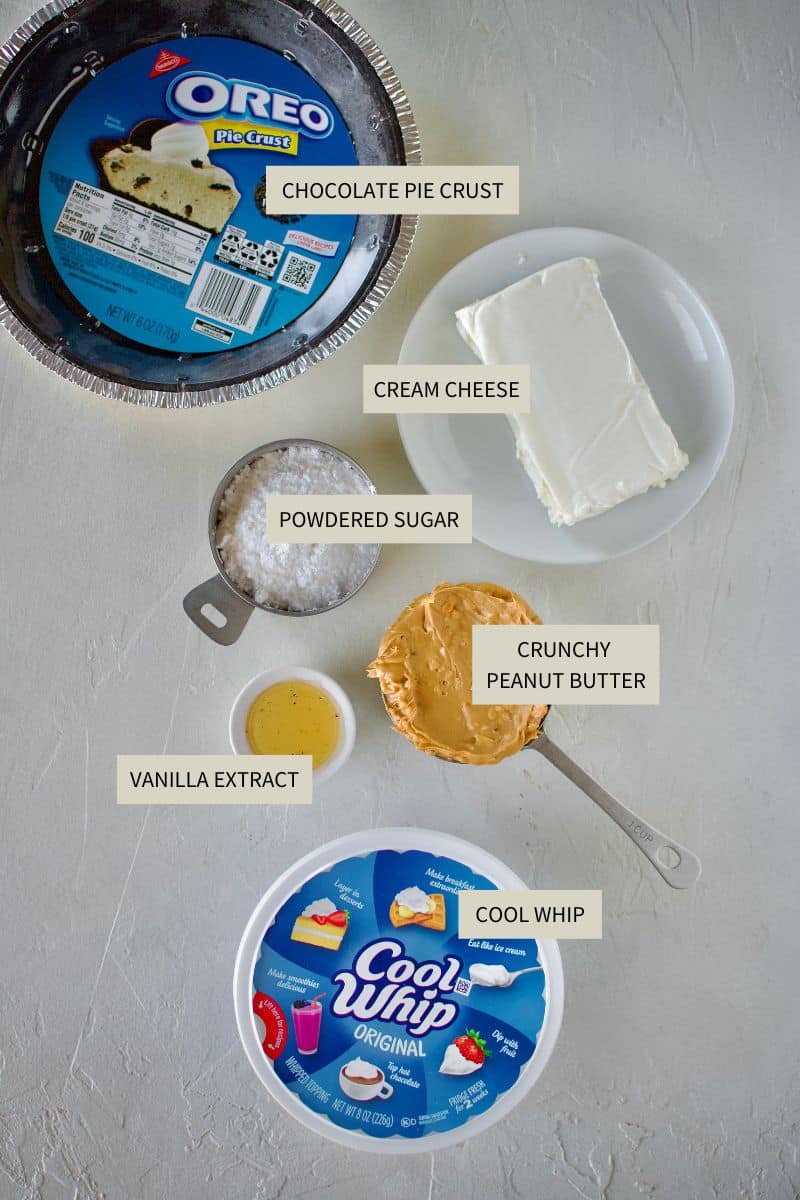
I also acknowledge that I am using cool whip, which I typically would NOT use, but in this case, it just brings the nostalgic flavor to this pie, so I use it. It is also much more economical to use, however, you could make your own whipped cream and use it in its place. You will need 4 cups.
Use the JUMP TO RECIPE button at the top of the post, or scroll to the bottom of the post to see the full recipe card with ingredient measurements and instructions.
Method
If you are going the route of making your own crust, do that first so that it can cool completely before putting the filling in it.
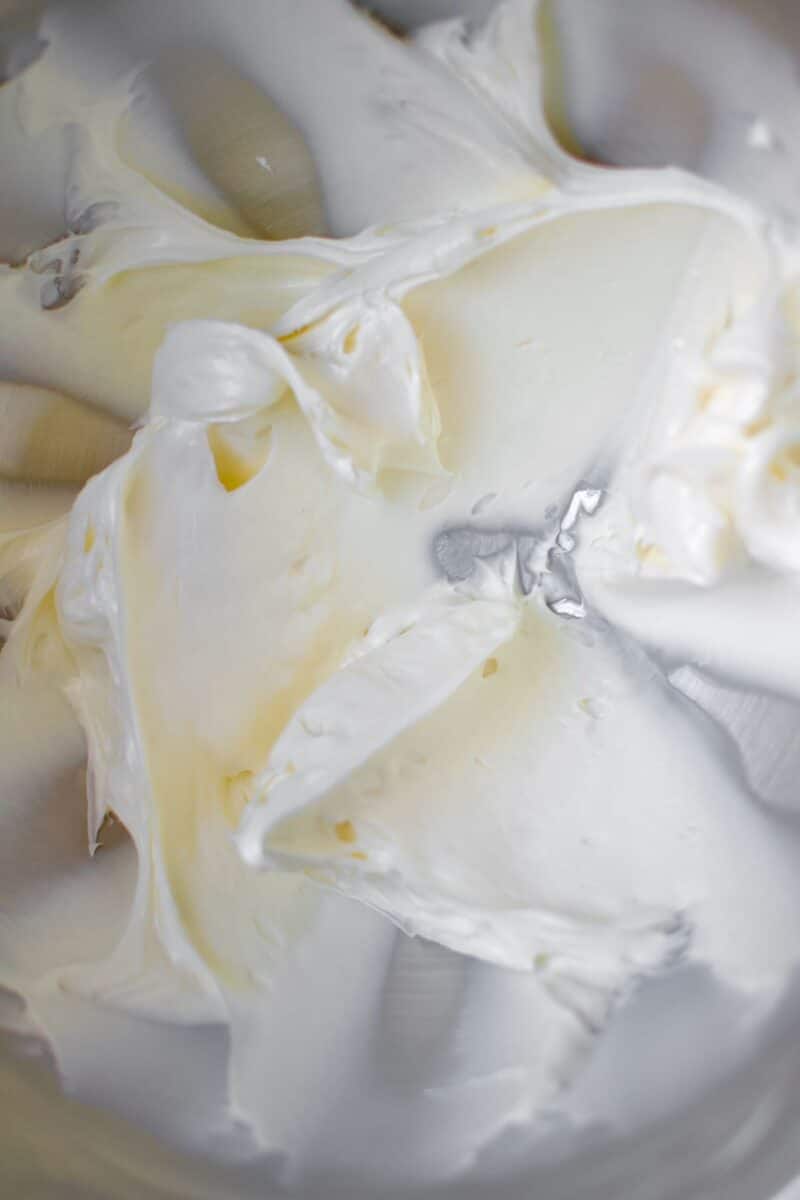
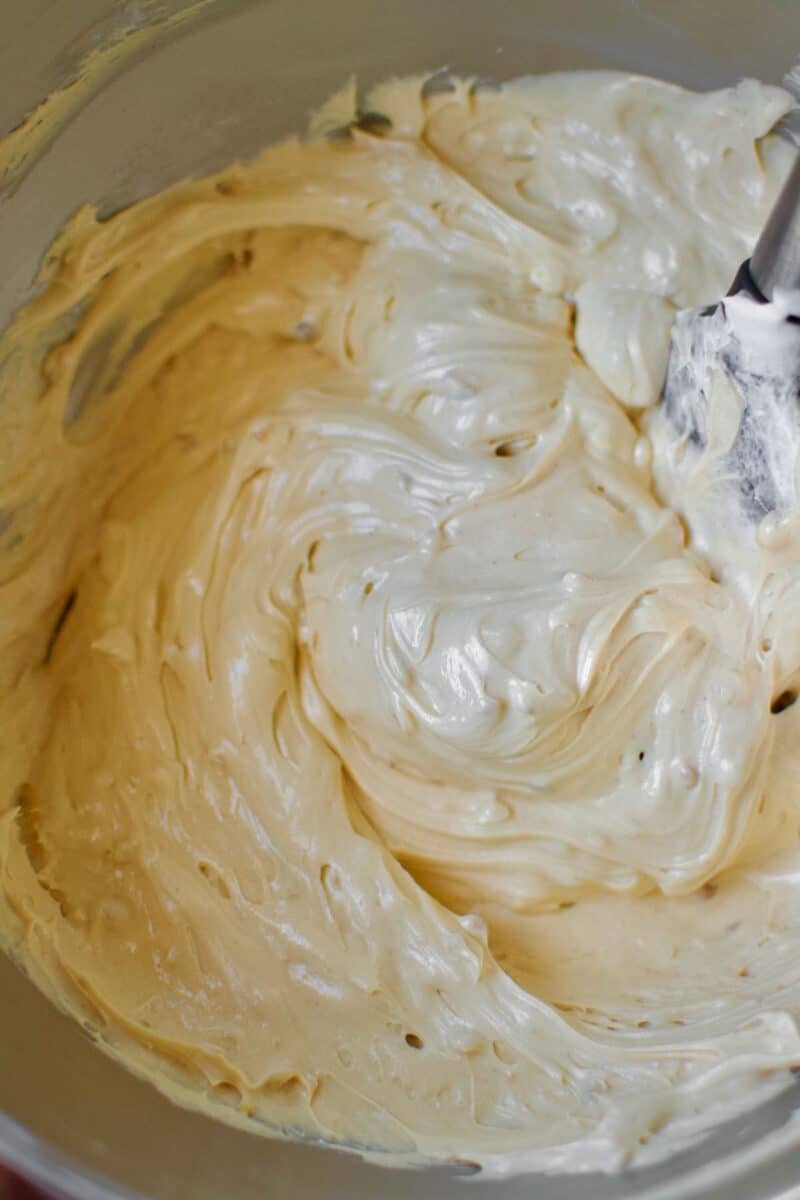
To make the filling, beat the cream cheese, sugar, and vanilla together until light and fluffy. Then beat in the peanut butter till smooth. Dollop in the cool whip with the mixer on low speed until it is worked in. Then place the filling in the pie crust and let it chill till firm.
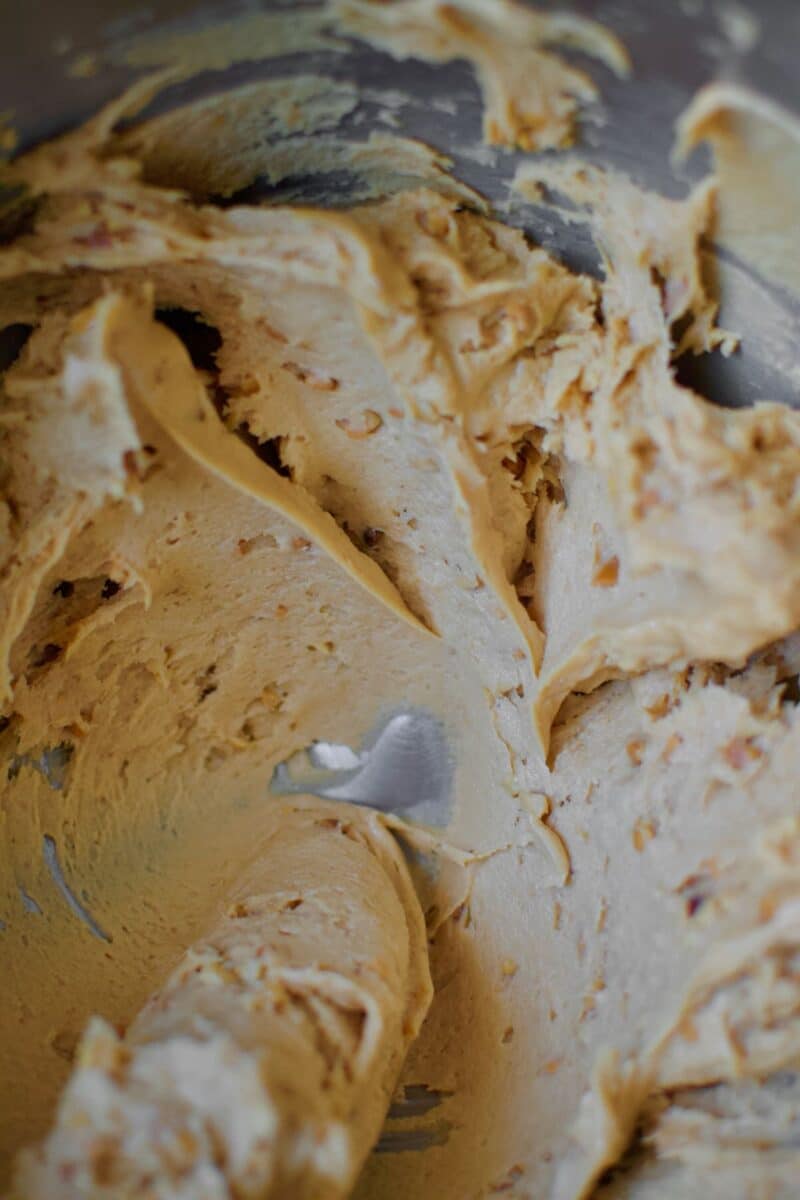
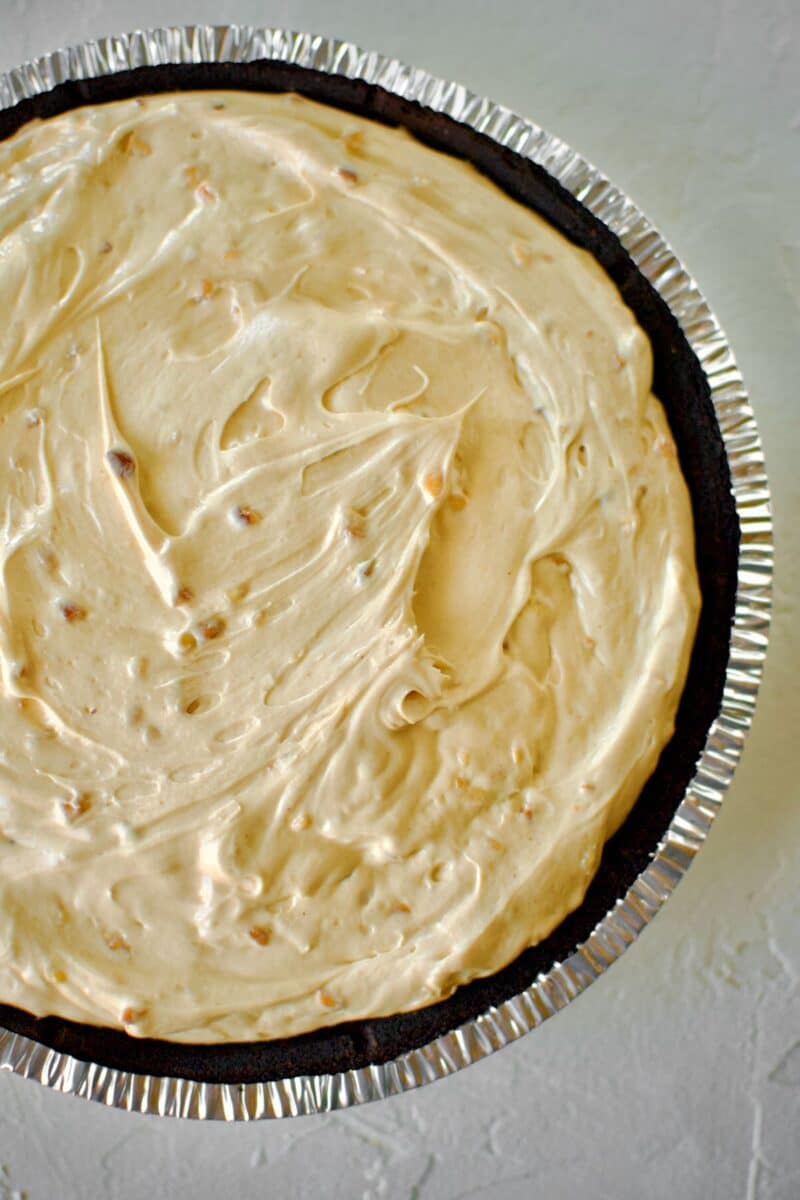
While the pie chills, make the peanut butter crumble topping. I LOVE this topping, mostly because I think it tastes like the filling of a Reese's peanut butter cup, and we have already established that I am a huge PB lover! Blend the peanut butter and sugar together until it forms a crumbly mixture, and chill it till the pie is ready to be finished.
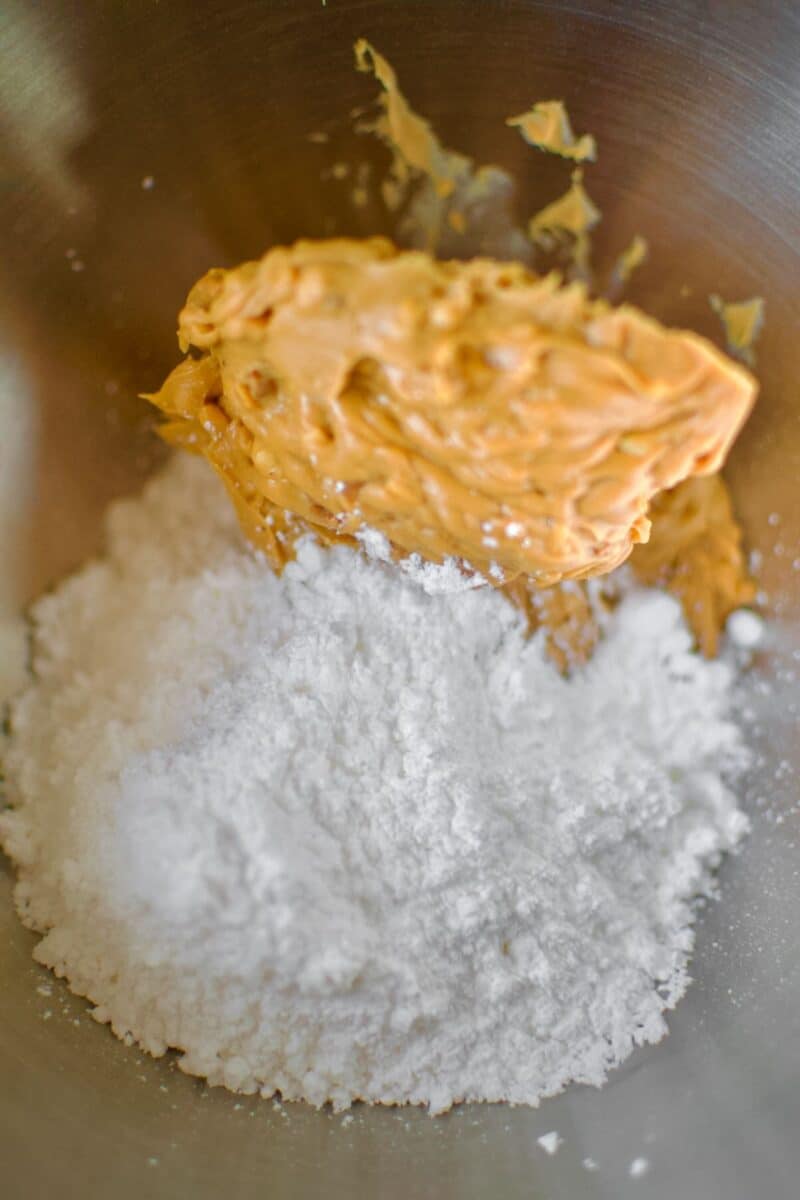
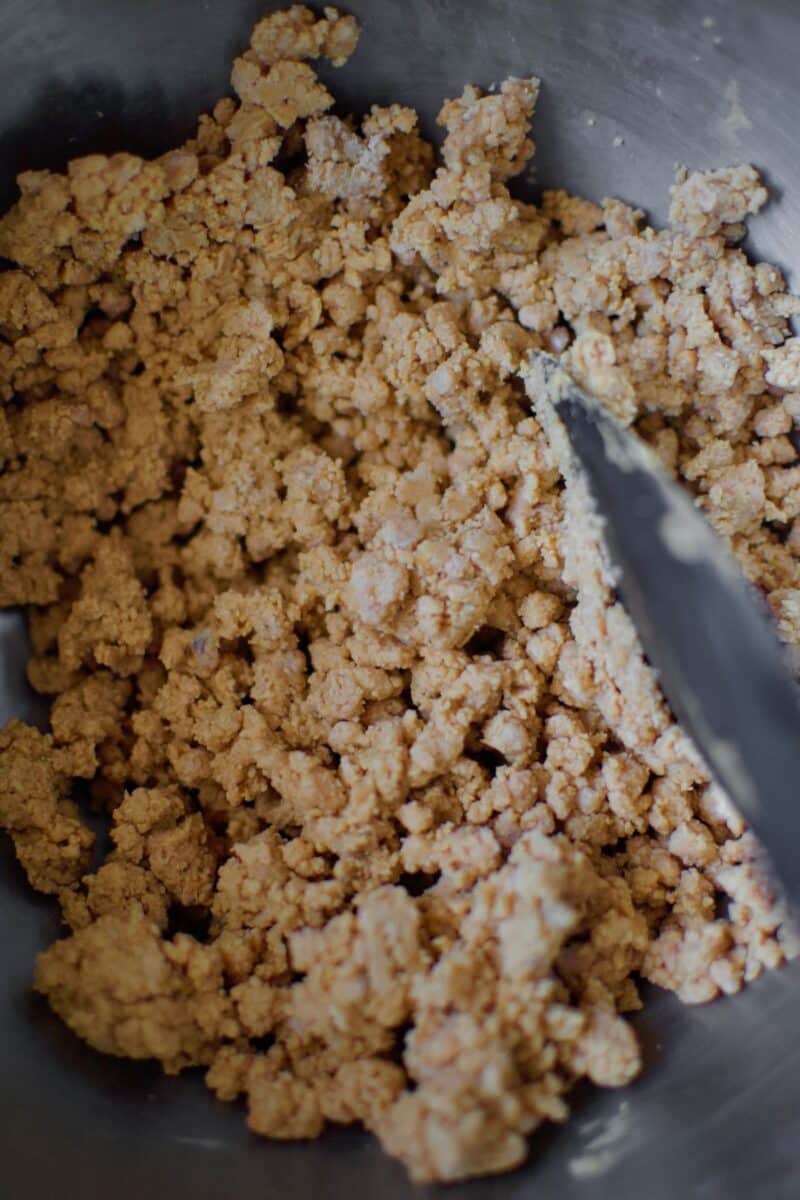
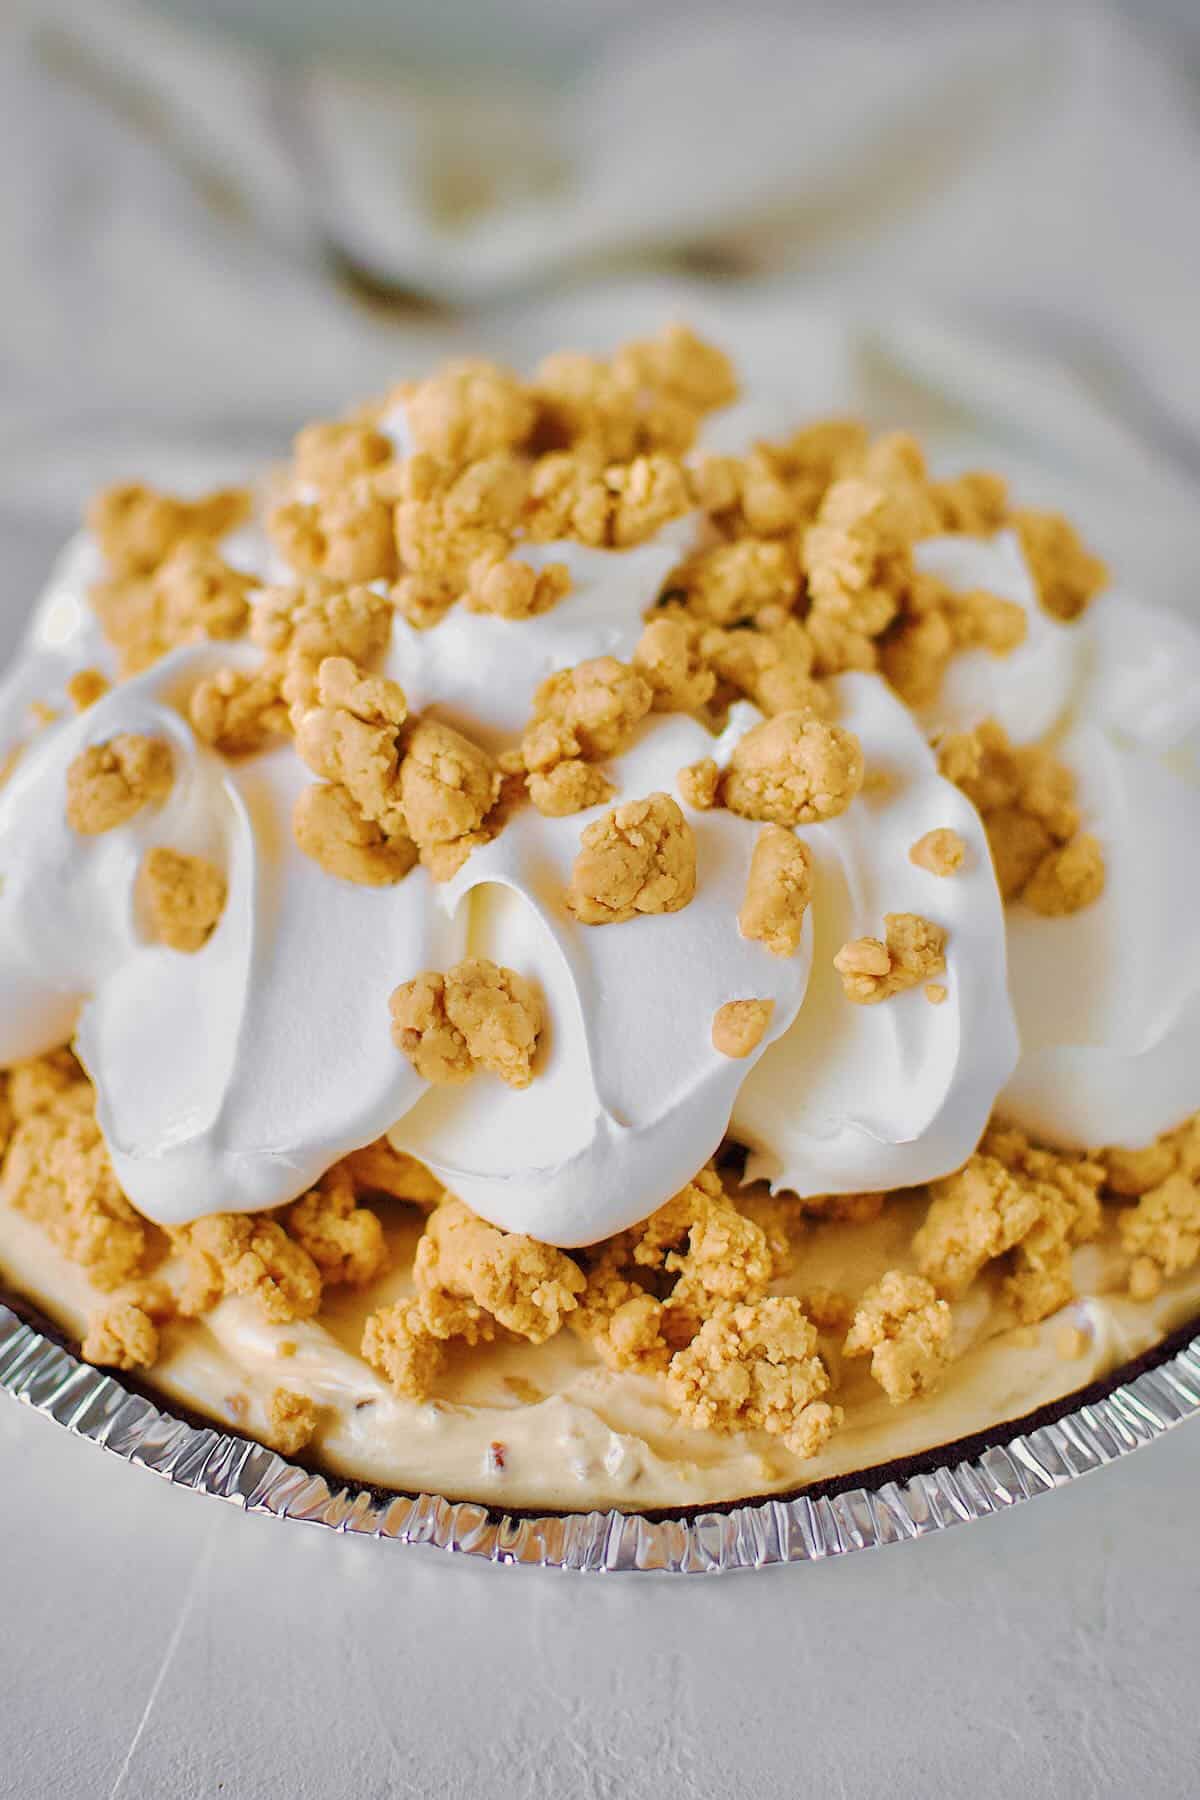
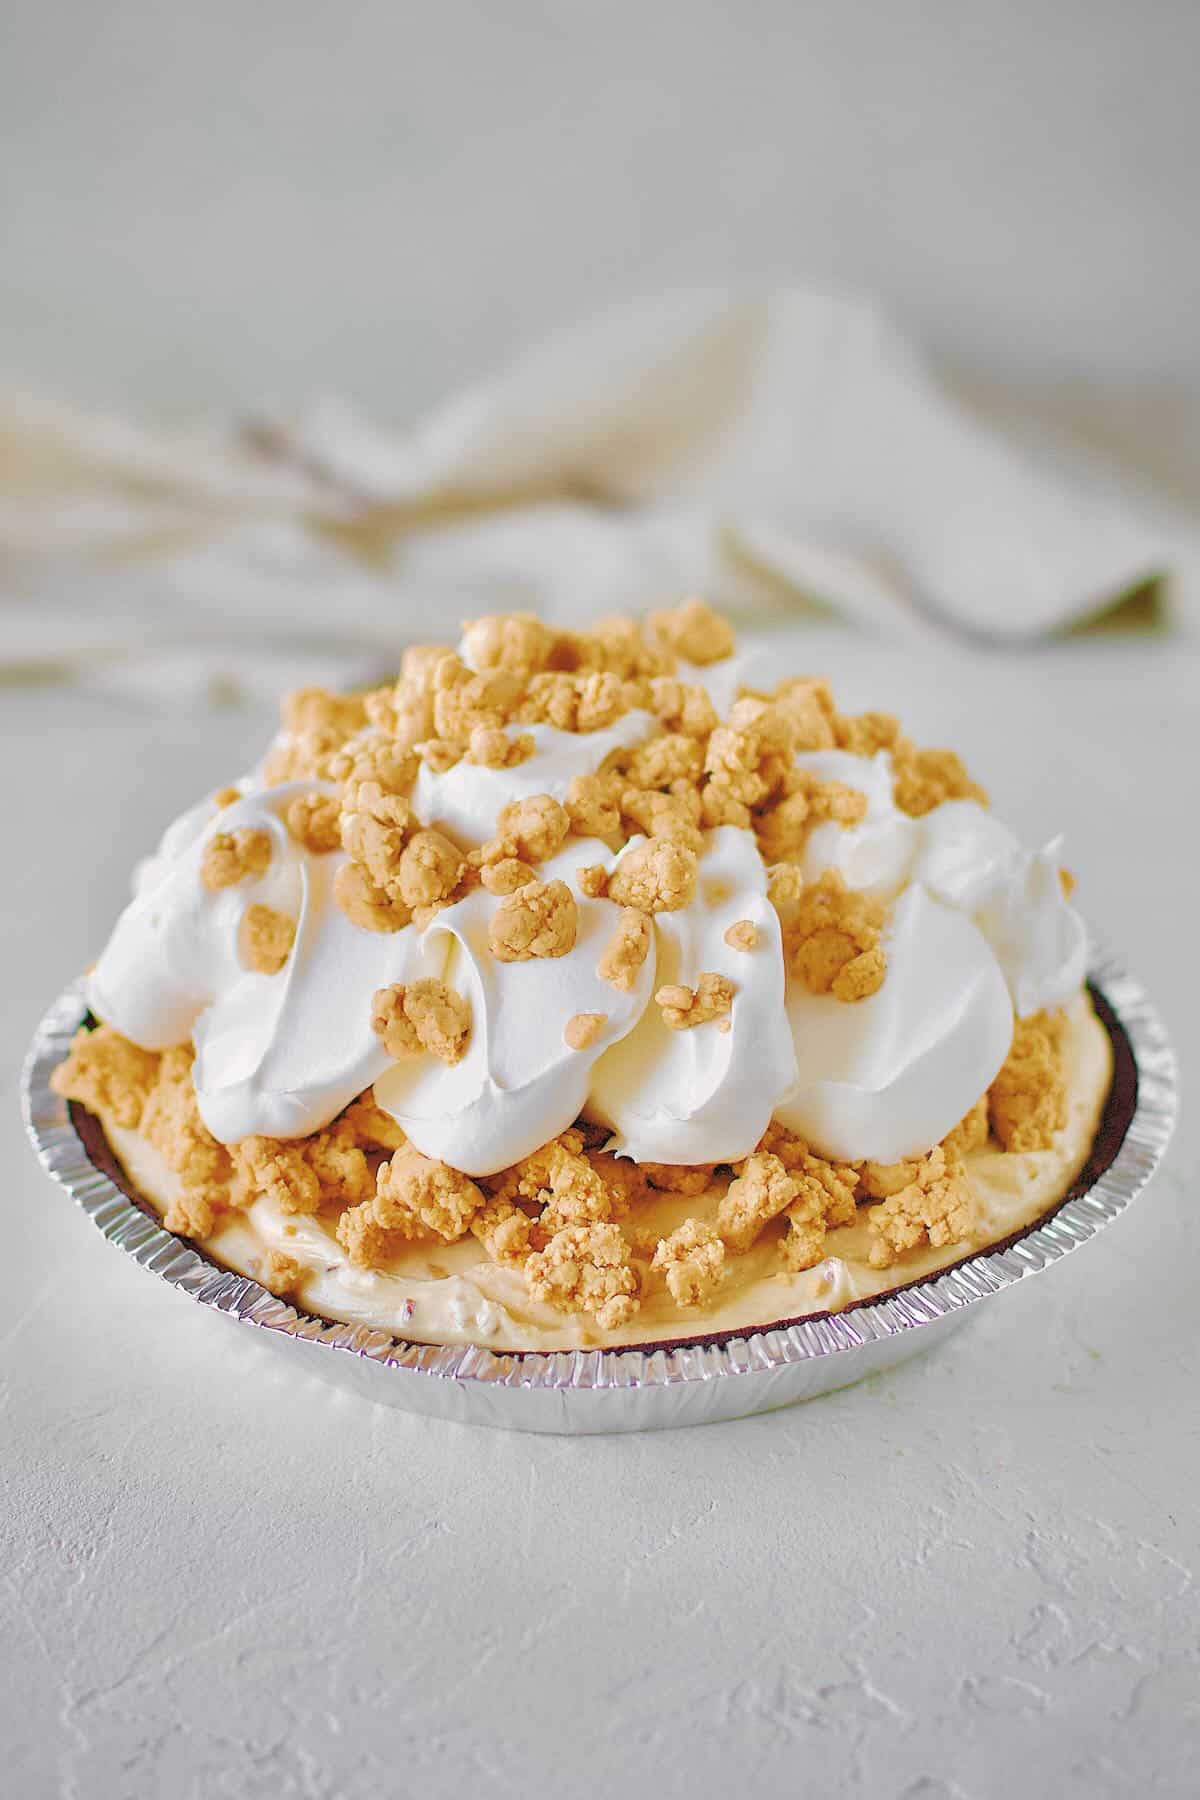
To finish the pie, add half to two-thirds of the peanut butter crumble to the top of the set pie, then dollop on the remaining cool whip, I like to leave it in big fluffy dollops. Add the remaining crumble on top and the pie is ready to be enjoyed!
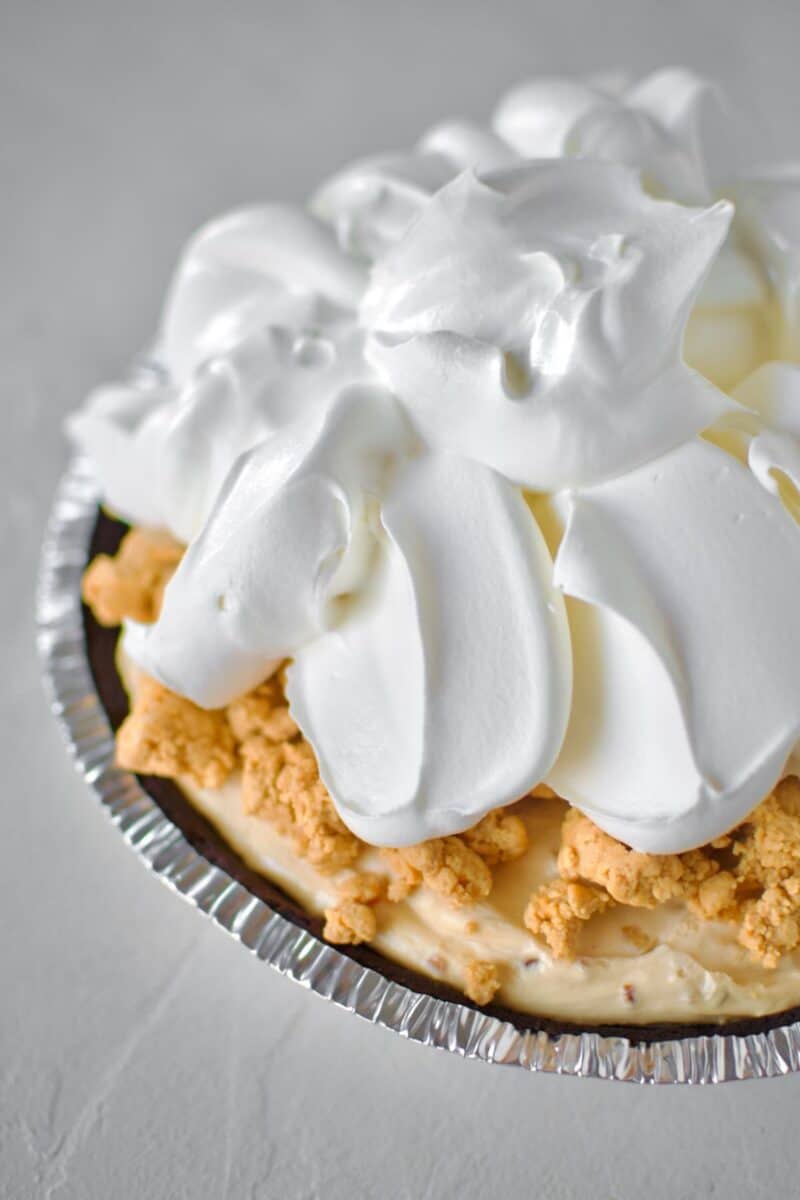
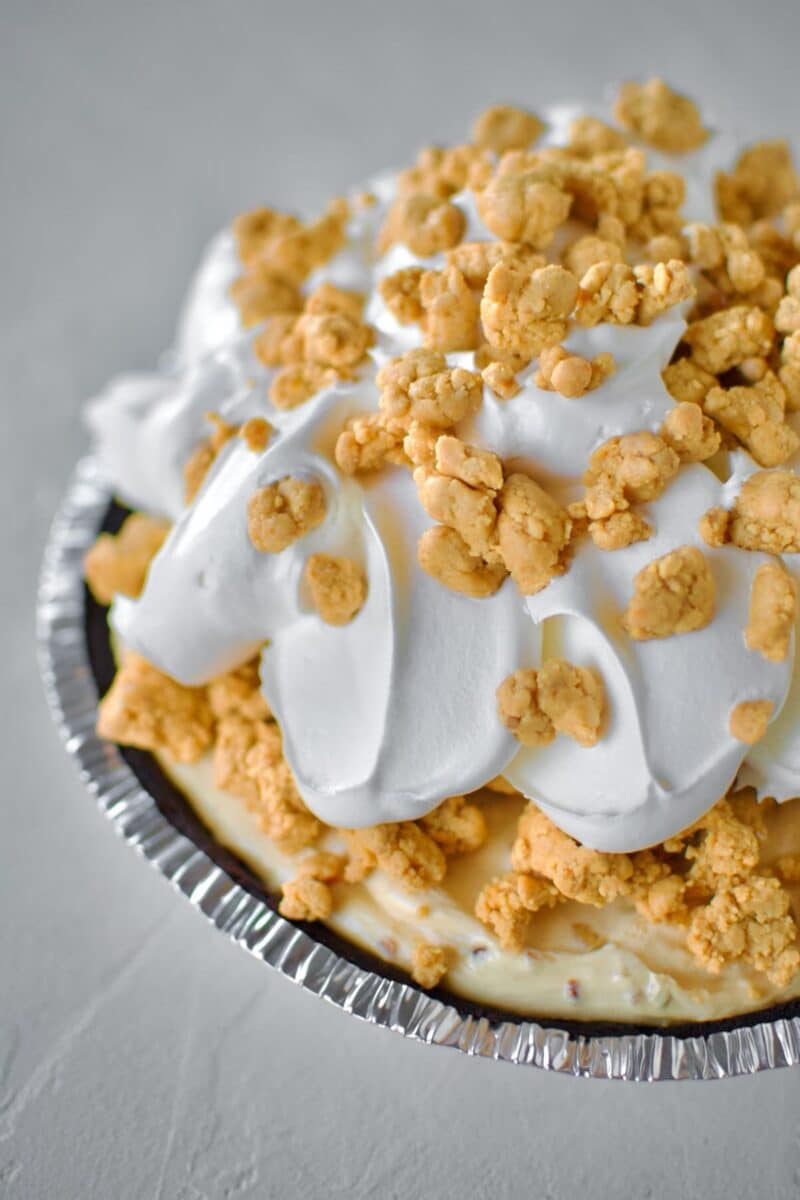
The upside to using a cool whip is that the pie will hold for a few days, covered, in the fridge. While mine never lasts that long, the whipped cream can slump and weep, making cool whip a more stable option.
Notes & Tips
If you make the crust from scratch, be sure to cool it completely before putting the filling it in. It can even be made a day or two before if needed. The filling will start to melt if it goes in a warm crust, and there isn't much recovery from that if it happens.
I prefer to mix in my vanilla in the first step because fat carries flavor and mixing with the cream cheese allows it to perfume the pie filling more.
Take care not to overwhip the mixture once you have added the cool whip. Overworking the cool whip can make it very greasy and unpleasant. Mix it as little as possible to keep the filling light and fluffy.
Once the pie has set and topped, it will keep for 2-3 days in the fridge, covered air-tight in a container or with cling film.
Substitutions
I typically like to make my crust. But if you can not find Famous Chocolate Wafers, or even Chocolate Grahm Crackers, use a store-bought crust. It is a shortcut that is happily welcomed here when needed.
I choose to use crunchy peanut butter for my pies because it is my favorite. But you can ABSOLUTELY use creamy if you prefer it.
If you do not want to use cool whip, you can make your own fresh whipped cream, you will need 4 cups for this recipe.
More of my Favorite Peanut Butter Recipes
Joanna Gaines Peanut Butter Balls
Chocolate Peanut Butter Dirt Pudding
Did you make this recipe? Let me know by leaving a review or comment! And be sure to sign up for my newsletter, and follow along on Instagram, Pinterest, and Facebook!
📖 Recipe
No Bake Peanut Butter Pie
I LOVE all things peanut butter, and this No Bake Peanut Butter Pie ranks super high on the list of best PB things EVER! You'll love it!
Ingredients
for the crust:
- 9-ounces Famous Chocolate Wafers, finely crushed (or store-bought chocolate pie crust)
- 8 tablespoons Unsalted Butter - omit if using store-bought crust
- 1 tablespoon Light Brown Sugar
for the filling:
- 8 ounces Cream Cheese, at room temperature
- ¾ cup Powdered Sugar
- 1 cup Crunchy Peanut Butter, not natural
- 8-ounces Cool Whip, thawed
- 1 teaspoon Vanilla Extract
for topping:
- 1 cup Crunchy Peanut Butter
- 1 cup Powdered Sugar
- 8 ounces Cool Whip
Instructions
for the crust:
- Preheat the oven to 350˚F.
- Place the chocolate wafers in the bowl of a food processor and pulse them until they are finely ground.
- Add the butter and sugar and pulse a few times until well combined.
- Press the crust into a deep 9-inch pie tin, this crust will make 2 shallow pies, and use the back of a measuring cup to pack it in tight until it has a smooth surface.
- Bake the crust in the preheated oven for 12 minutes until set.
- Remove the crust from the oven and cool on a wire rack until completely cool.
- Then fill with the peanut butter filling.
for the filling:
- In the bowl of a stand mixer fitted with the paddle attachment, cream the cheese, sugar, and vanilla together until light and fluffy, about 3 minutes. Place the peanut butter to the bowl and continue beating till smooth.
- Add the cool whip to the bowl and beat just until incorporated, scraping down the bowl once or twice to ensure you get a smooth and cohesive mixture.
- Place the mixture in the cooled pie crust, cover, and refrigerate for at lest 4 hours, best if overnight.
for topping:
- To make peanut butter crumbs, place the peanut butter and powdered sugar in the bowl of a stand mixer fitted with the paddle attachment and blend them together on low until it forms a crumbly mixture.
- Top the chilled pie with the cool whip and finish it with the crumbled peanut butter mixture.
- Serve immediately and store any leftovers in the fridge for up to 5 days.
Notes
Notes & Tips
If you make the crust from scratch, be sure to cool it completely before putting the filling it in. It can even be made a day or two before if needed. The filling will start to melt if it goes in a warm crust, and there isn't much recovery from that if it happens.
I prefer to mix in my vanilla in the first step because fat carries flavor and mixing with the cream cheese allows it to perfume the pie filling more.
Take care not to overwhip the mixture once you have added the cool whip. Overworking the cool whip can make it very greasy and unpleasant. Mix it as little as possible to keep the filling light and fluffy.
Once the pie has set and topped, it will keep for 2-3 days in the fridge, covered air-tight in a container or with cling film.
Substitutions
I typically like to make my crust. But if you can not find Famous Chocolate Wafers, or even Chocolate Grahm Crackers, use a store-bought crust. It is a shortcut that is happily welcomed here when needed.
I choose to use crunchy peanut butter for my pies because it is my favorite. But you can ABSOLUTELY use creamy if you prefer it.
If you do not want to use cool whip, you can make your own fresh whipped cream, you will need 4 cups for this recipe.
Recommended Products
As an Amazon Associate and member of other affiliate programs, I earn from qualifying purchases.
Nutrition Information:
Yield:
12Serving Size:
1Amount Per Serving: Calories: 666Total Fat: 48gSaturated Fat: 21gTrans Fat: 0gUnsaturated Fat: 23gCholesterol: 40mgSodium: 403mgCarbohydrates: 51gFiber: 4gSugar: 38gProtein: 13g
This is an estimated caloric value, actual numbers may differ based on the ingredients used.













Leave a Reply